
Fujifilm X-E5 Recipes
I’ve spent a couple months shooting with the Fujifilm X-E5 and put together my full review on it on my YouTube channel. Throughout that review I was testing a few new (and old) recipes on the Fujifilm X-E5 that I wanted to share here if you’re interested in using them yourself!
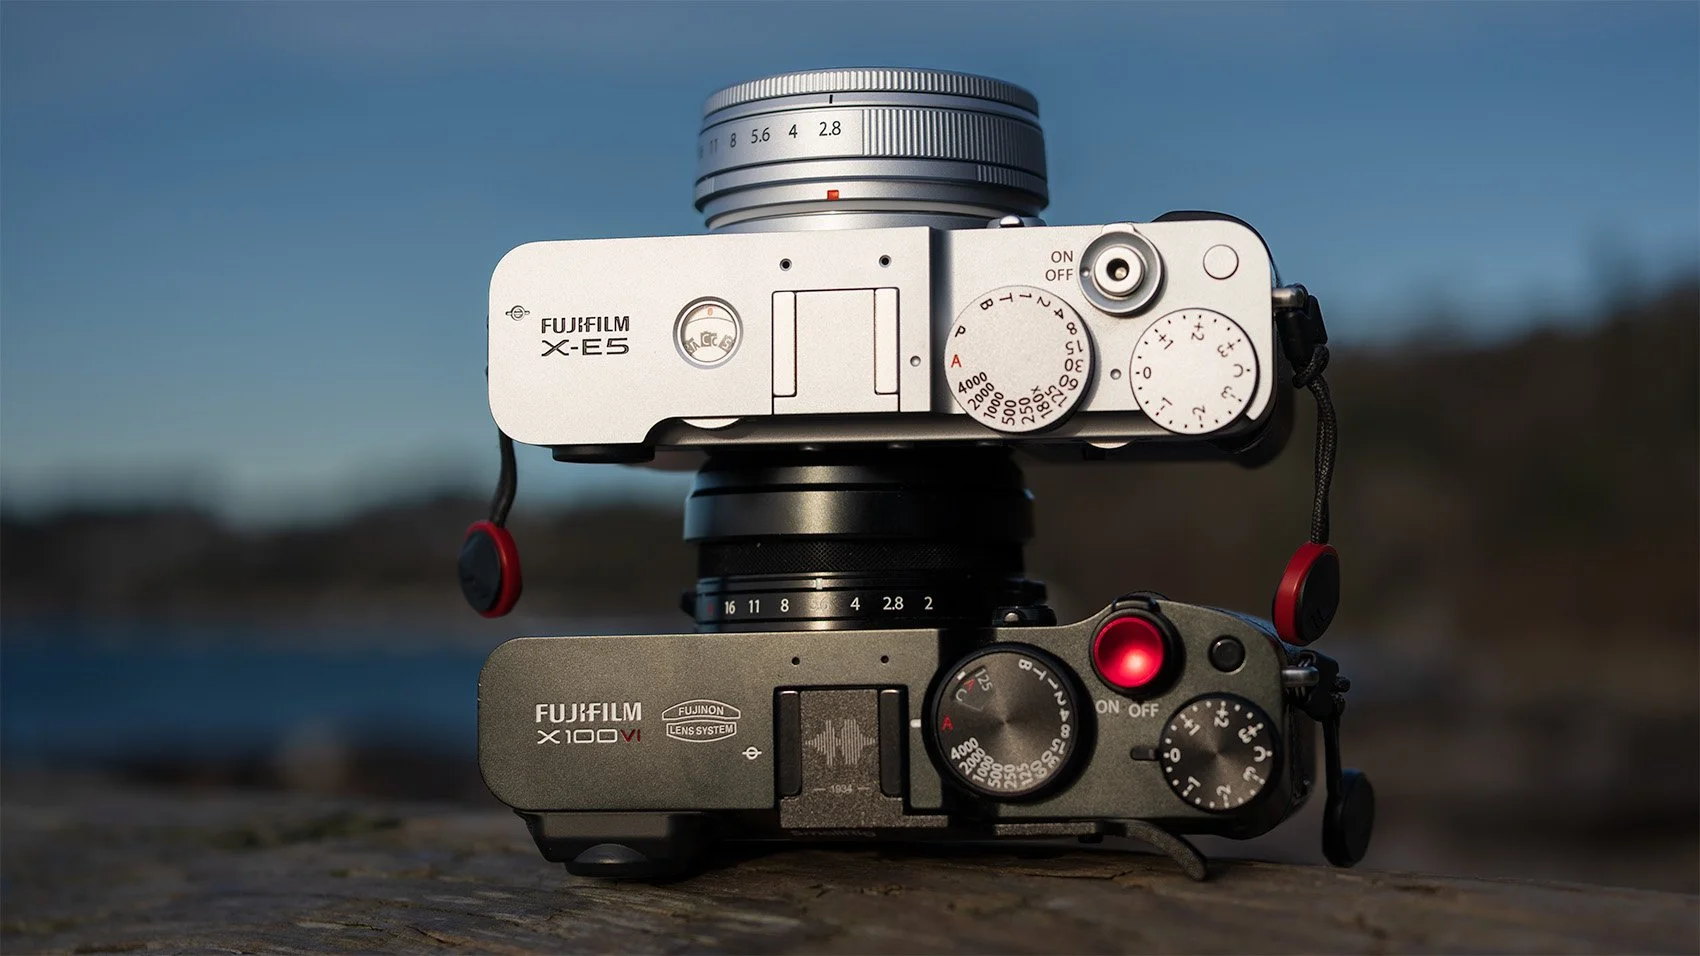
These recipes are not exclusive to the Fujifilm X-E5. Any camera with the X-trans 5 sensor can utilize these such as the Fujifilm X100VI, Fujifilm X-T5, Fujifilm X-T50, and a few others. Honestly these likely work great on other sensors as well (I got to use a few on the GFX100SII at some point), but your results may vary.
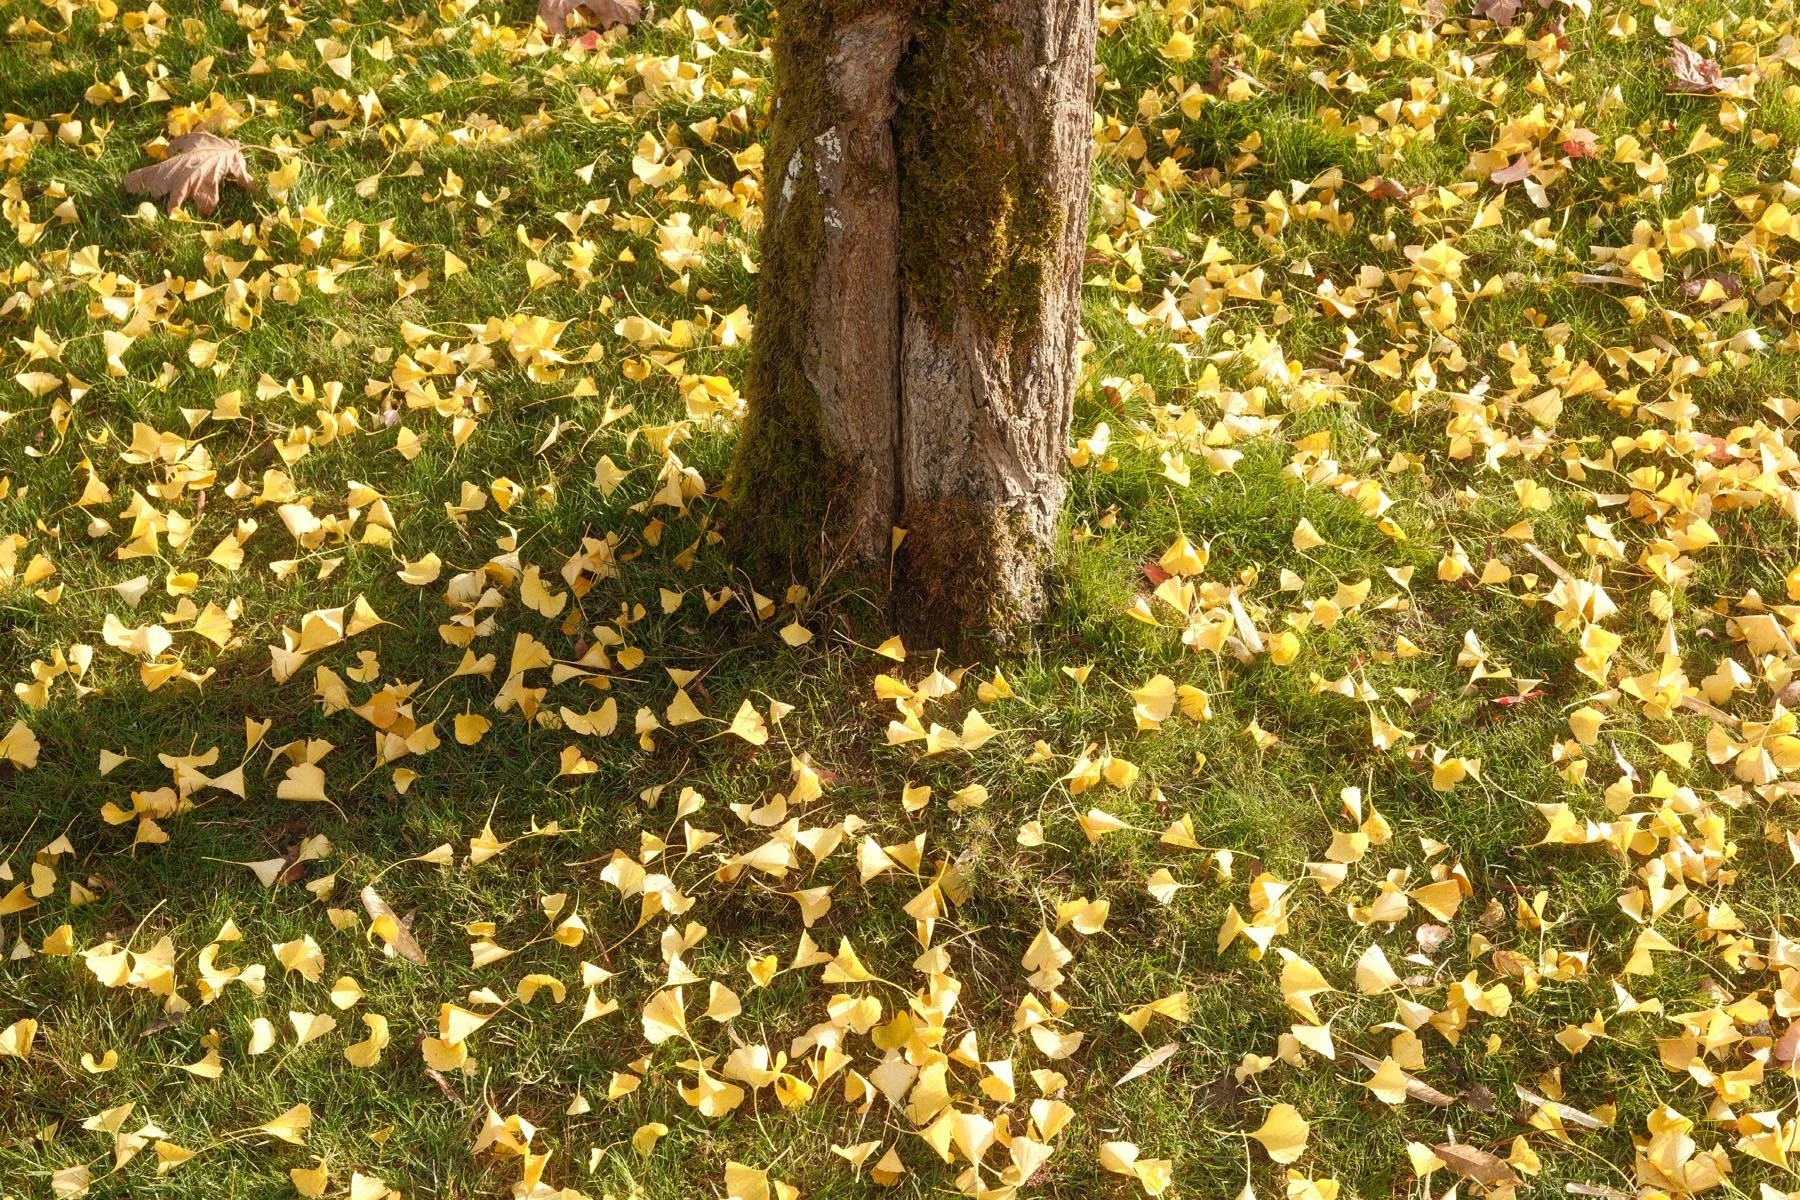
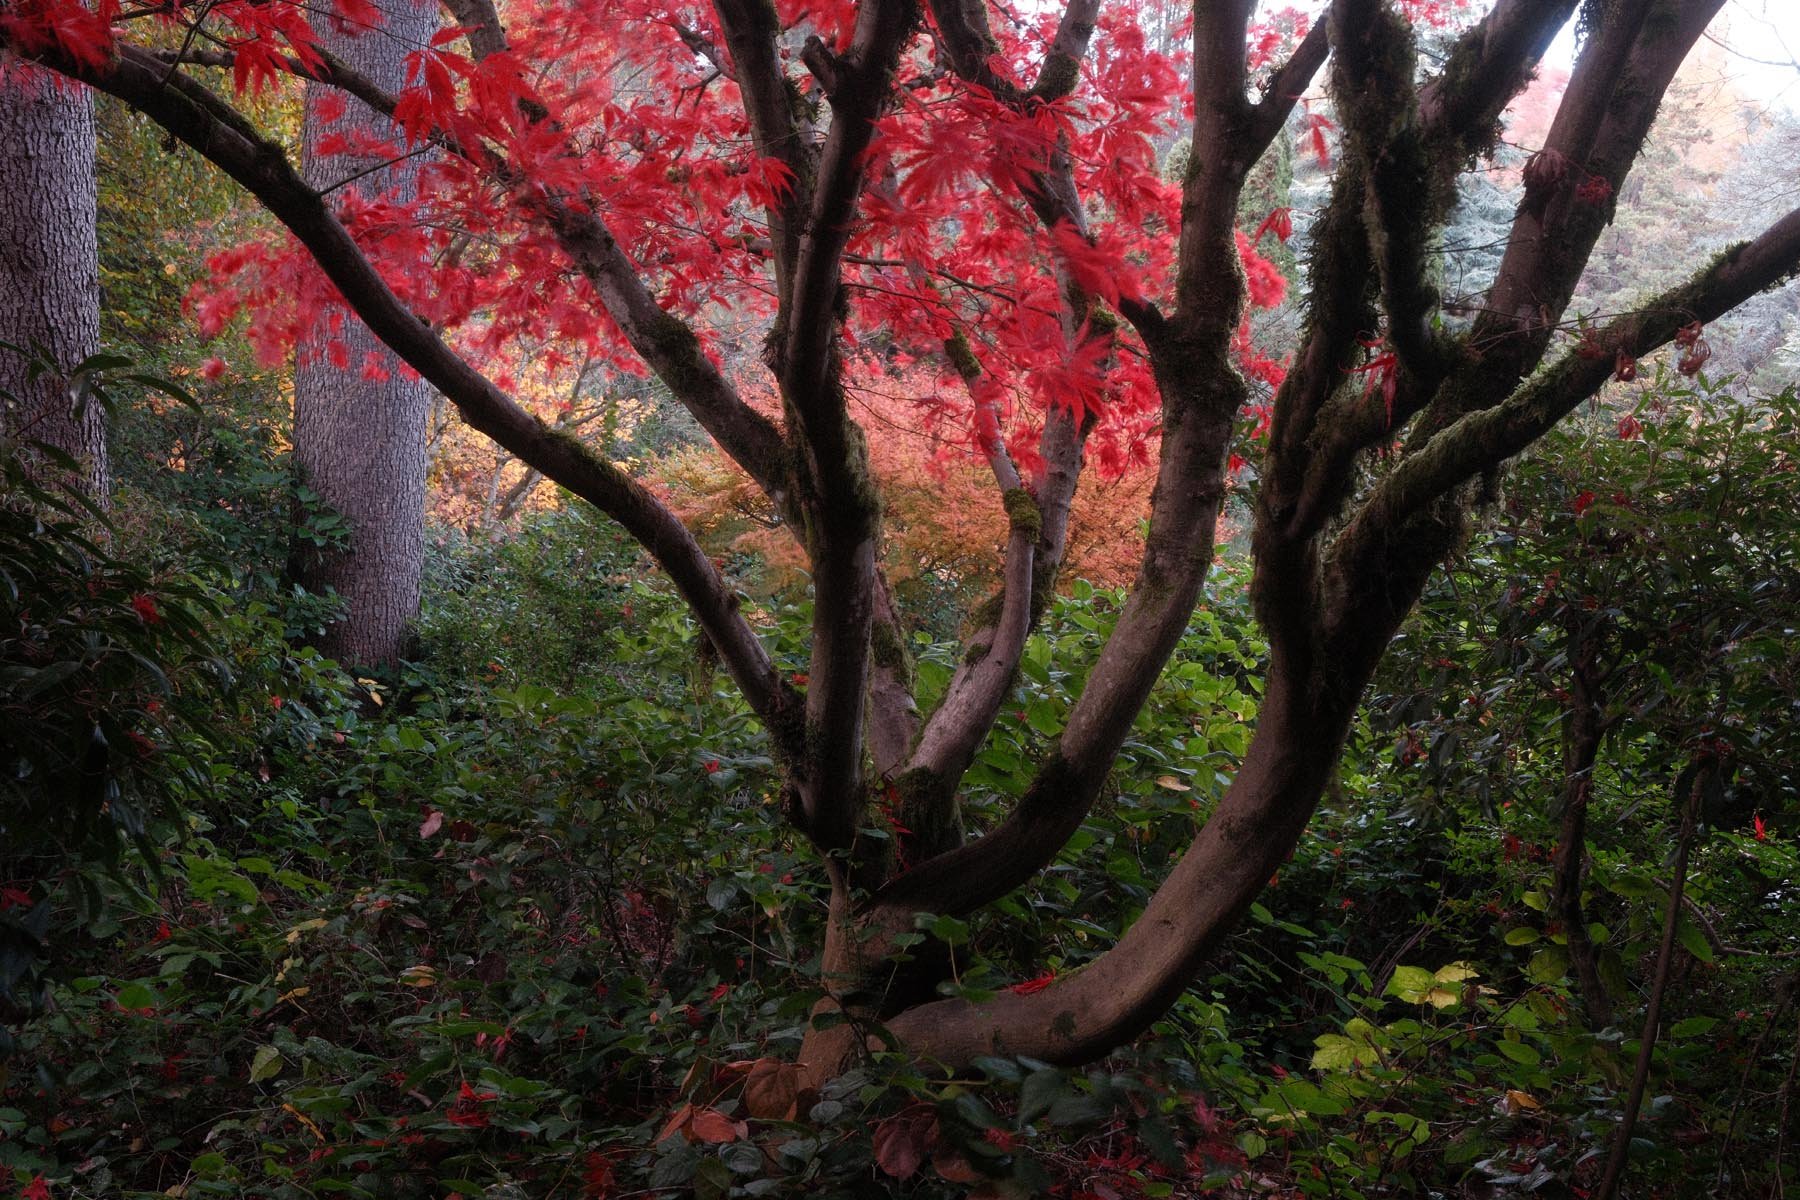
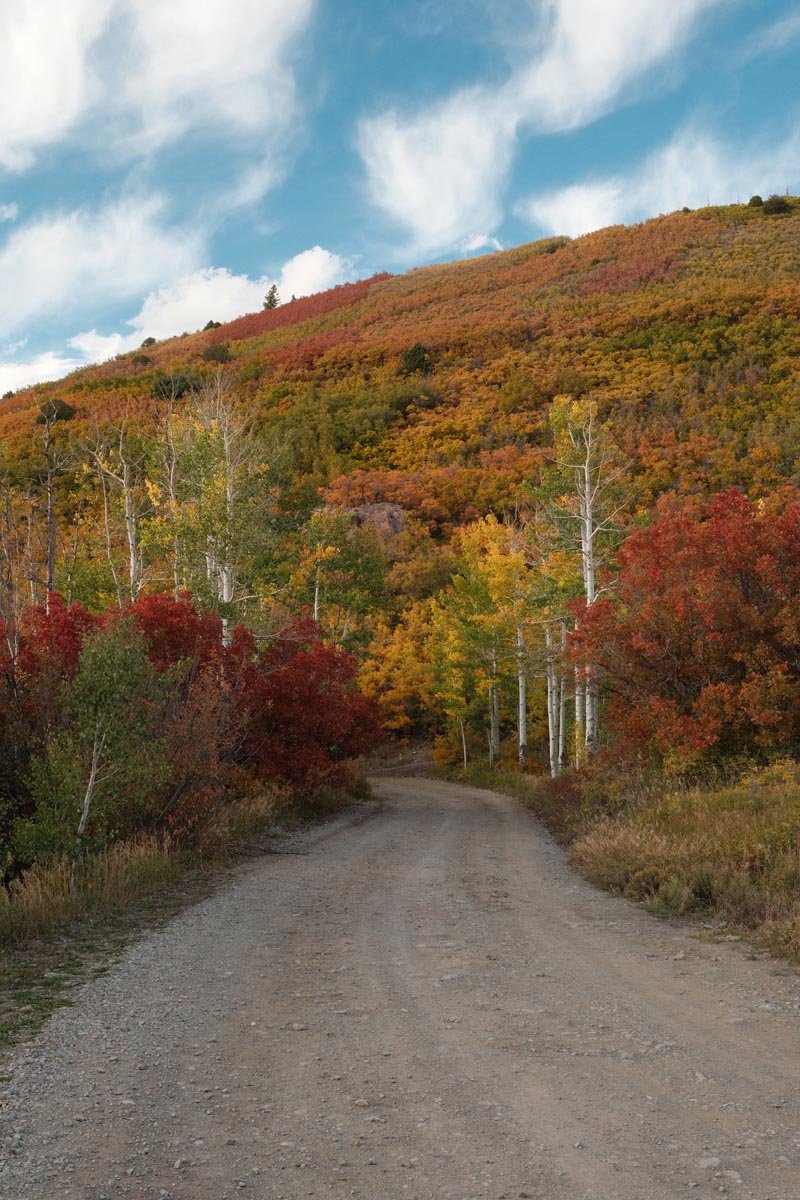
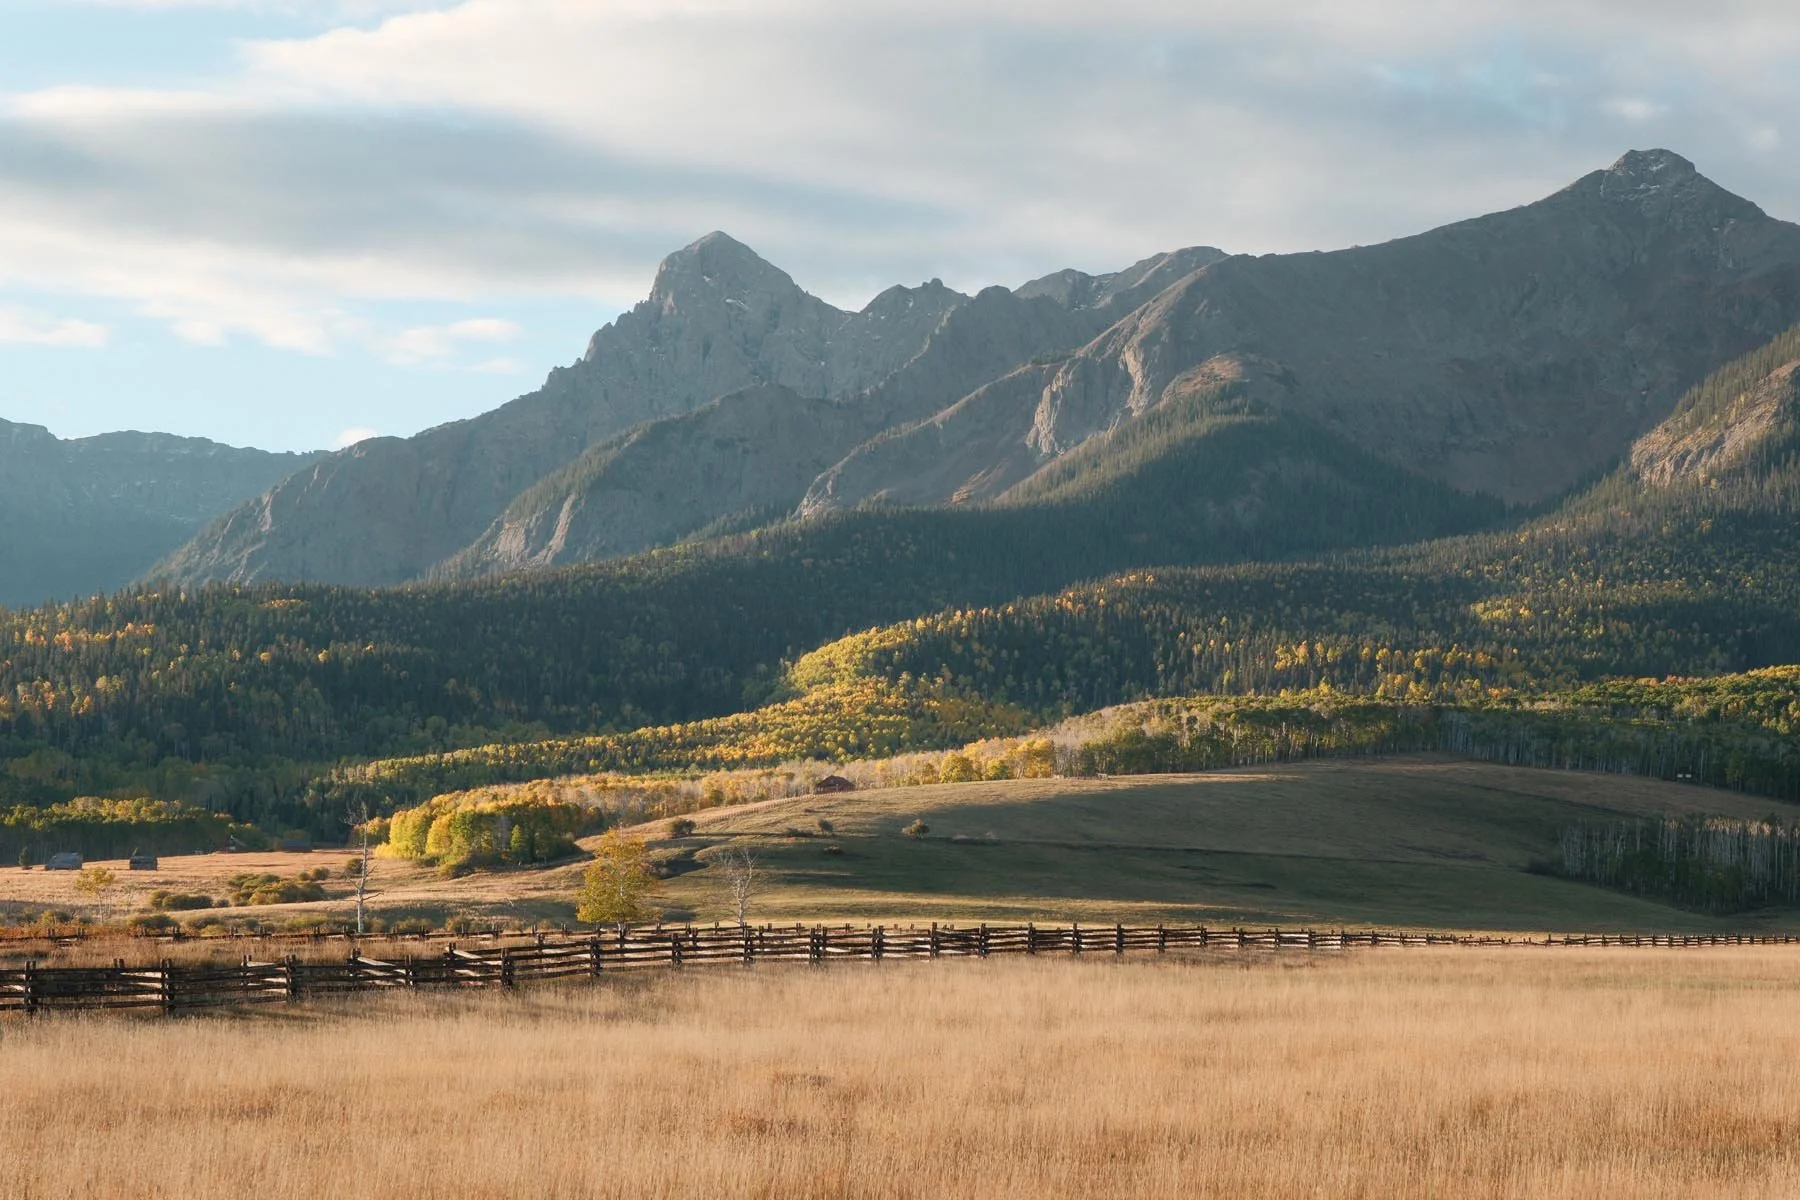
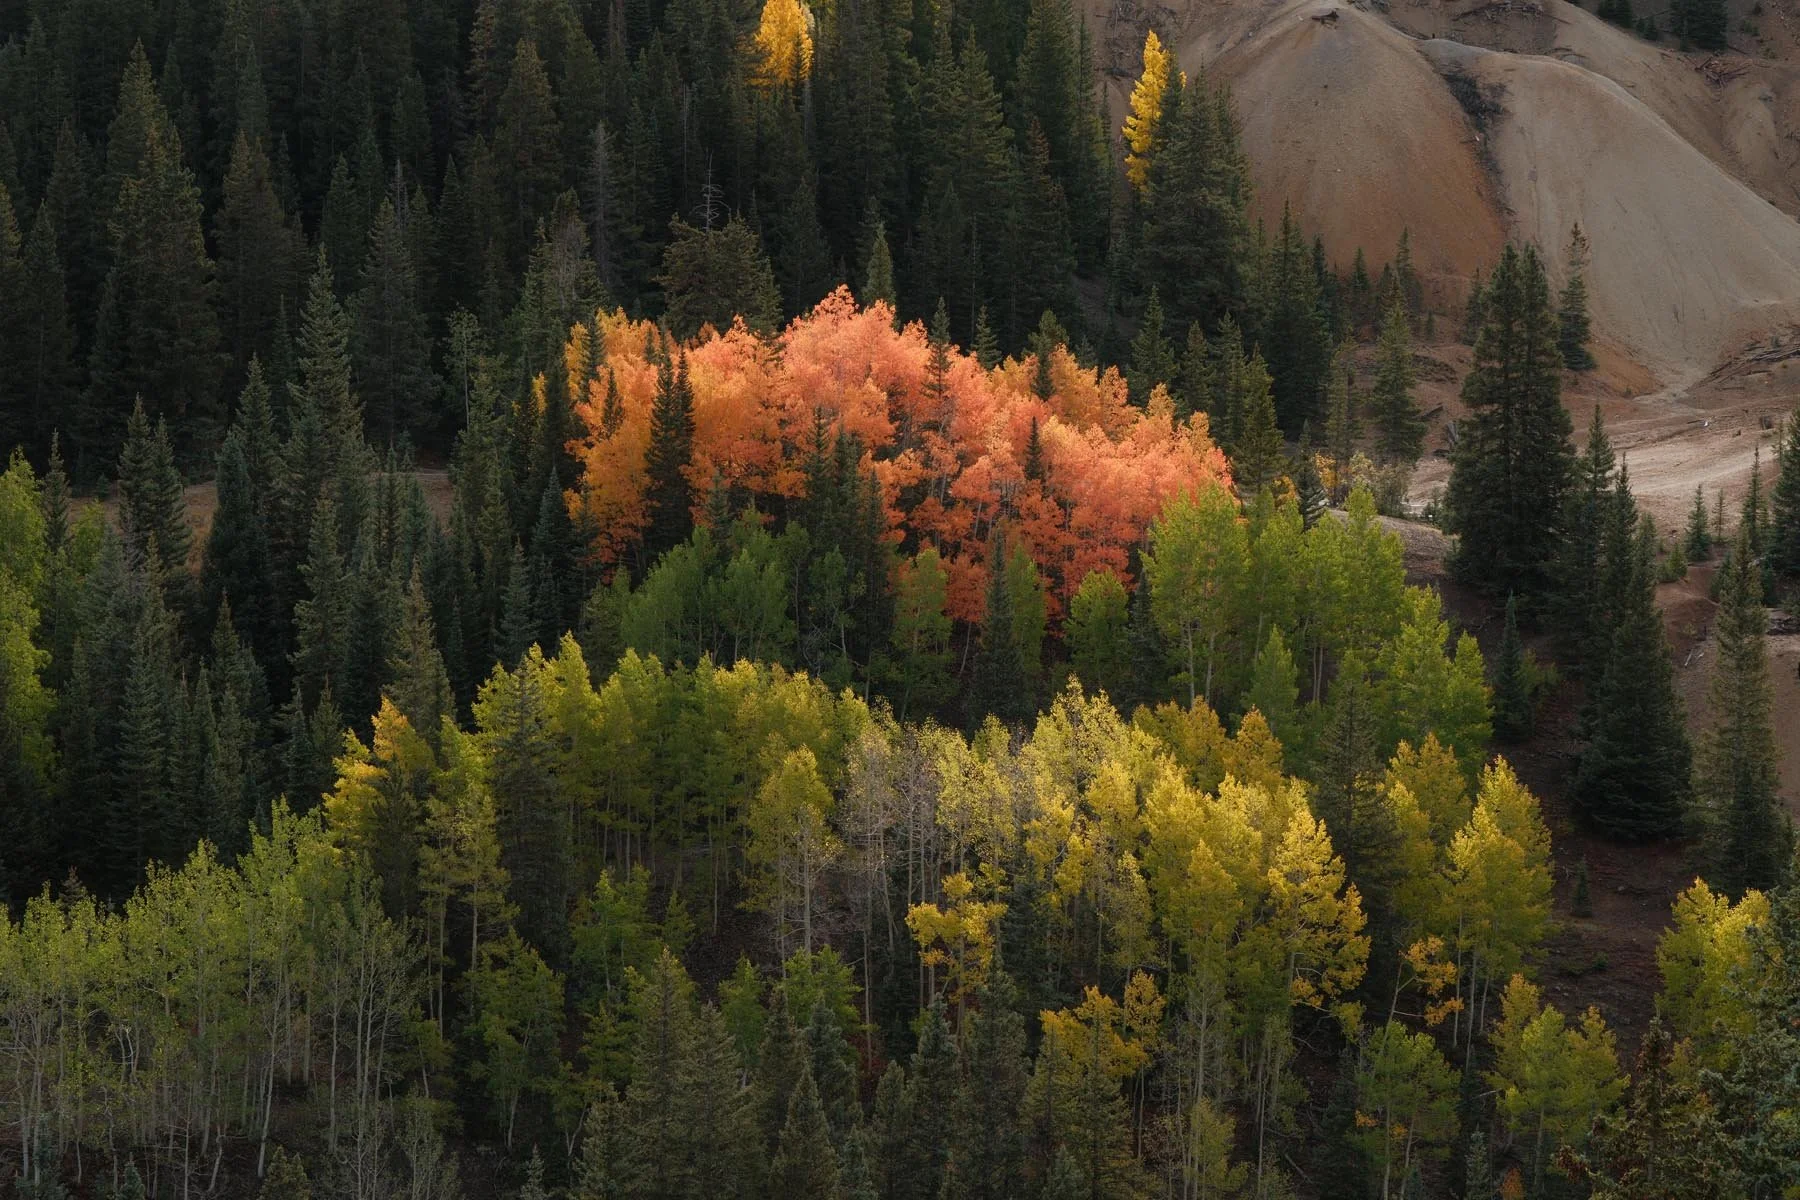
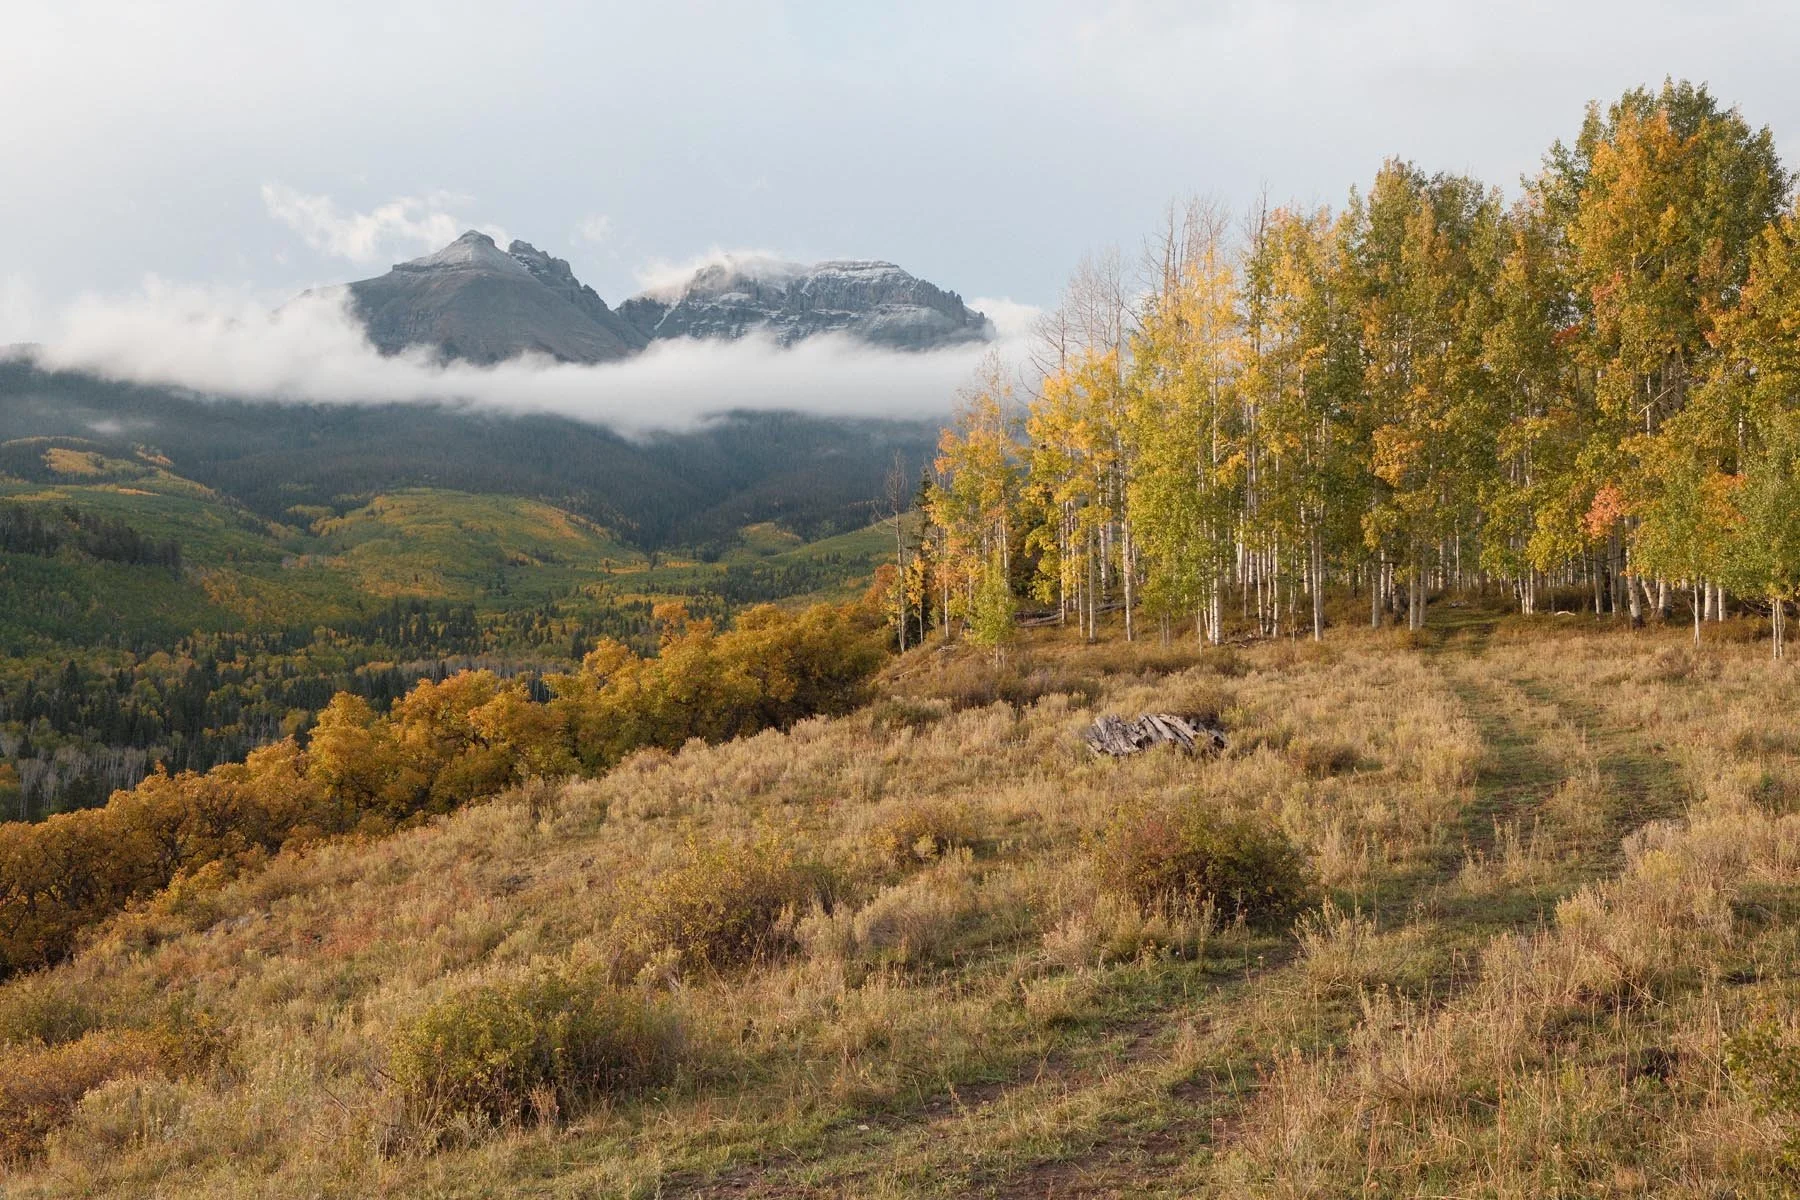
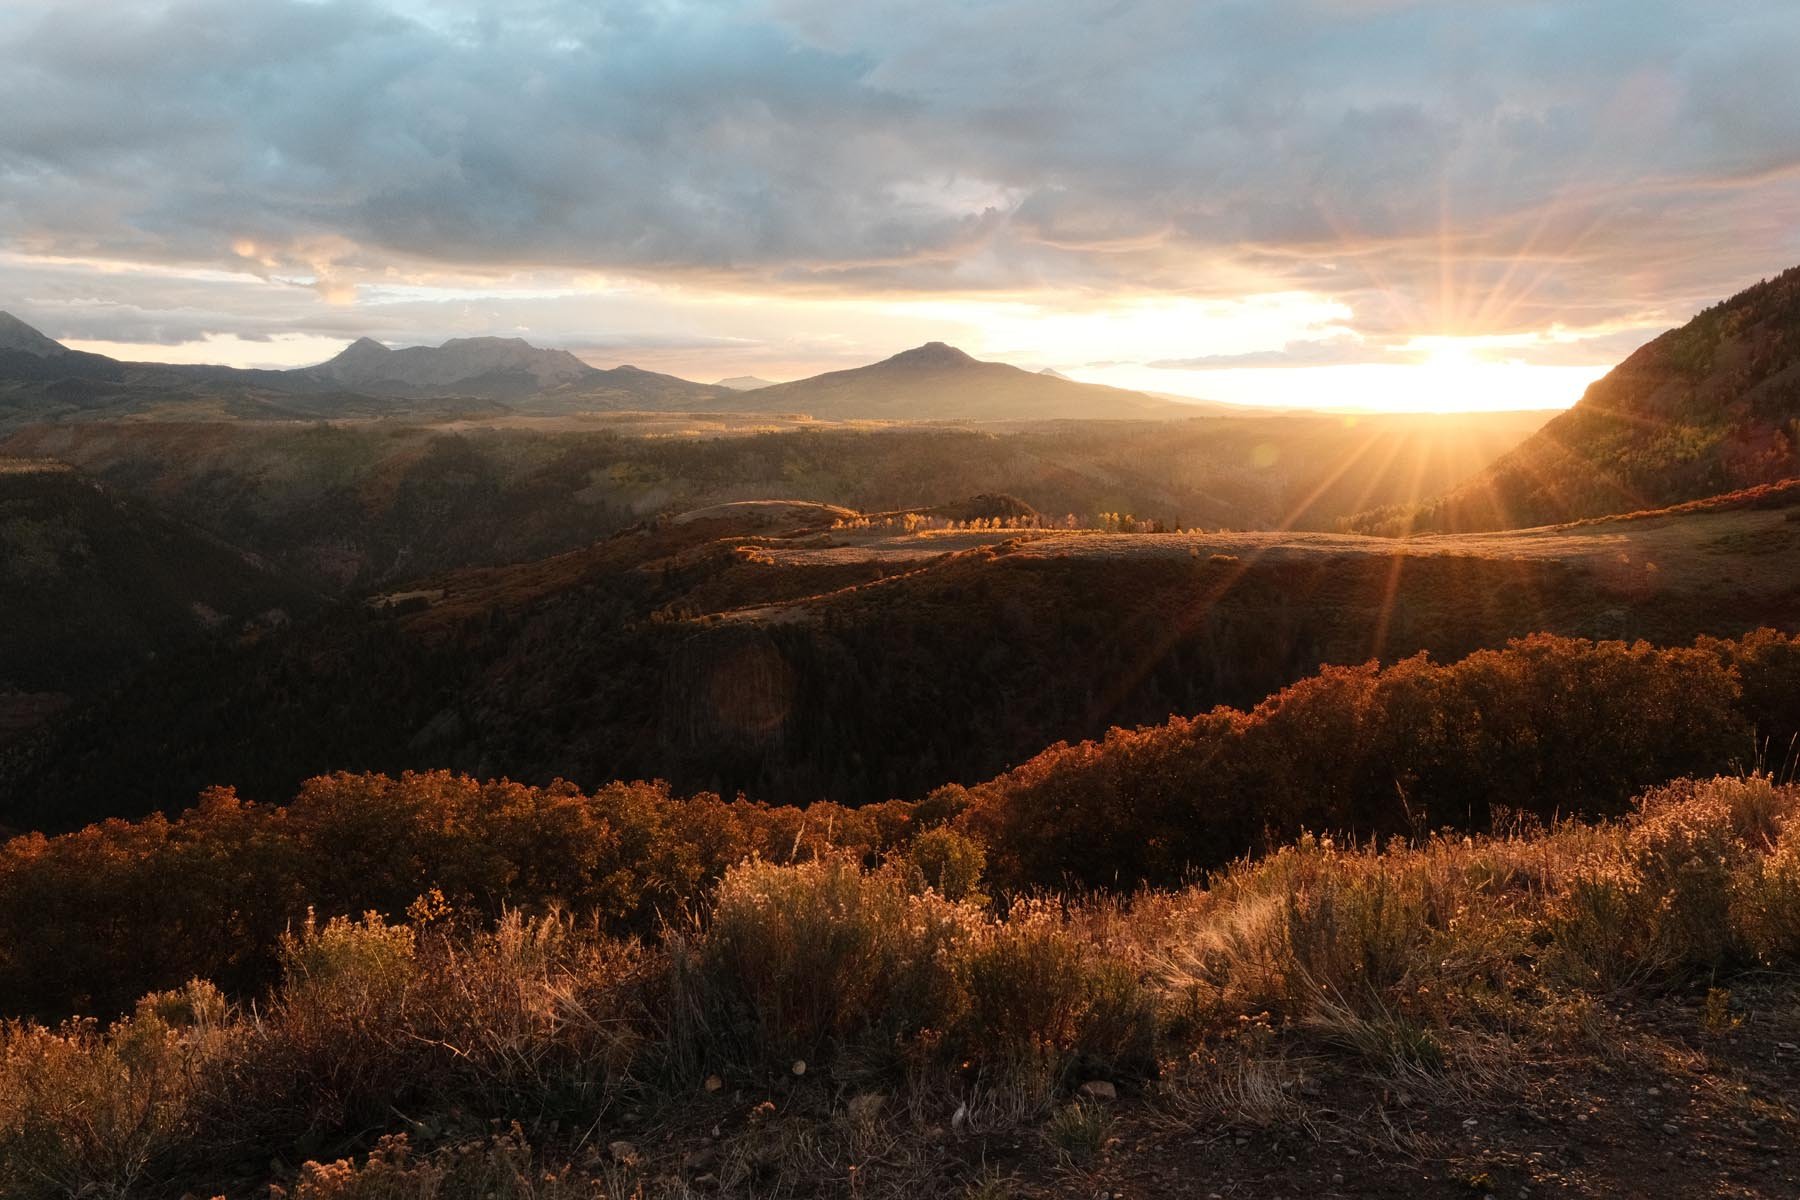
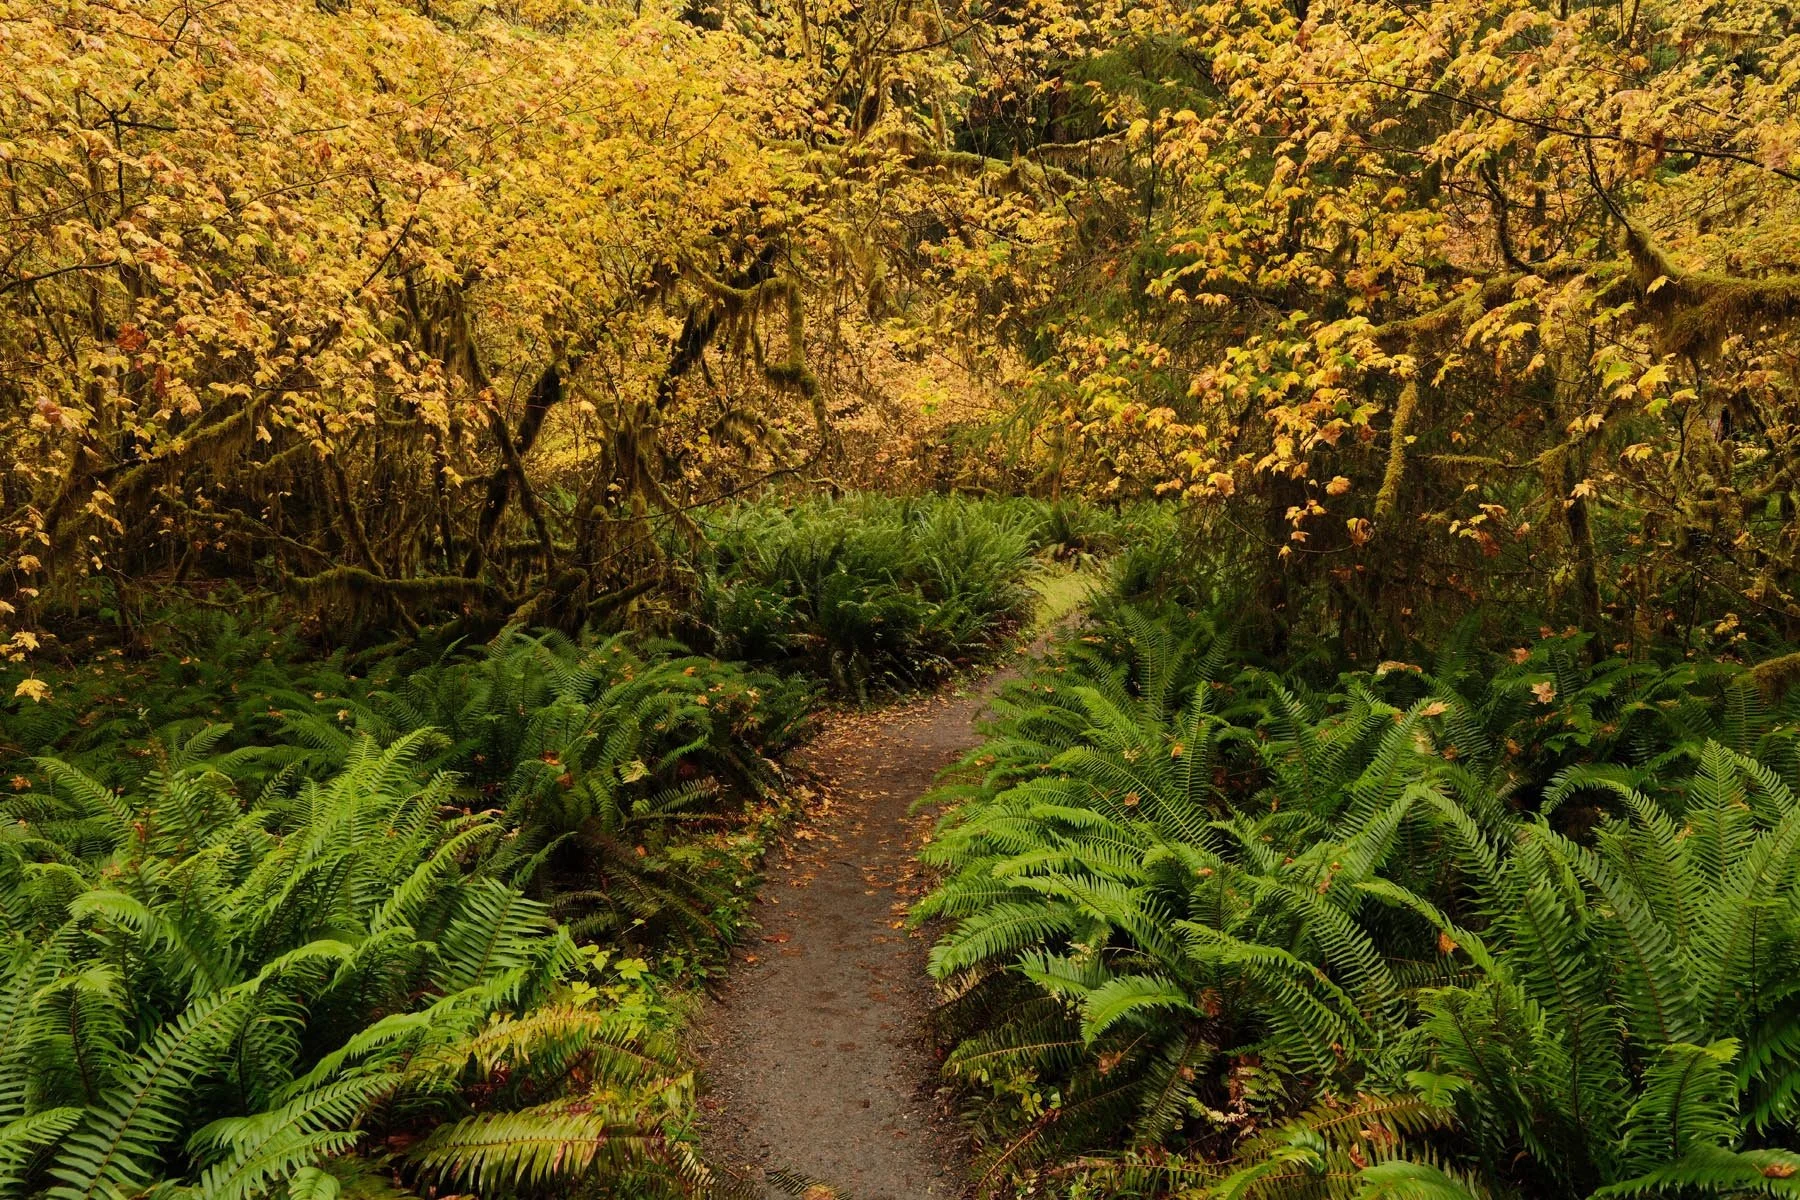
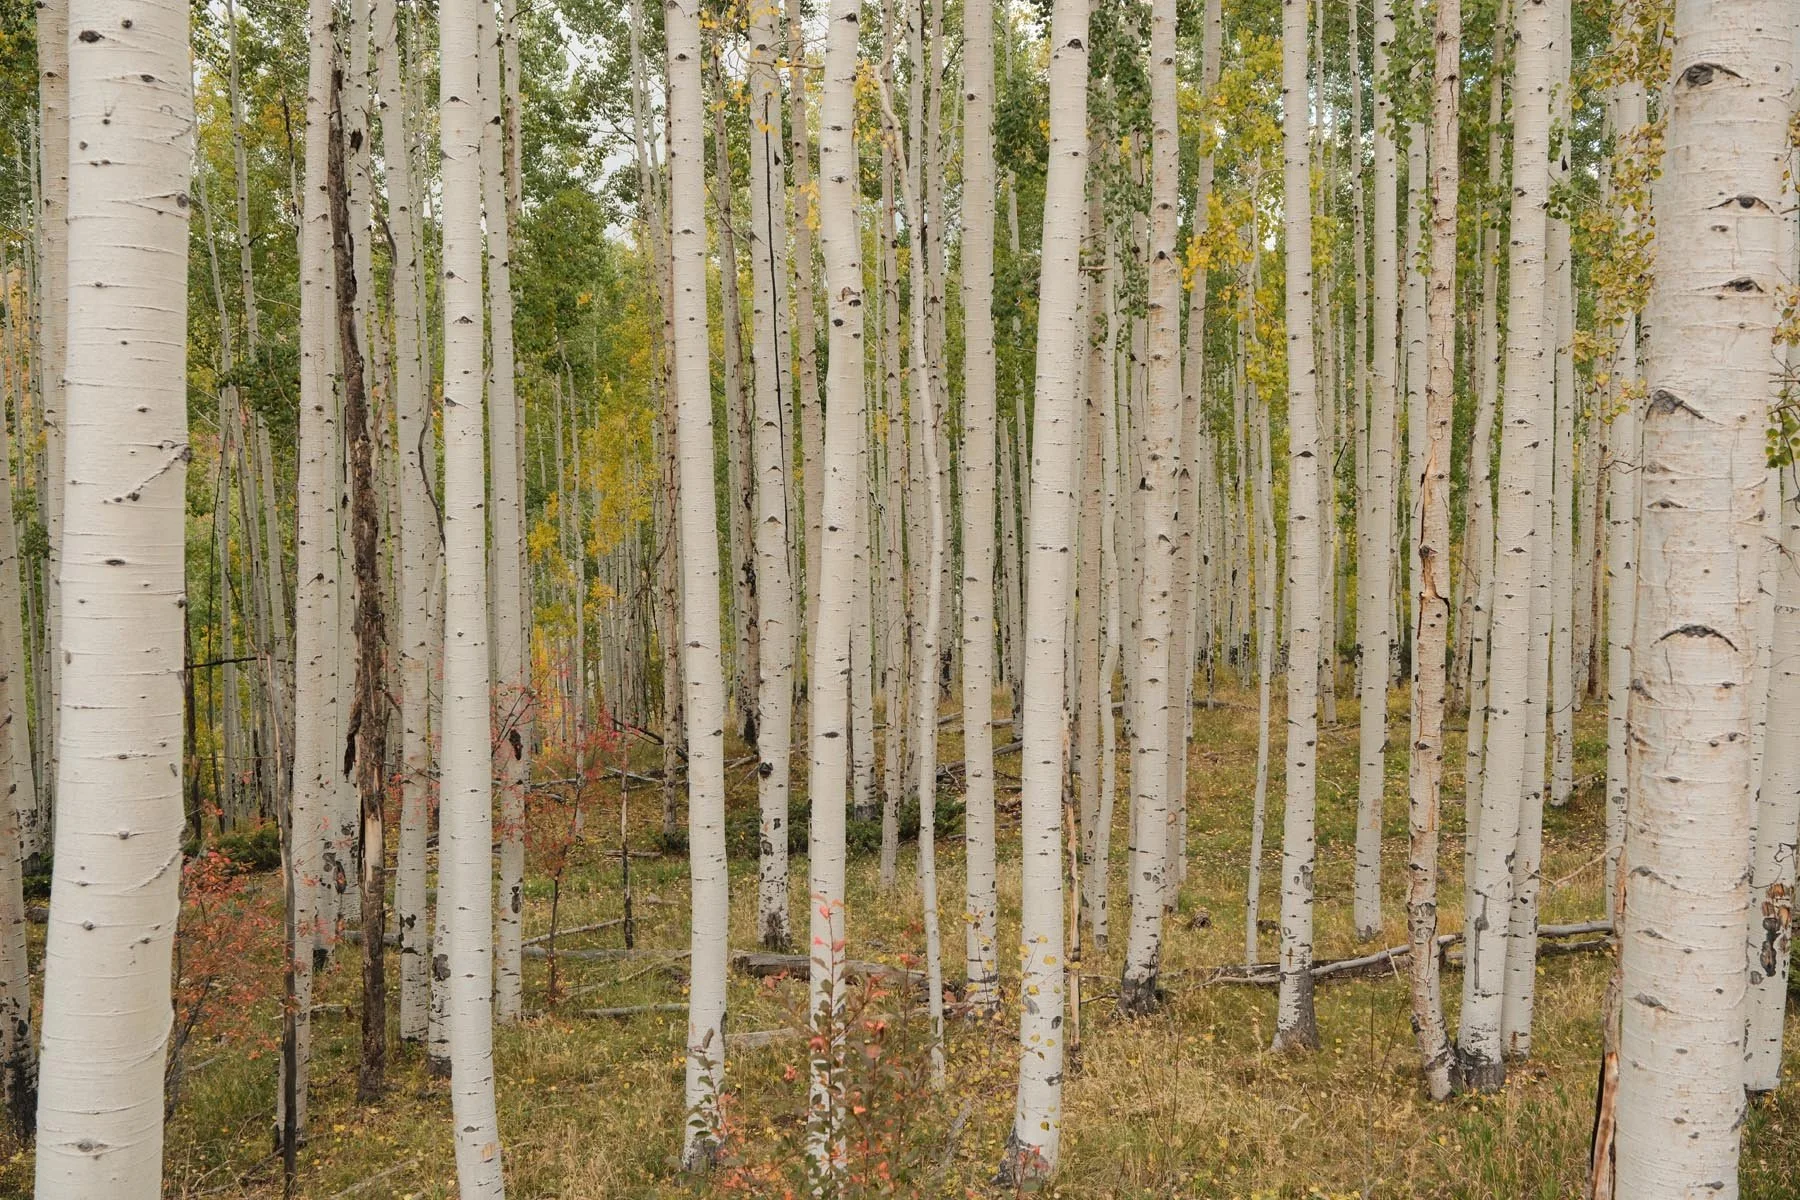
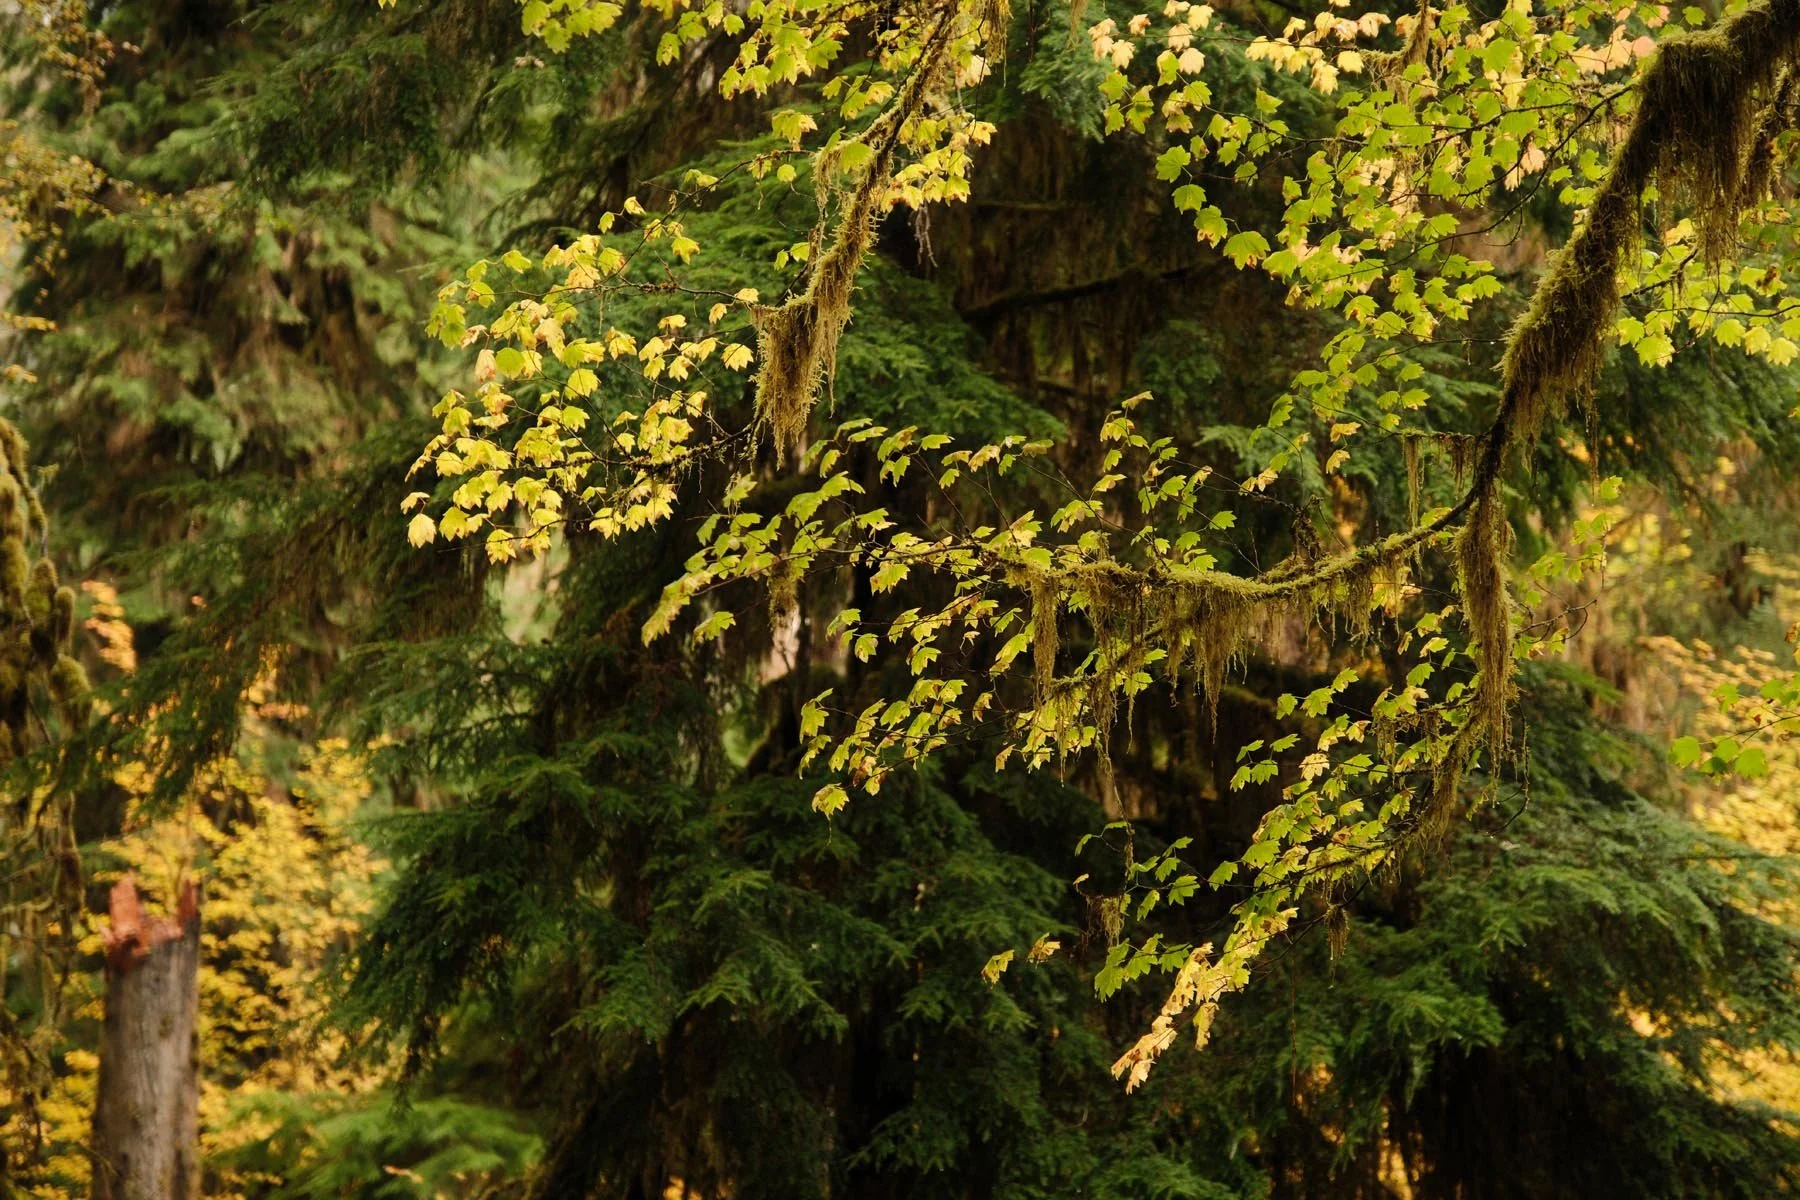
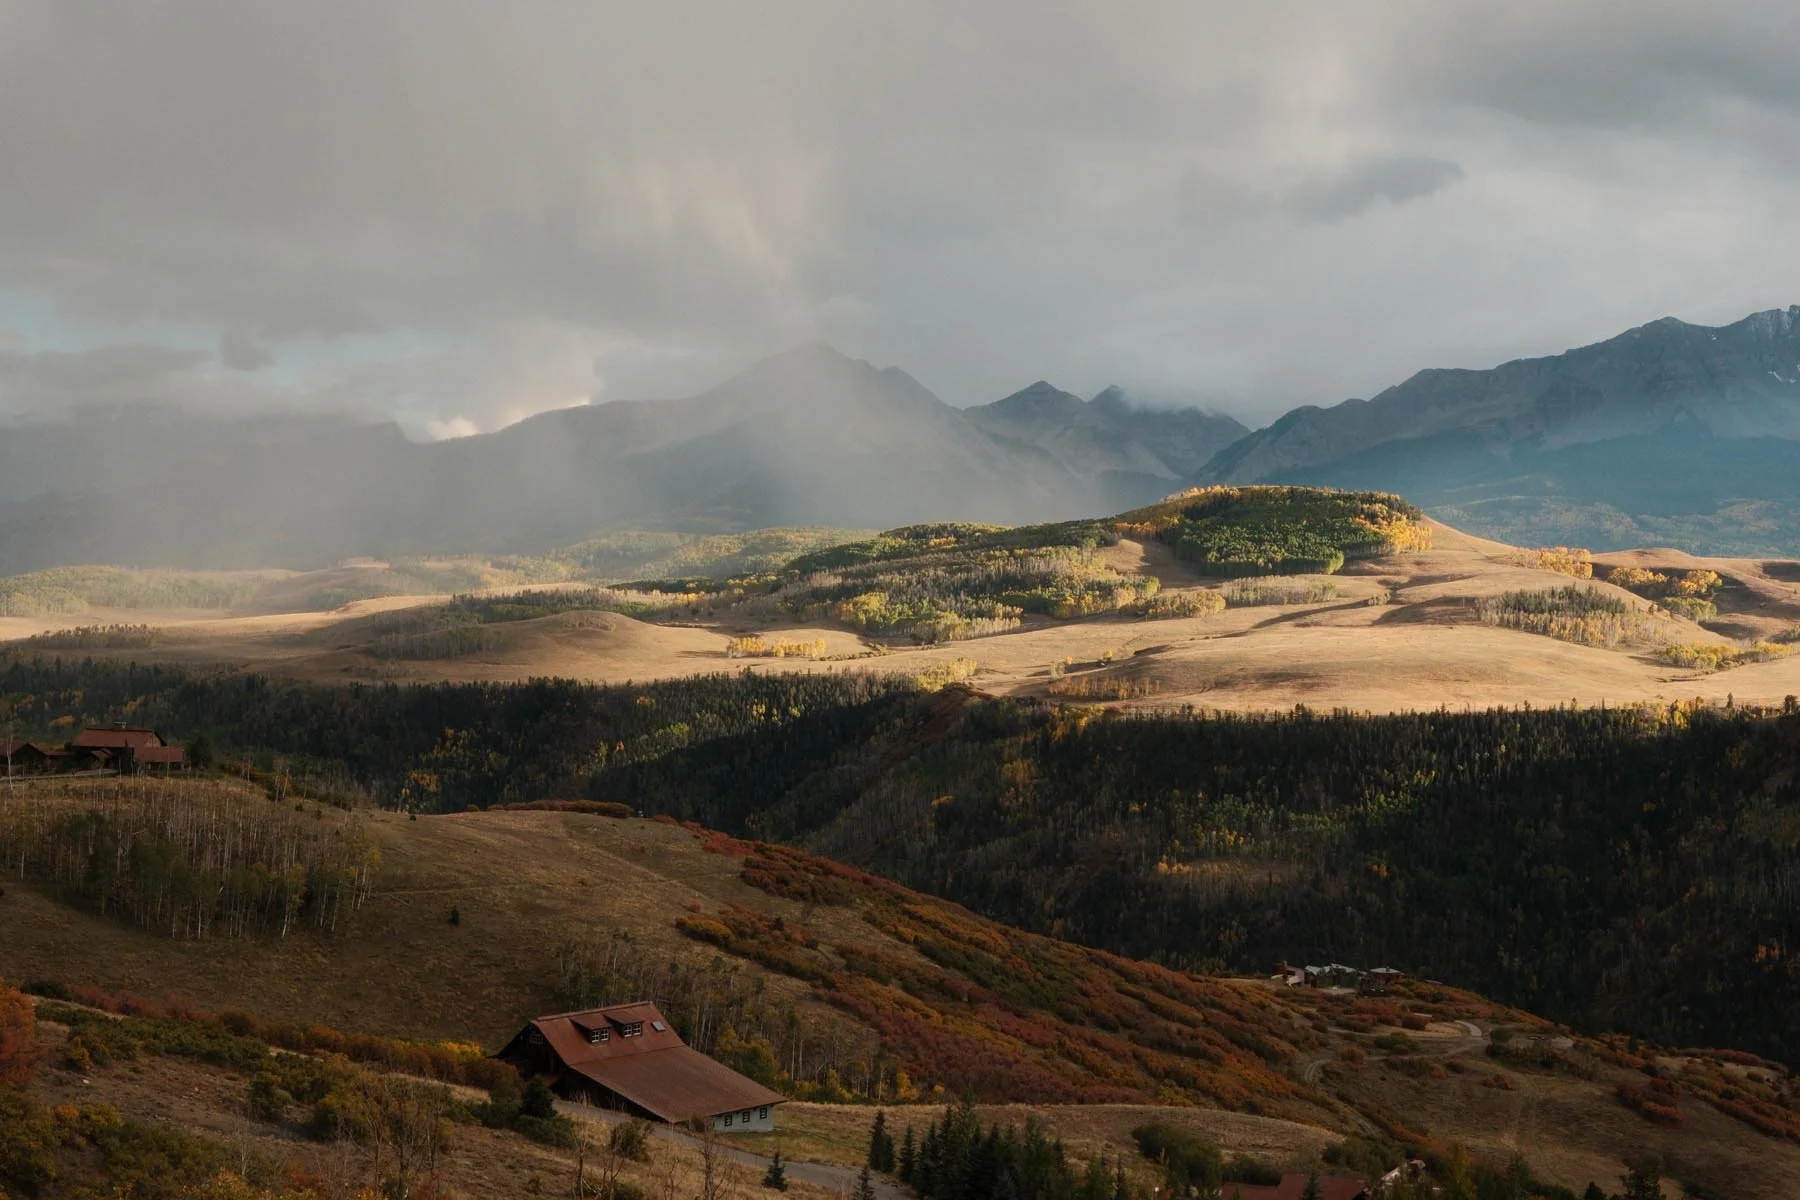
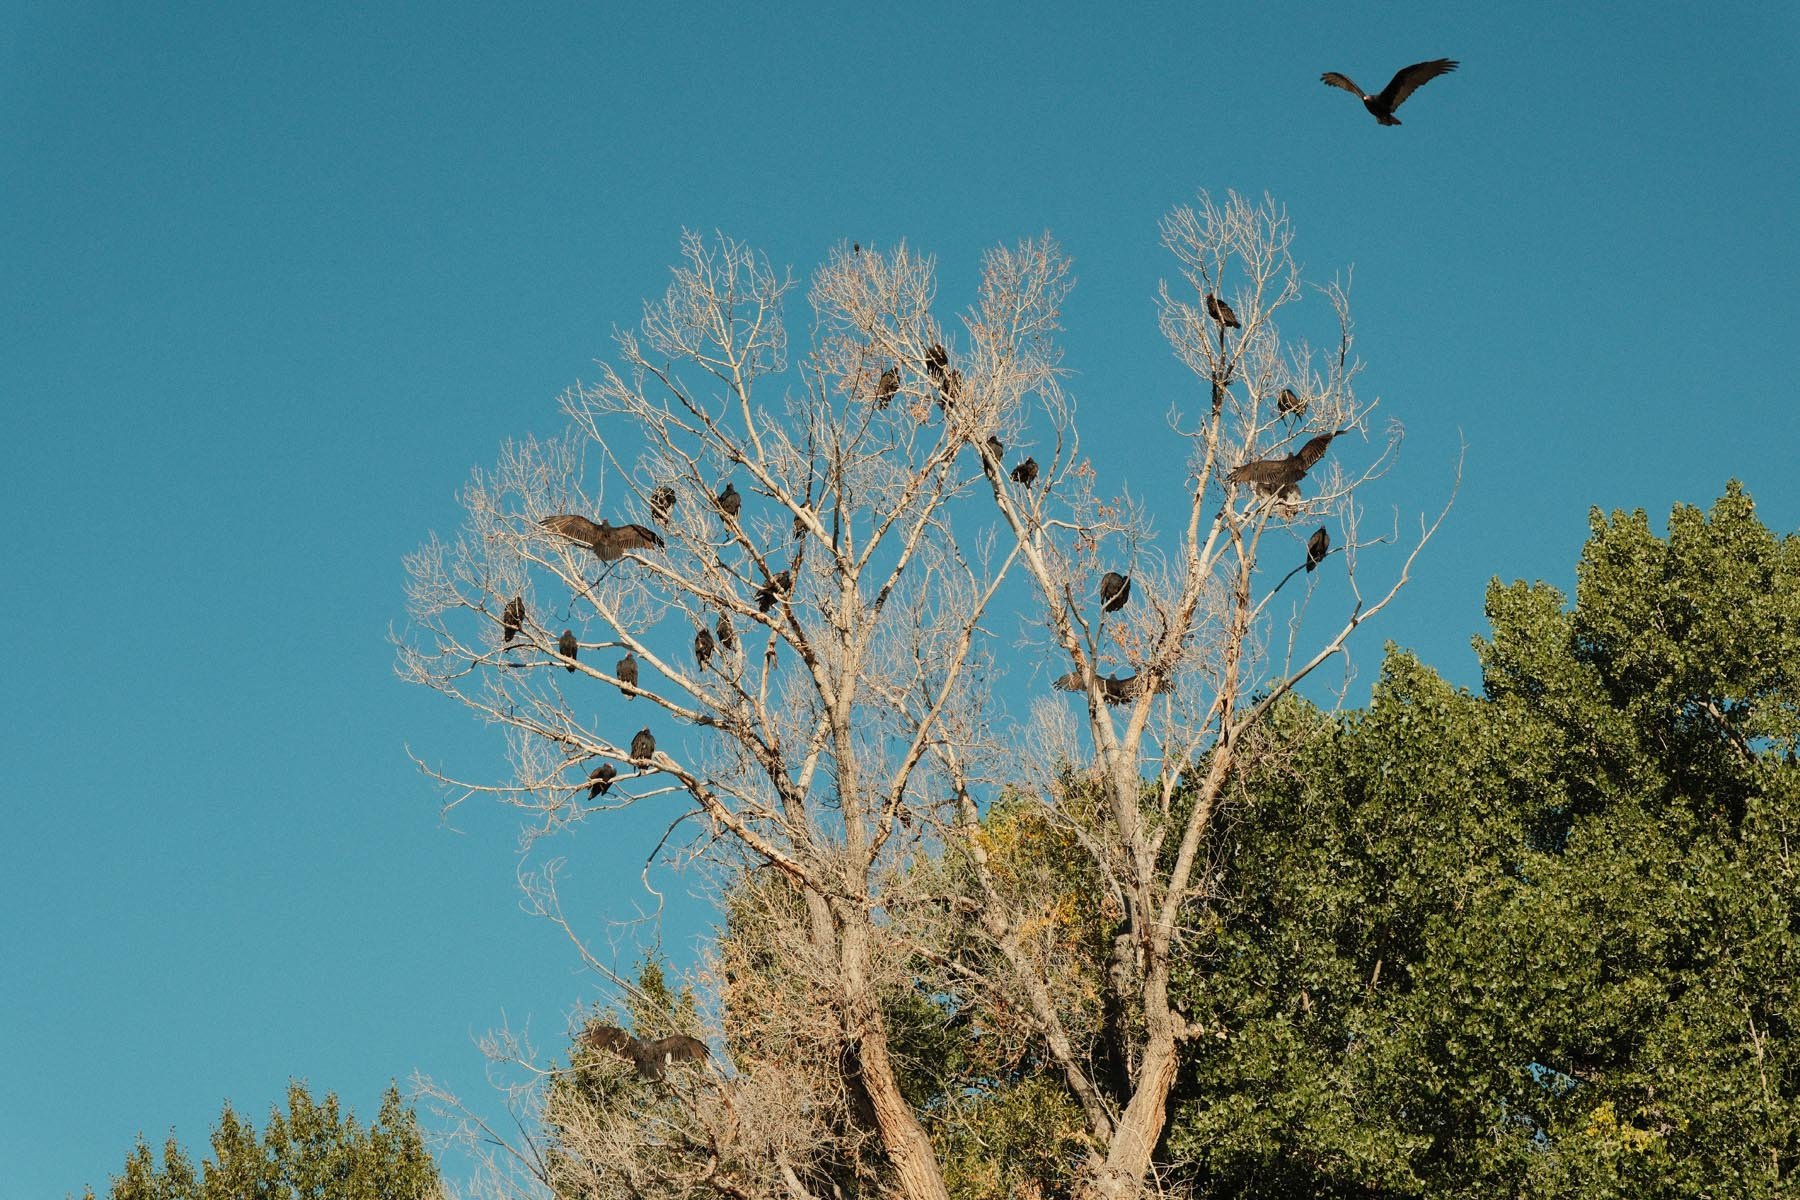
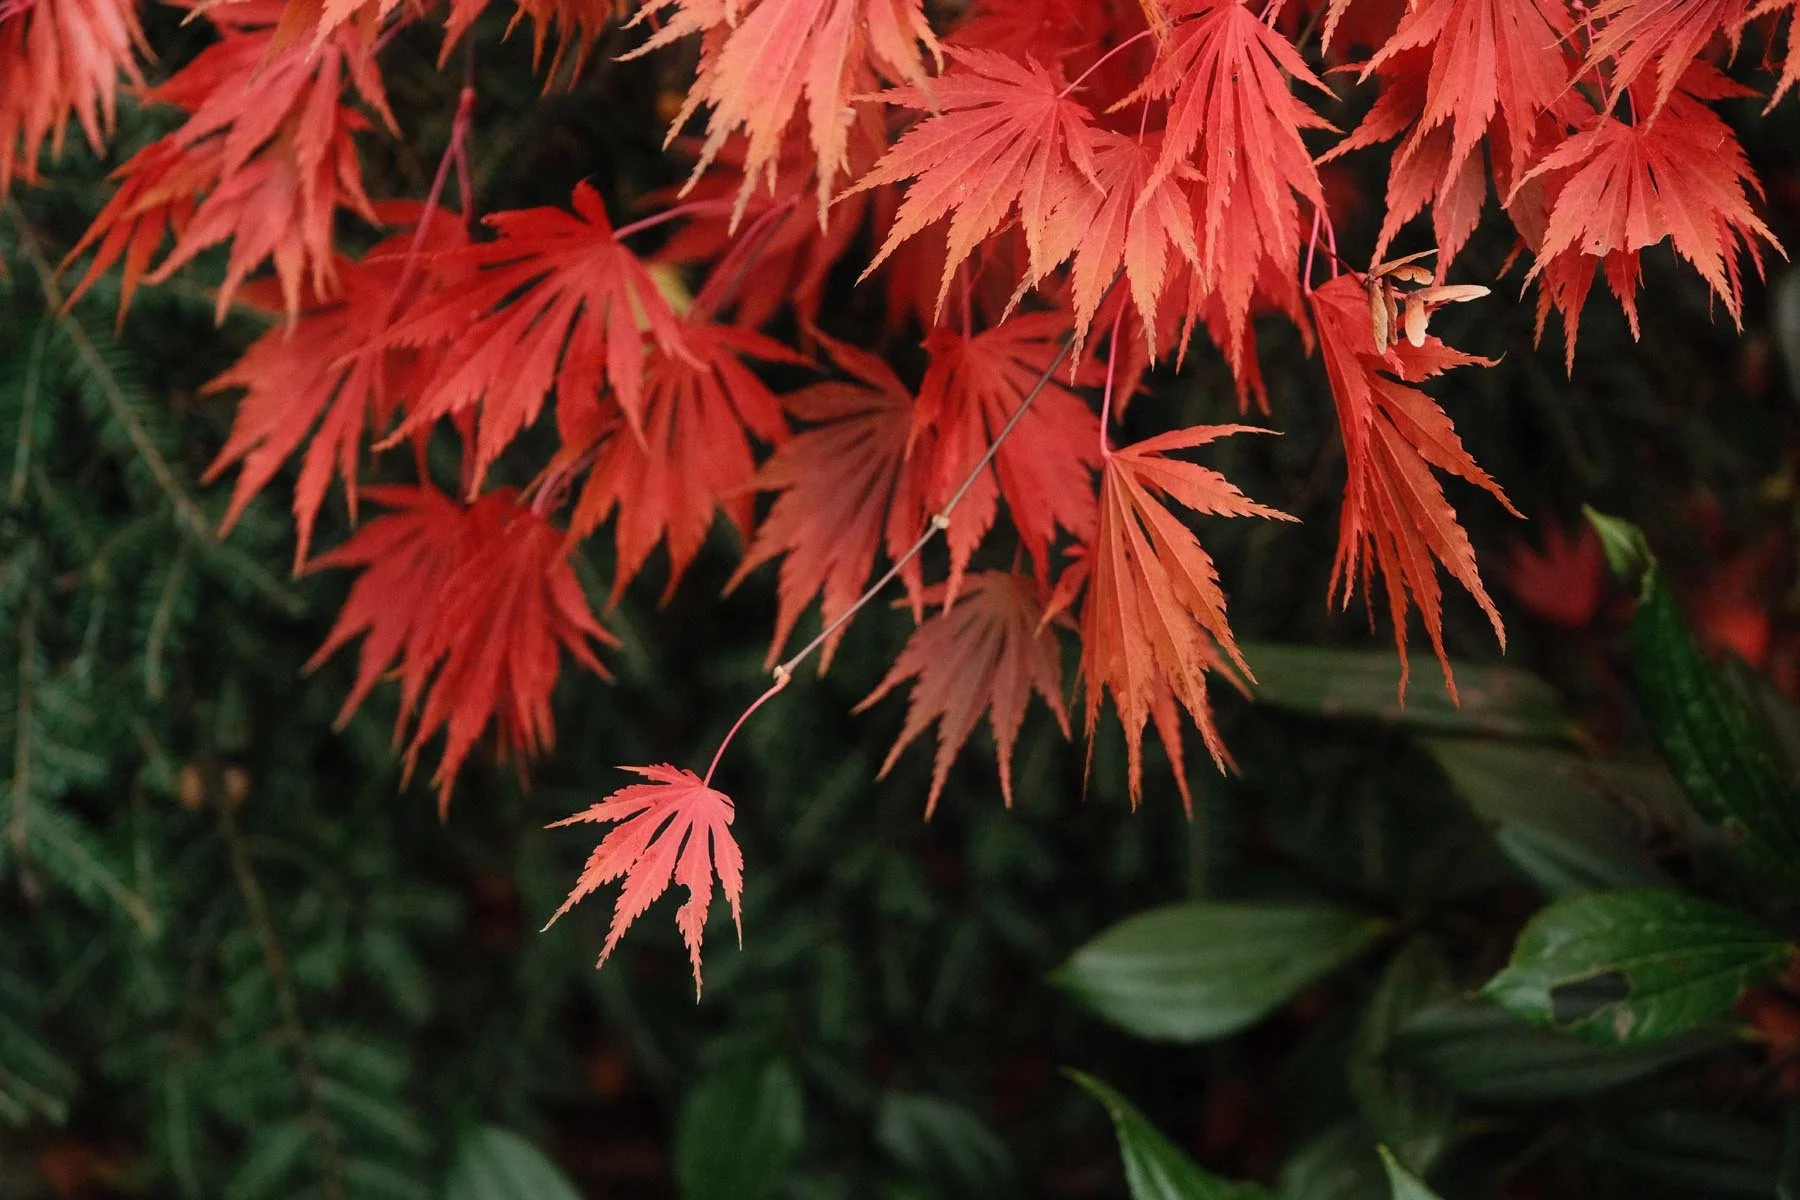
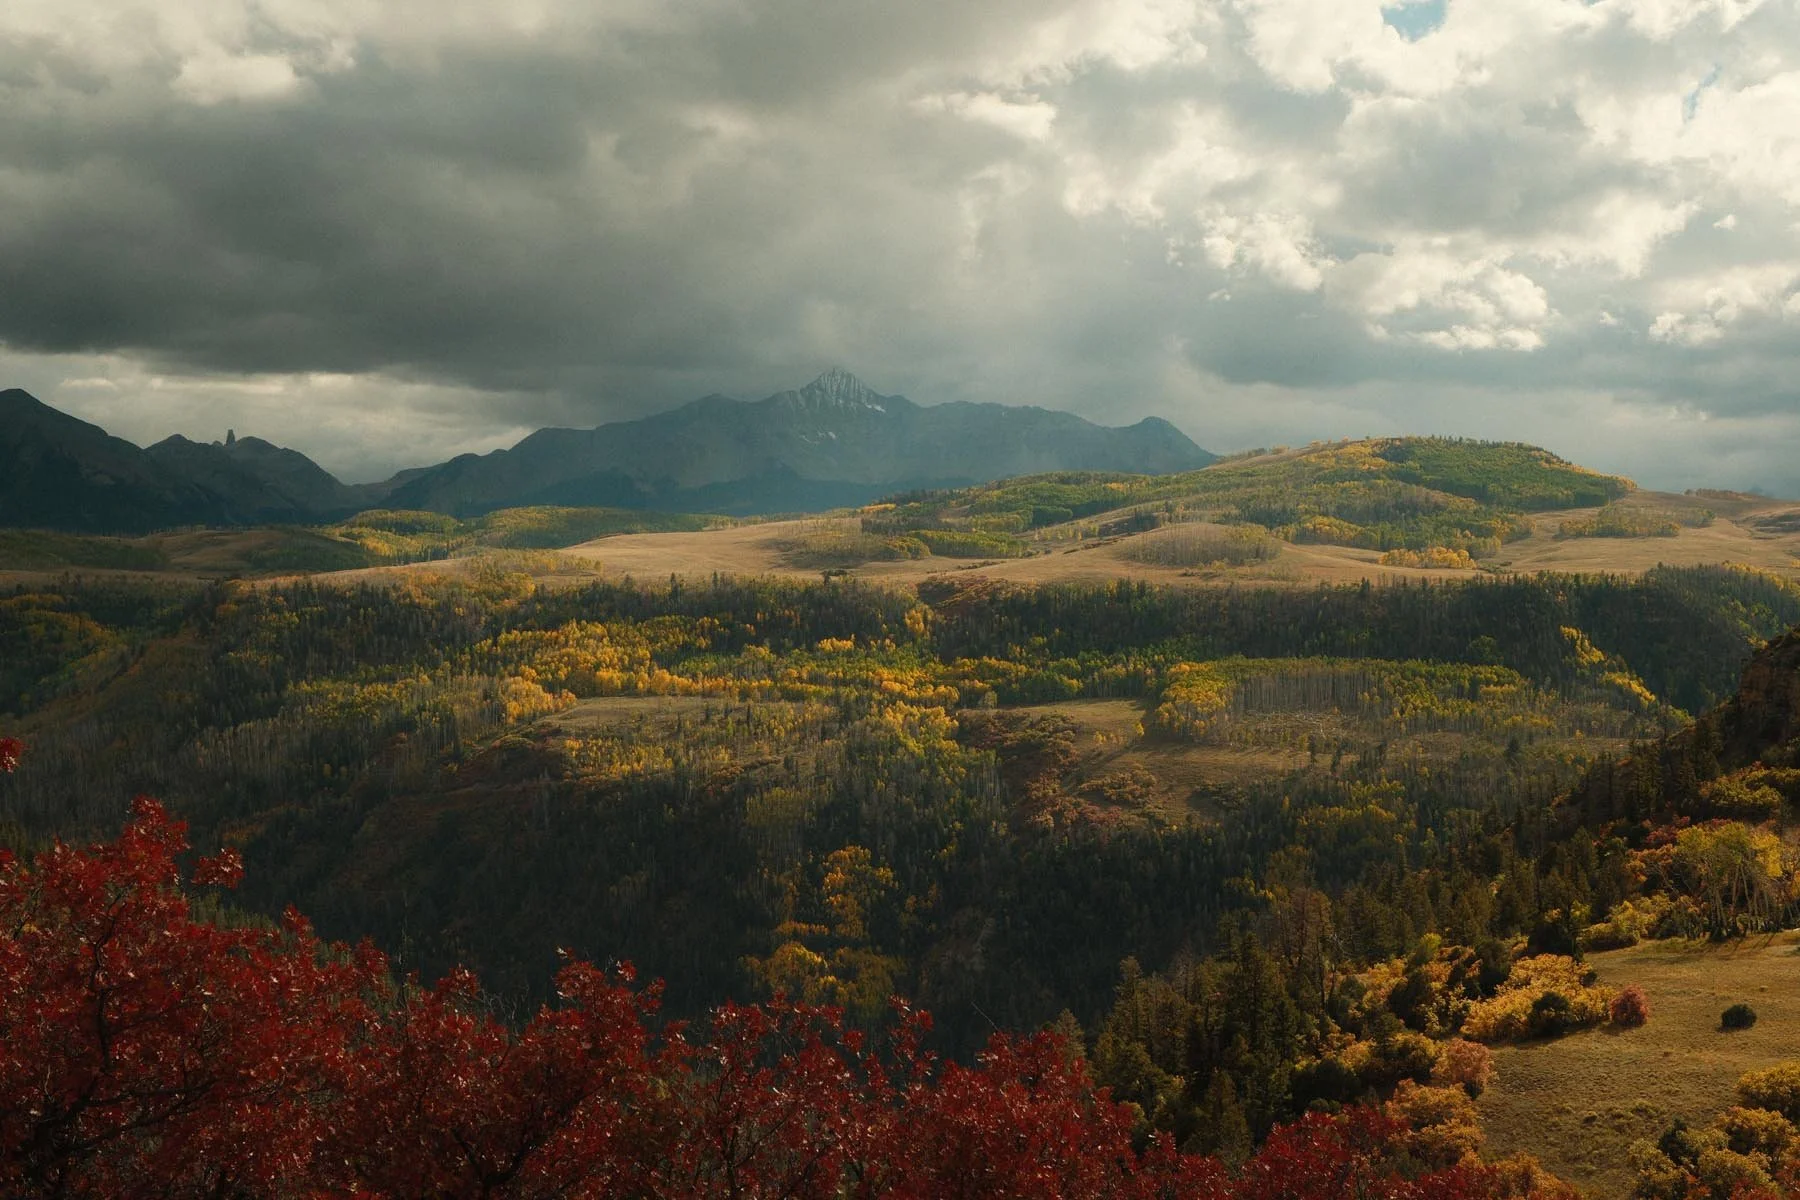
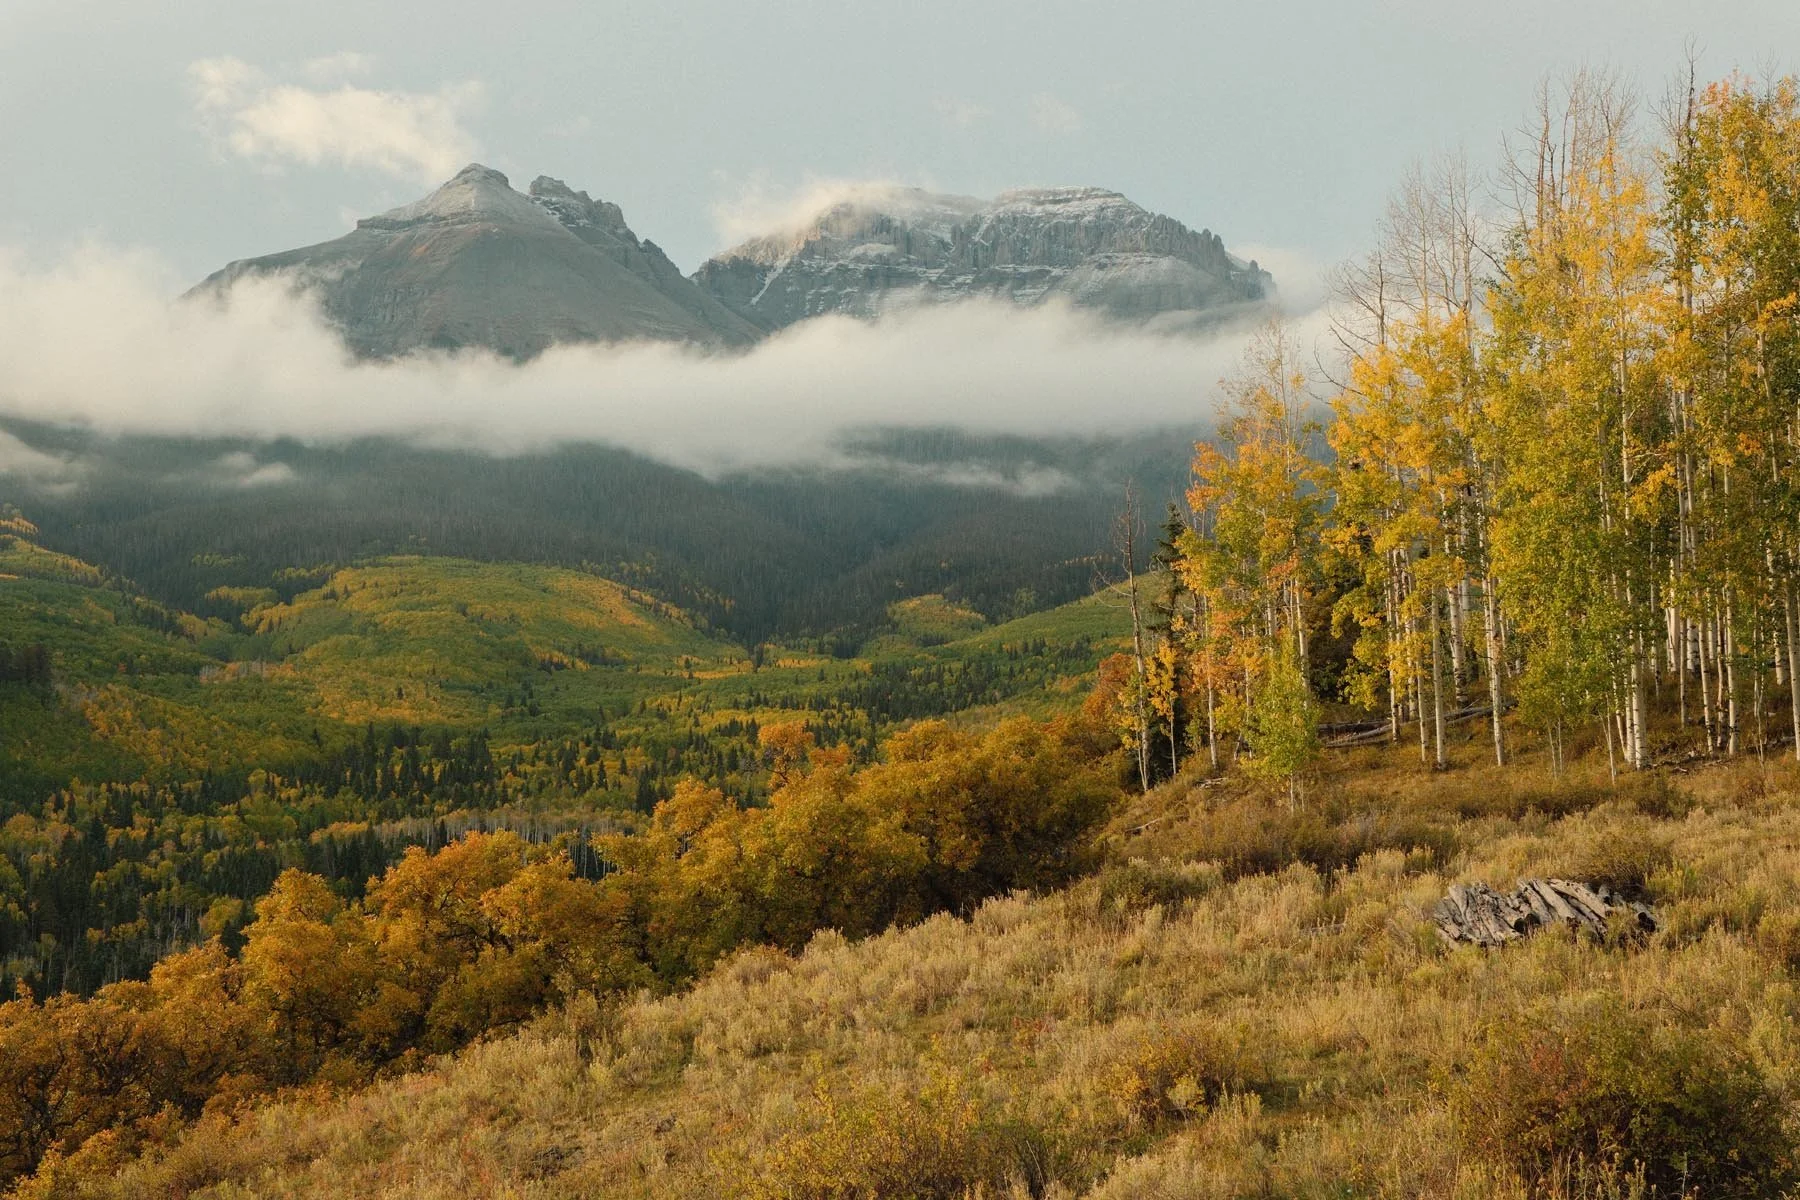
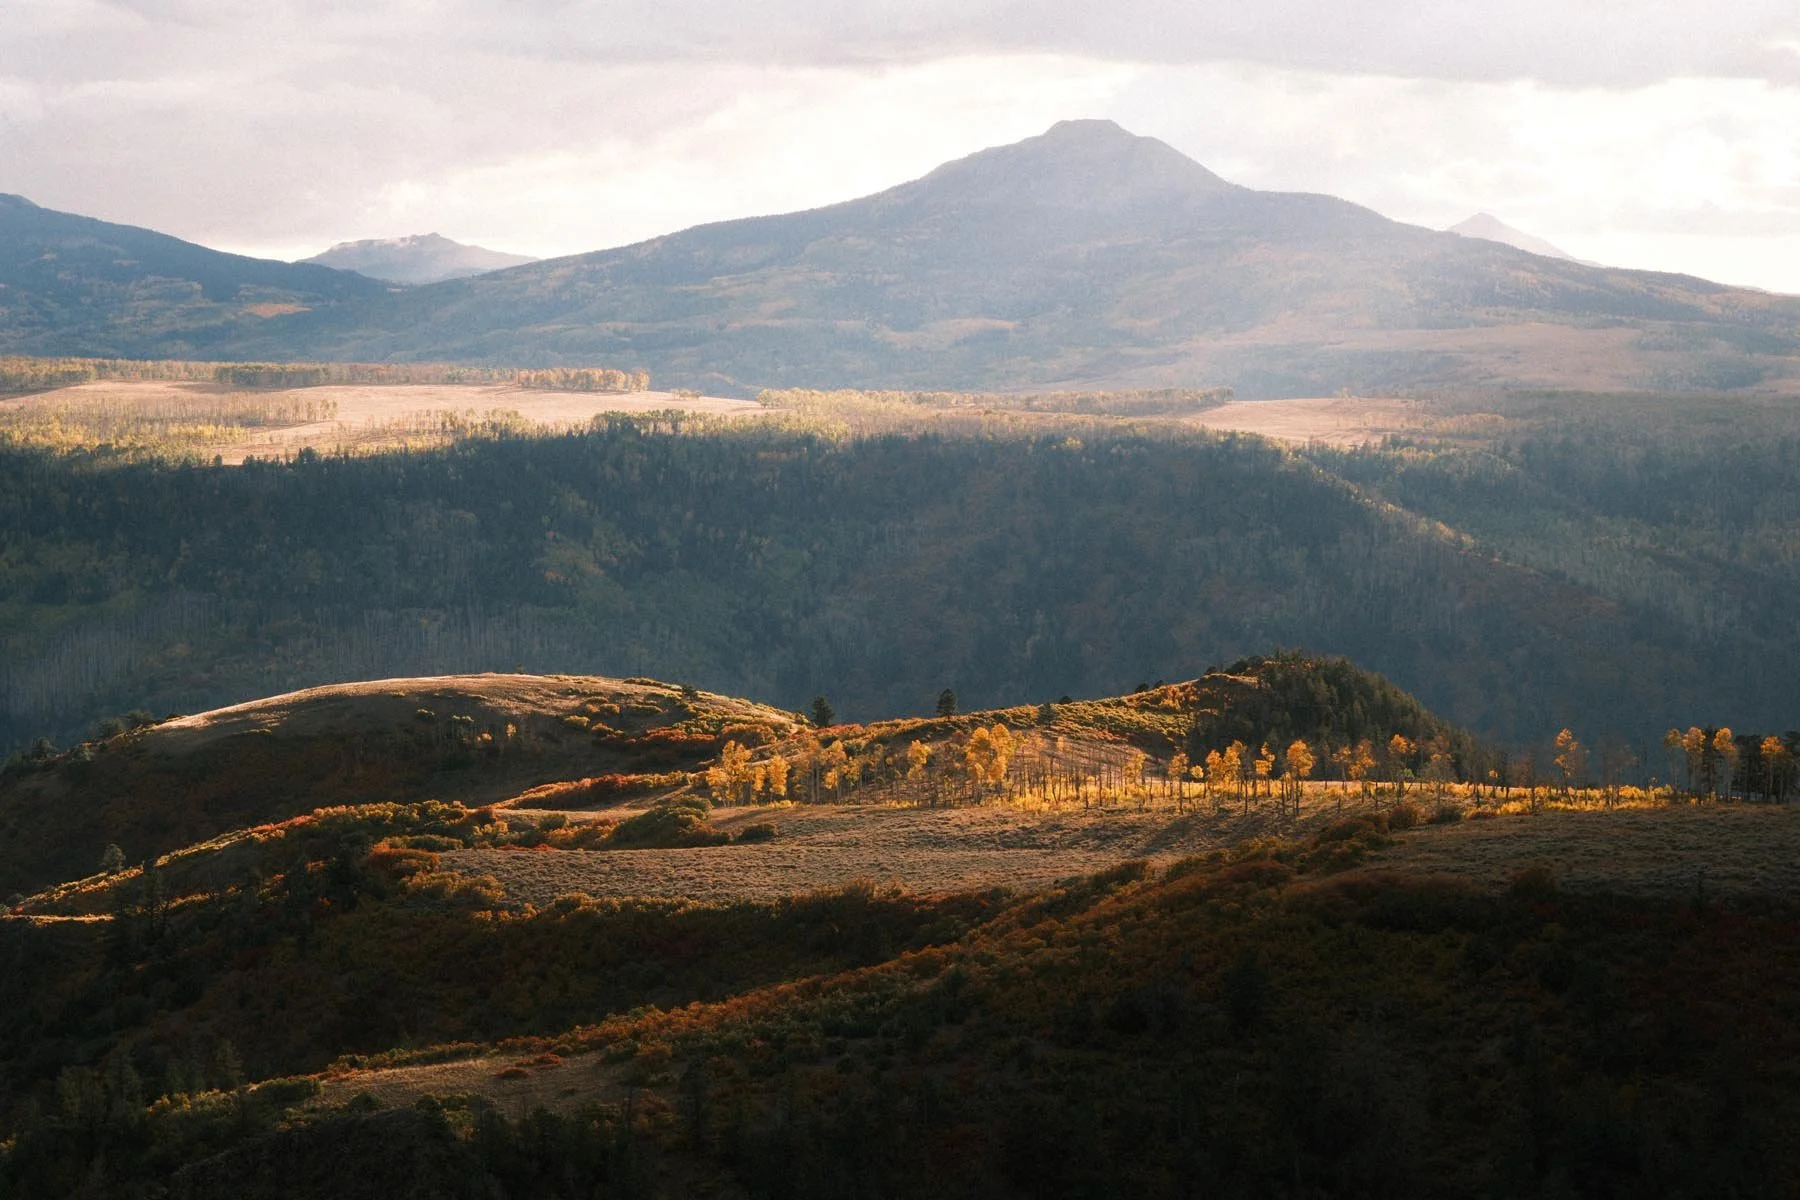
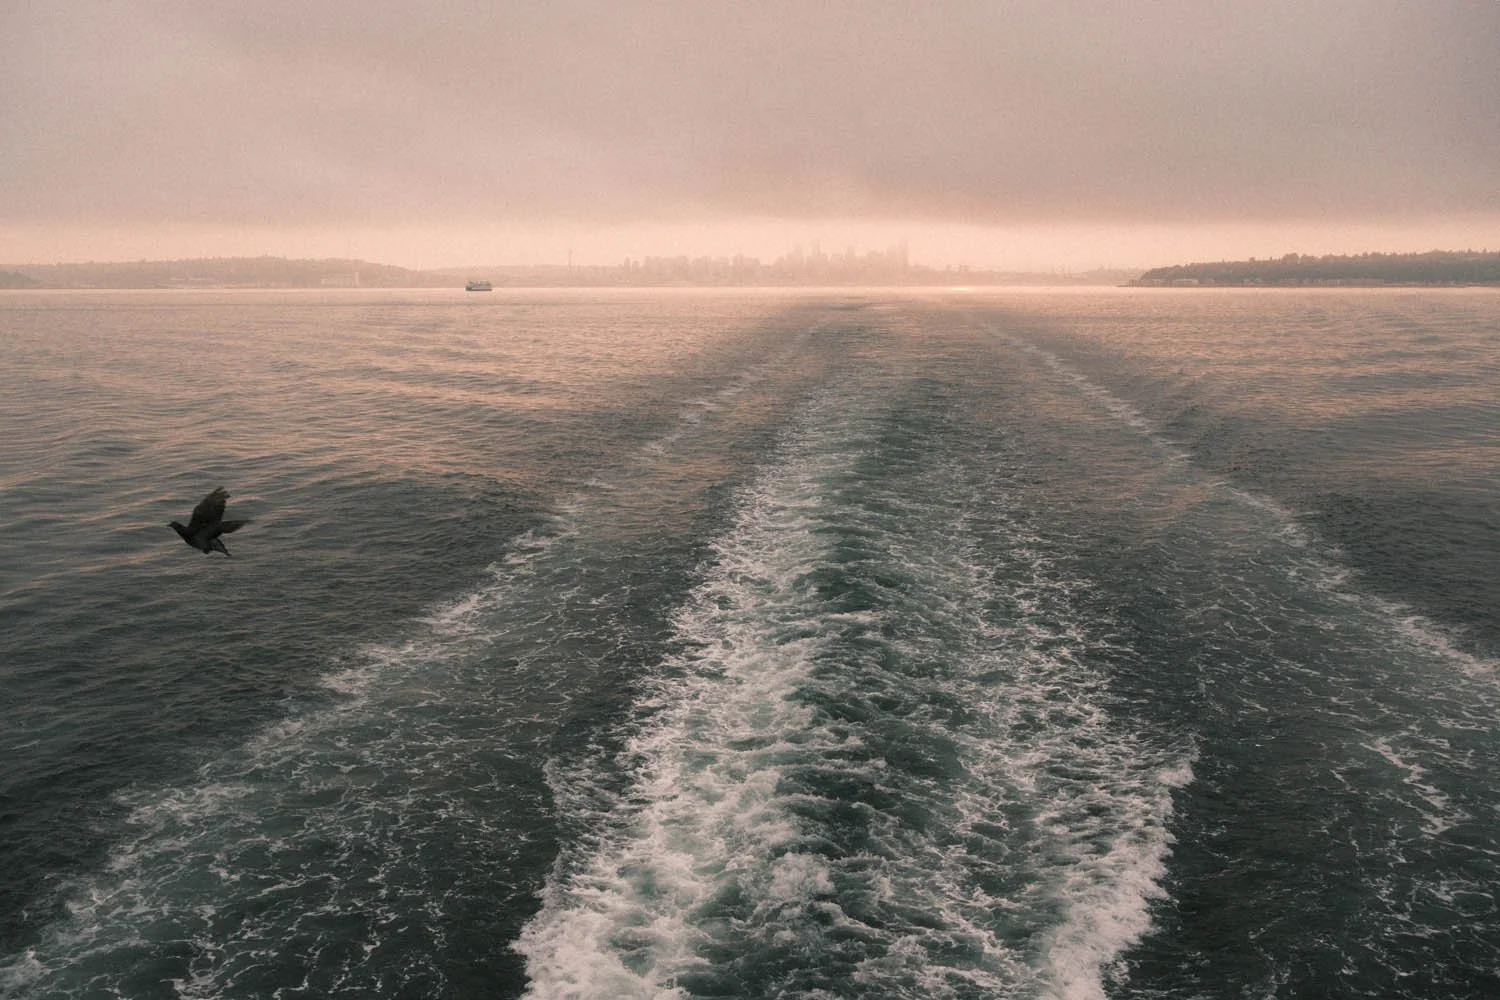
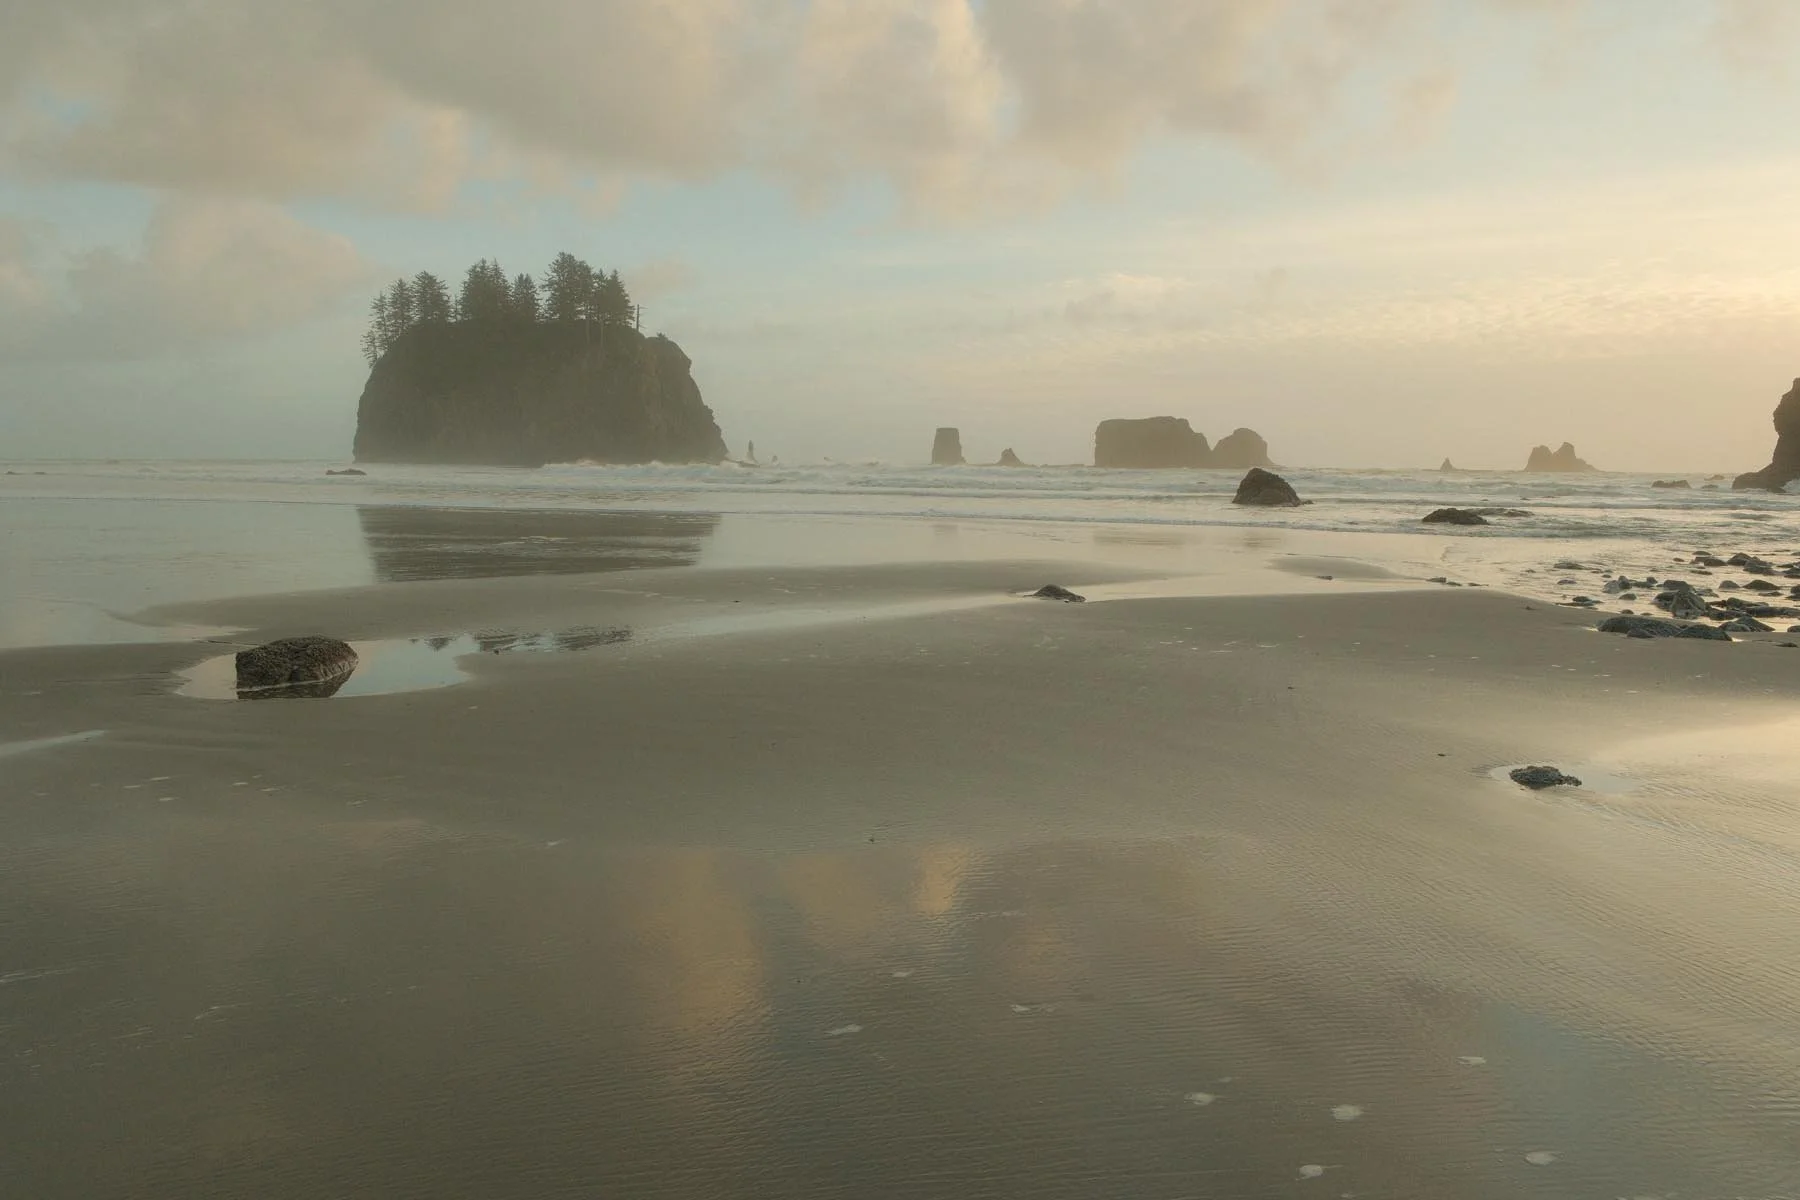
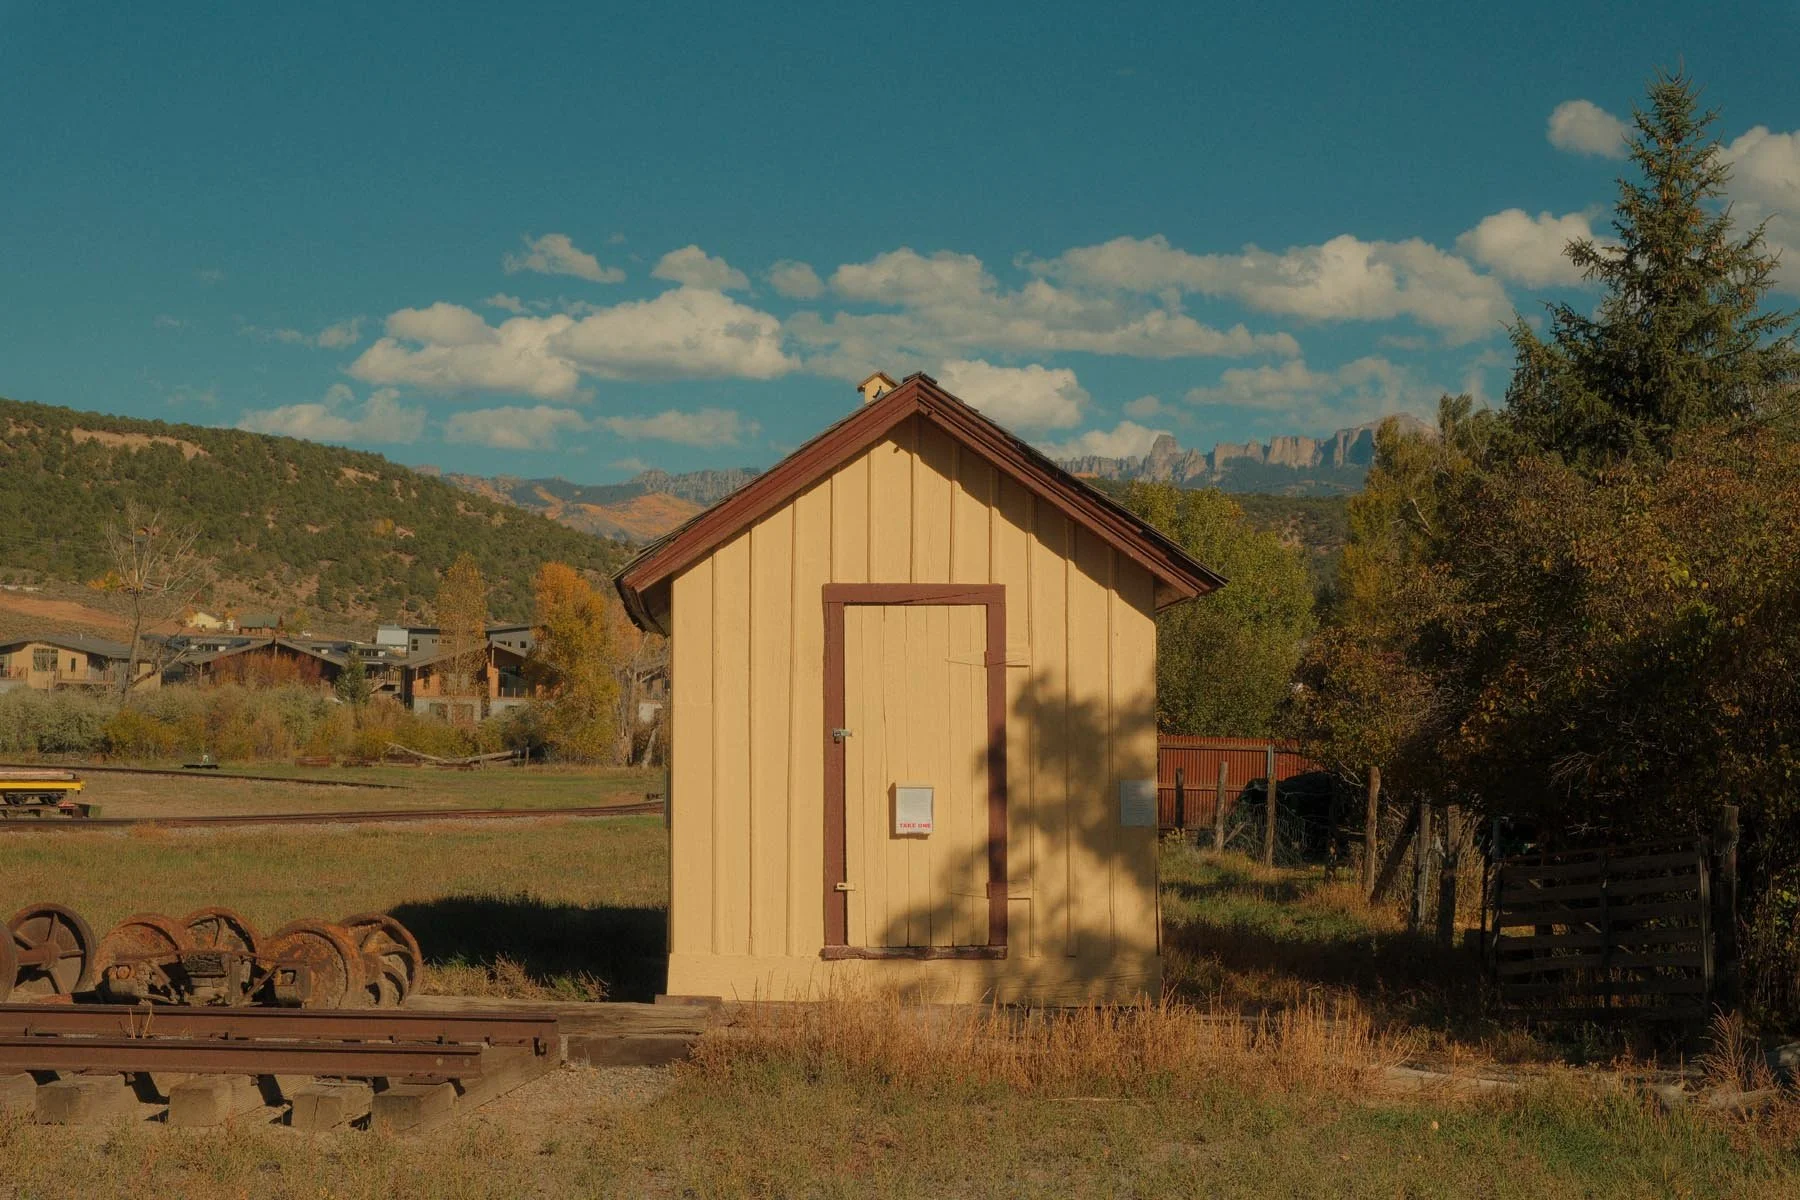
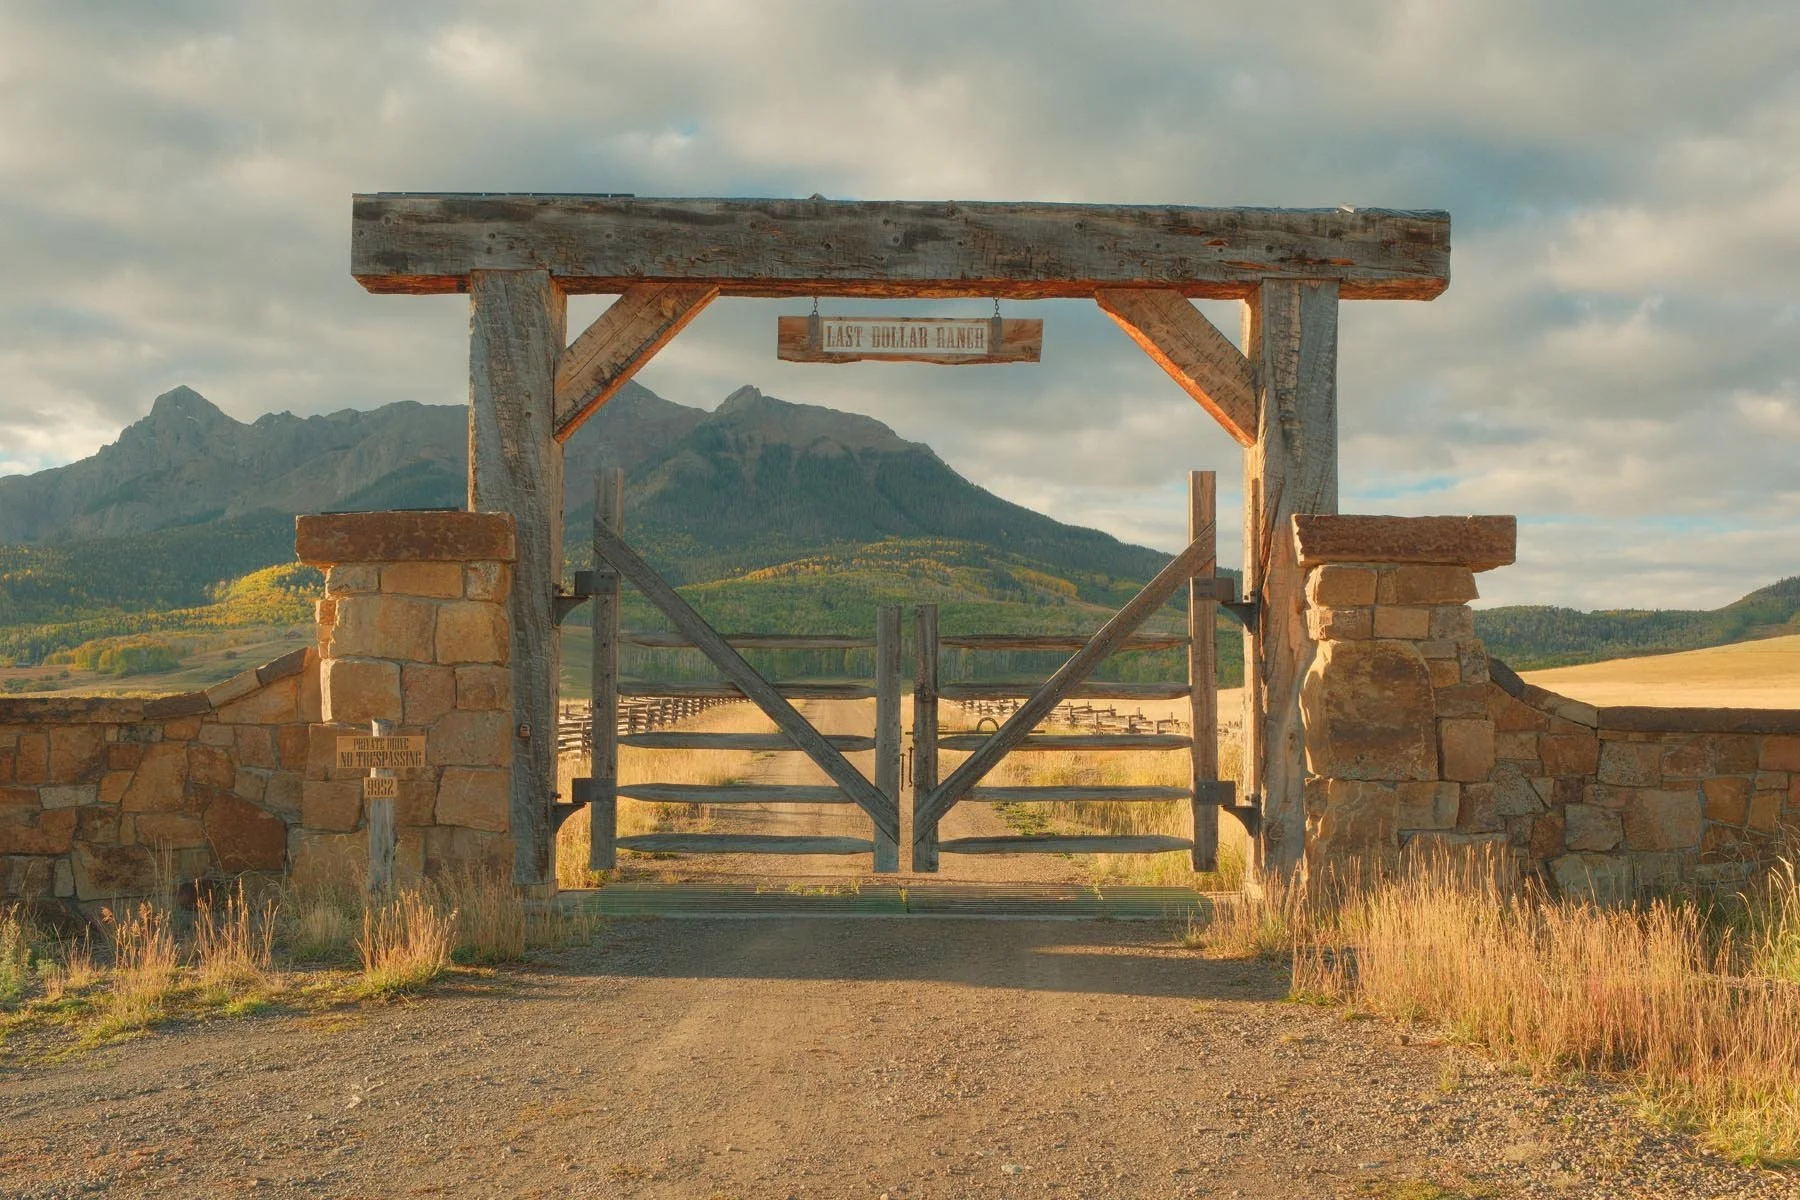
Keeping things simple, below are images I captured using the recipe with zero editing (potentially just a crop or exposure adjustment) and the recipes I utilized on the Fujifilm X-E5. You’ll notice theres a the most used recipe is clearly the Portra 400 recipe. This is likely due to it being the only recipe with auto white balance thus it tends to “work” in more scenes than recipes that generate a very specific look like the “Wes Anderson” or “Bright Kodak” recipes.
This guide will cover exactly how I personally setup my Fujifilm X-E5 including sections on:
Customizing dials and controls to quickly change the most important settings in the field.
Q-Menu and My Menu setup to put the camera’s most crucial menu items one step away.
How to create, manage, and use Fujifilm’s Film Simulations + Recipes
Complete setup for video, frame rates, and utilizing F-log
My guidance on exposure settings, focus modes, and best practices in the field.
The Fujifilm X-E5 is essentially a X100VI with interchangable lenses, thus between using both of them I have a lot of time optimizing my settings. Not only will this help you get up and running fast with a streamlined setup, I also explain what many of the settings actually do rather than simply telling you to copy me. That way you have the tools to customize much of this camera to your own preferences as well. I don’t cover every setting in this guide and this is certainly not a replacement for the official user manual (which is 452 pages). I do cover every possible settings I use on this camera, even the obscure ones.
THIS IS A DIGITAL DOWNLOAD and not a physical product. You’ll receive a PDF in both portrait and landscape orientation for viewing however you’d prefer. The file is less than 10MB and should be easy to download on nearly any internet connection.
I’ve spent over 15 years with different cameras in my hands and gotten very adept at knowing exactly what I want my camera setup to be. If for some reason you aren’t satisfied with the guide, shoot me an email. I’d love your feedback and to make it right with you. Buying this guide directly supports me and enables me to keep creating - thank you.
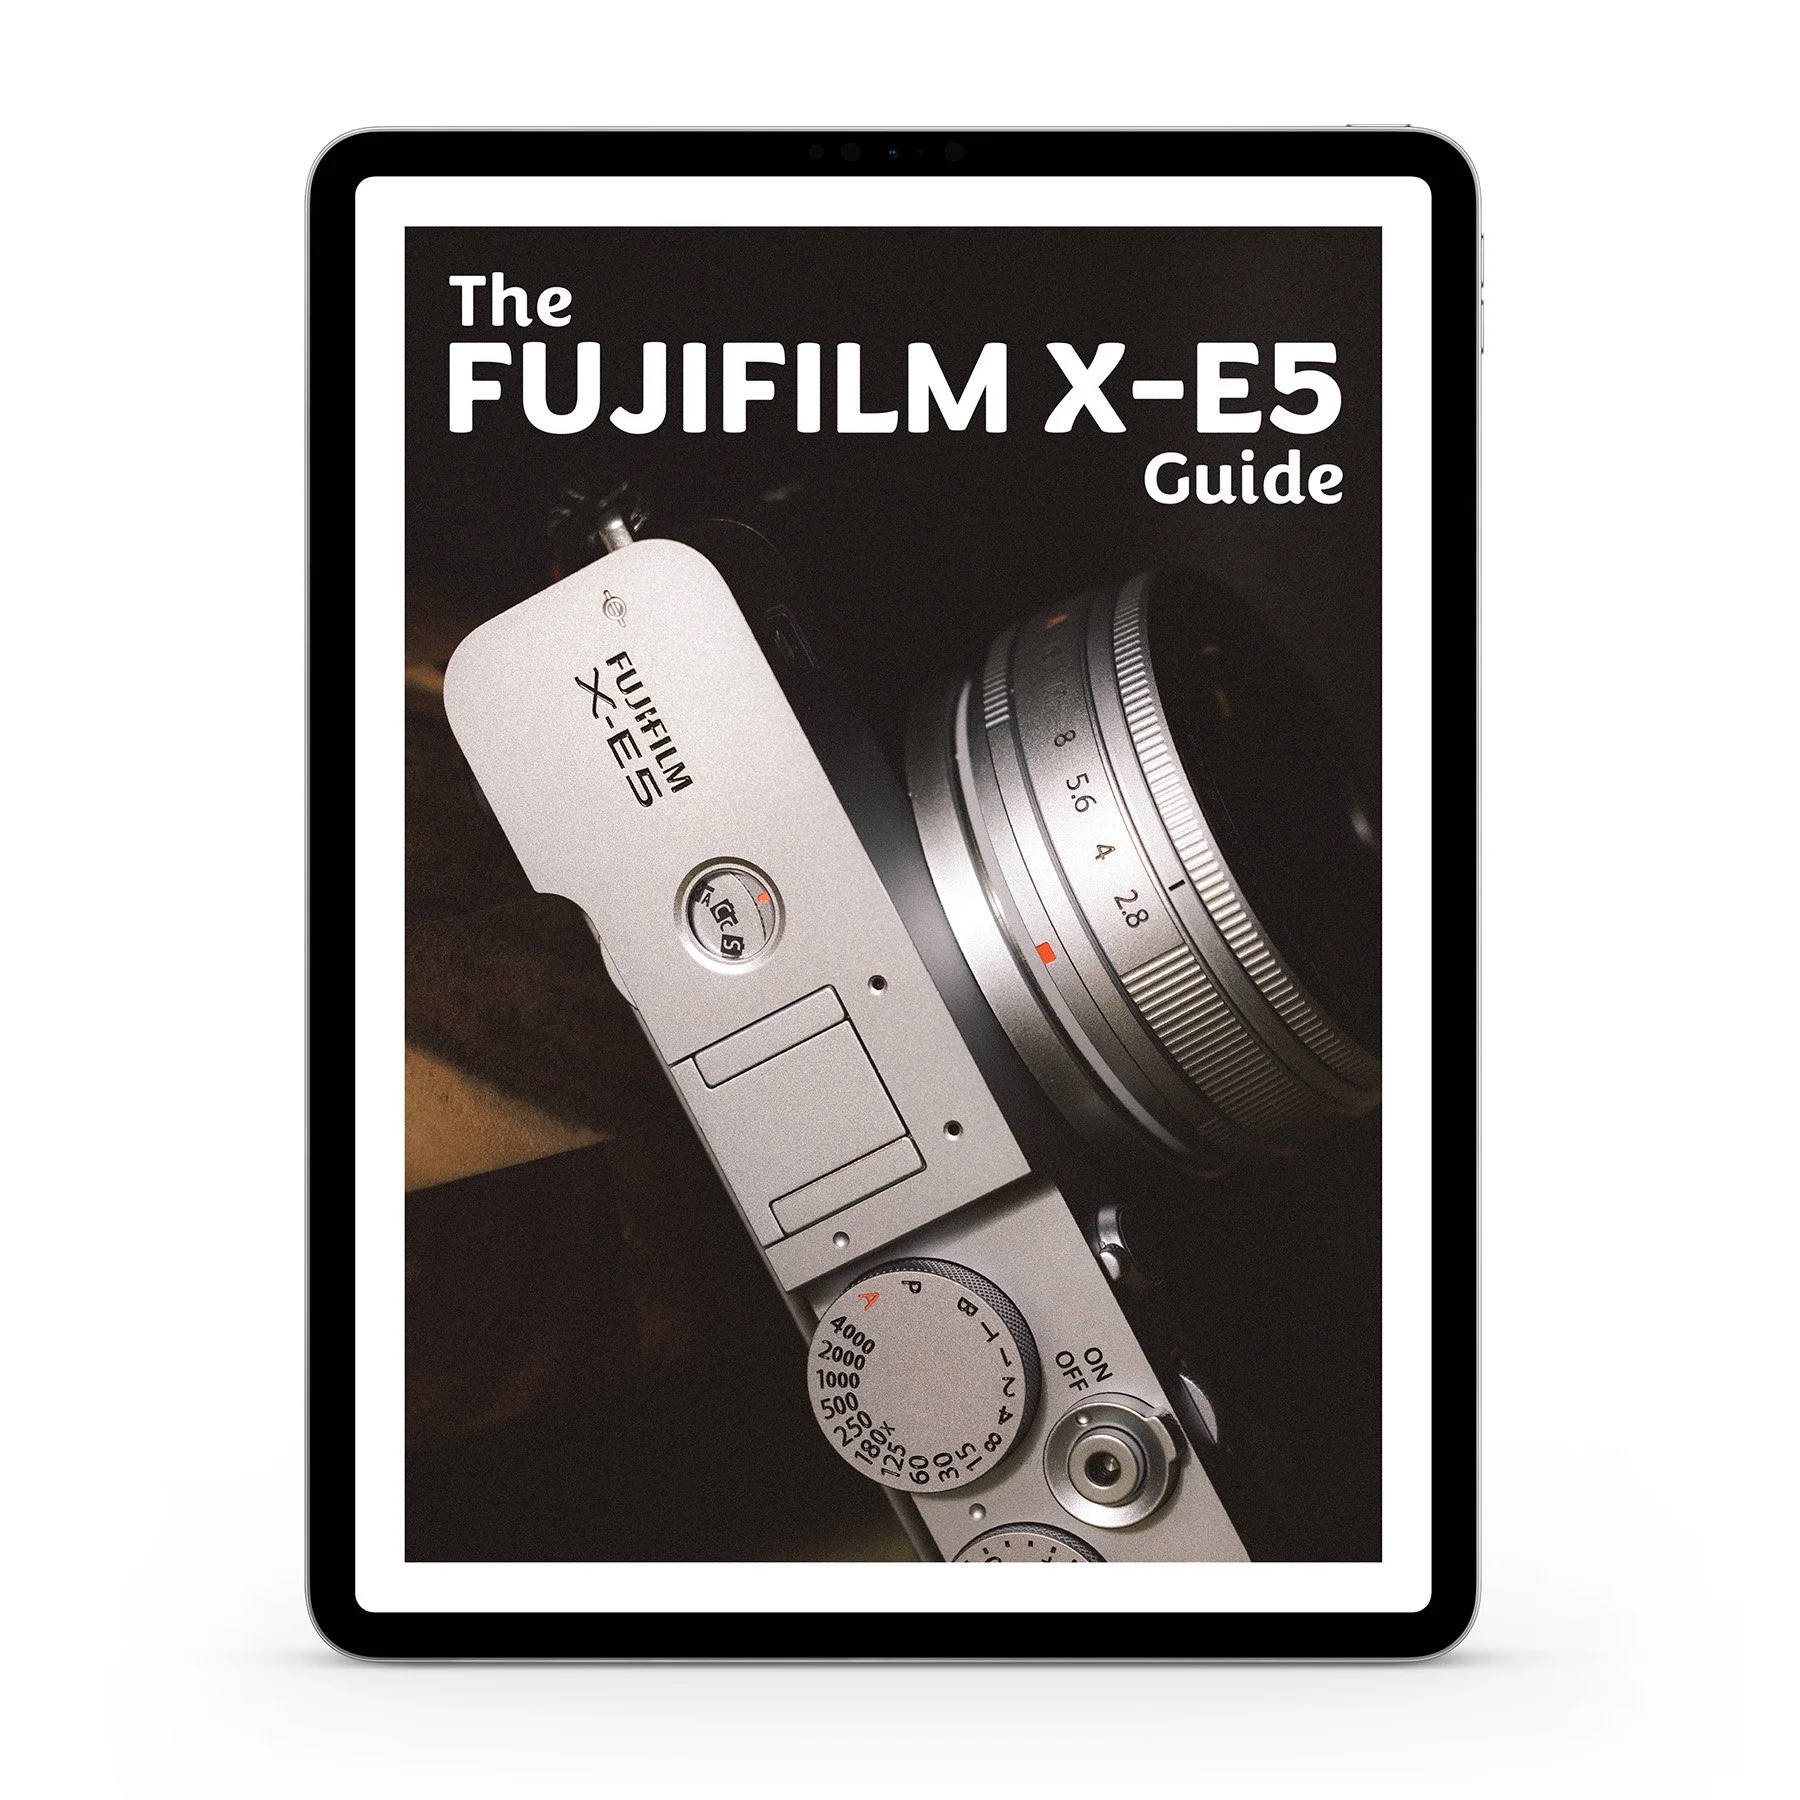
Fujifilm X-E5 Guide!
If you want to learn more about how to create recipes for the Fujifilm X-E5 or simply get a more streamlined setup for using your camera - check out my newly released Fujifilm X-E5 Guide.
I cover every button, dial, and menu I’ve adjusted to streamline my photography with the Fujifilm X-E5. I also explain what many of the settings actually do rather than simply tell you to copy me. That way you have the tools to customize much of this camera to your own preferences as well.
My goal with this guide is to enable you to spend a lot less time fighting with your camera and a lot more time nailing shots.
Save yourself a lot of headache and time by grabbing it today! This is also the absolute best way to directly support me as a creator to keep making content like this!
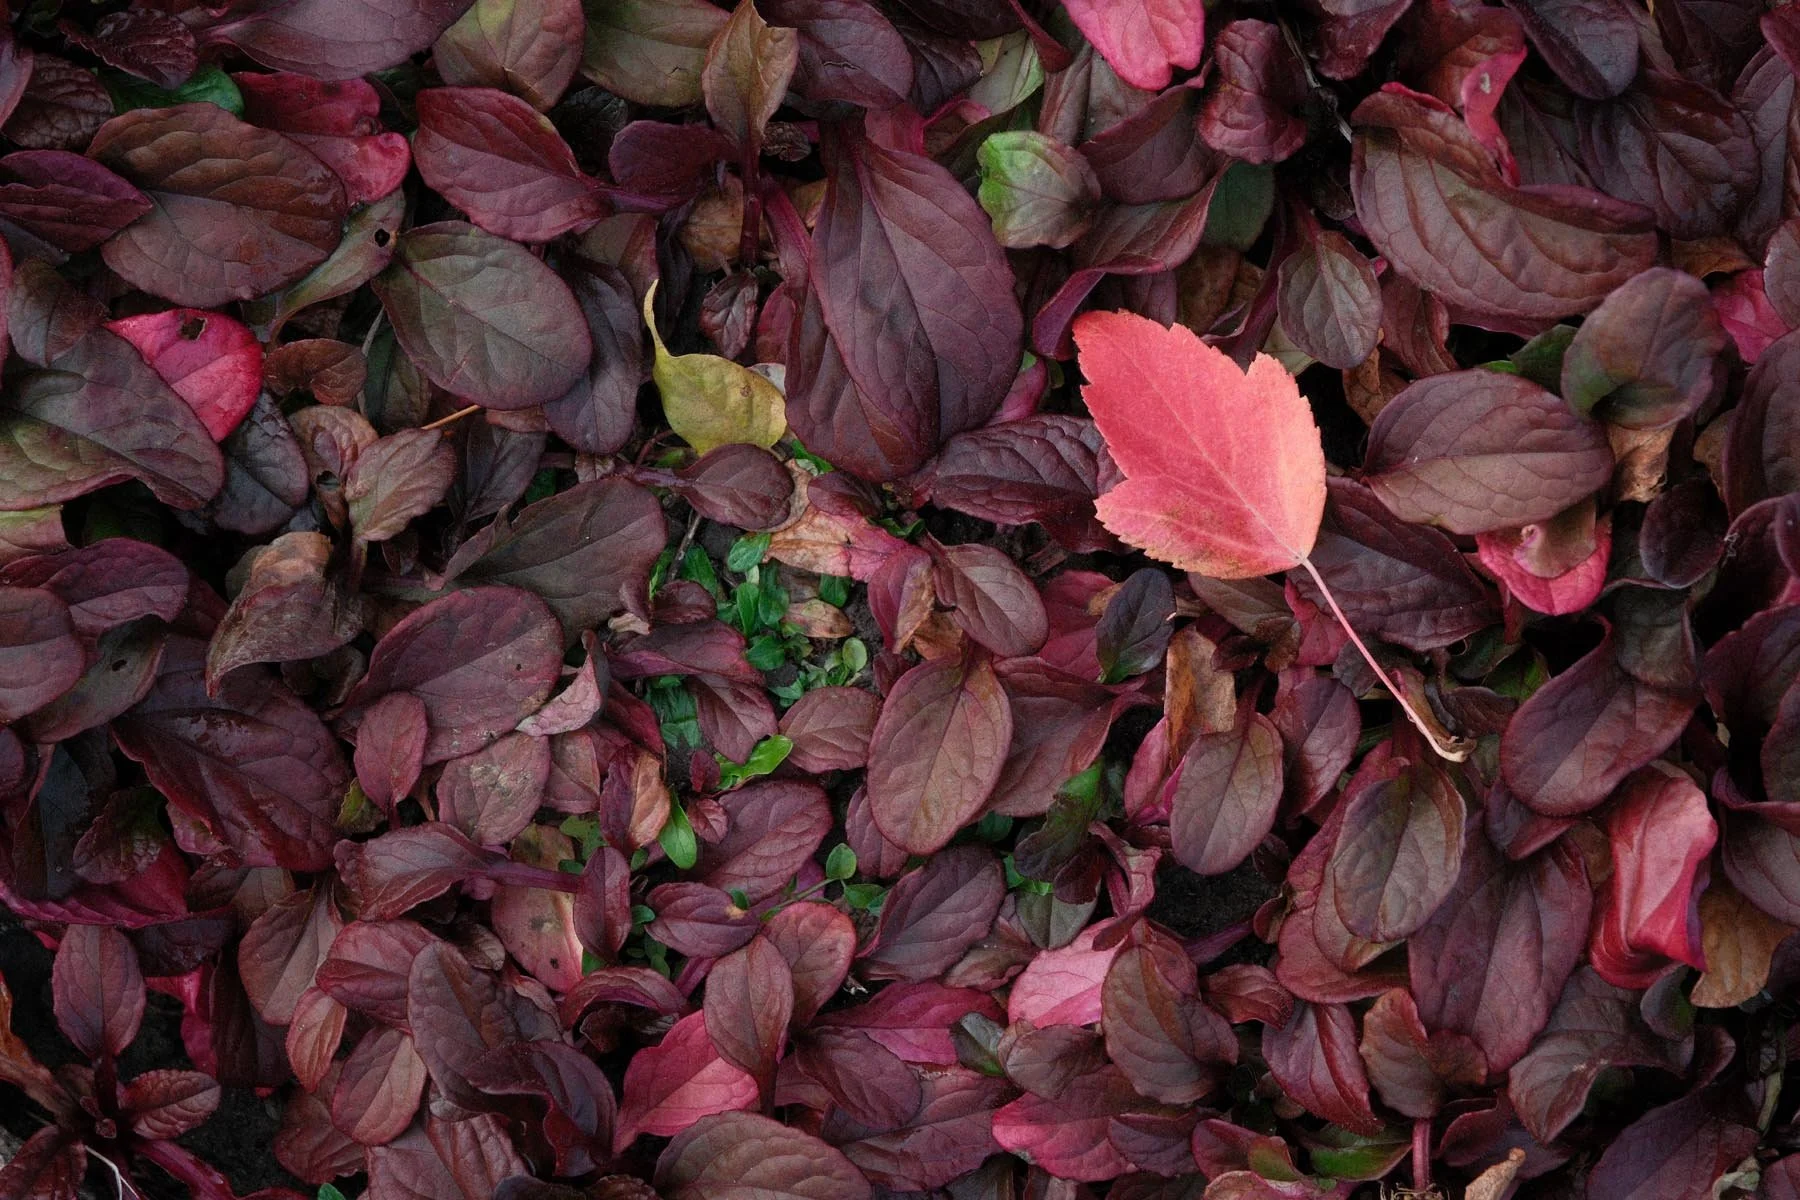
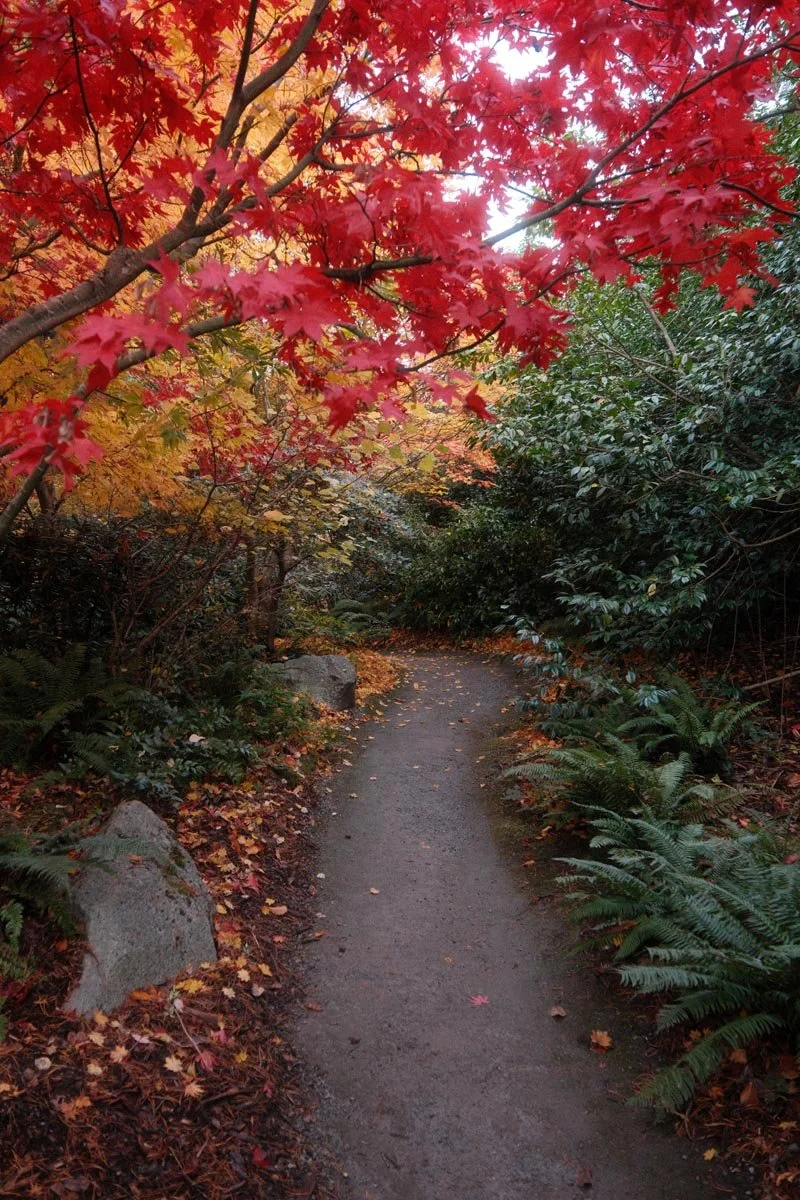
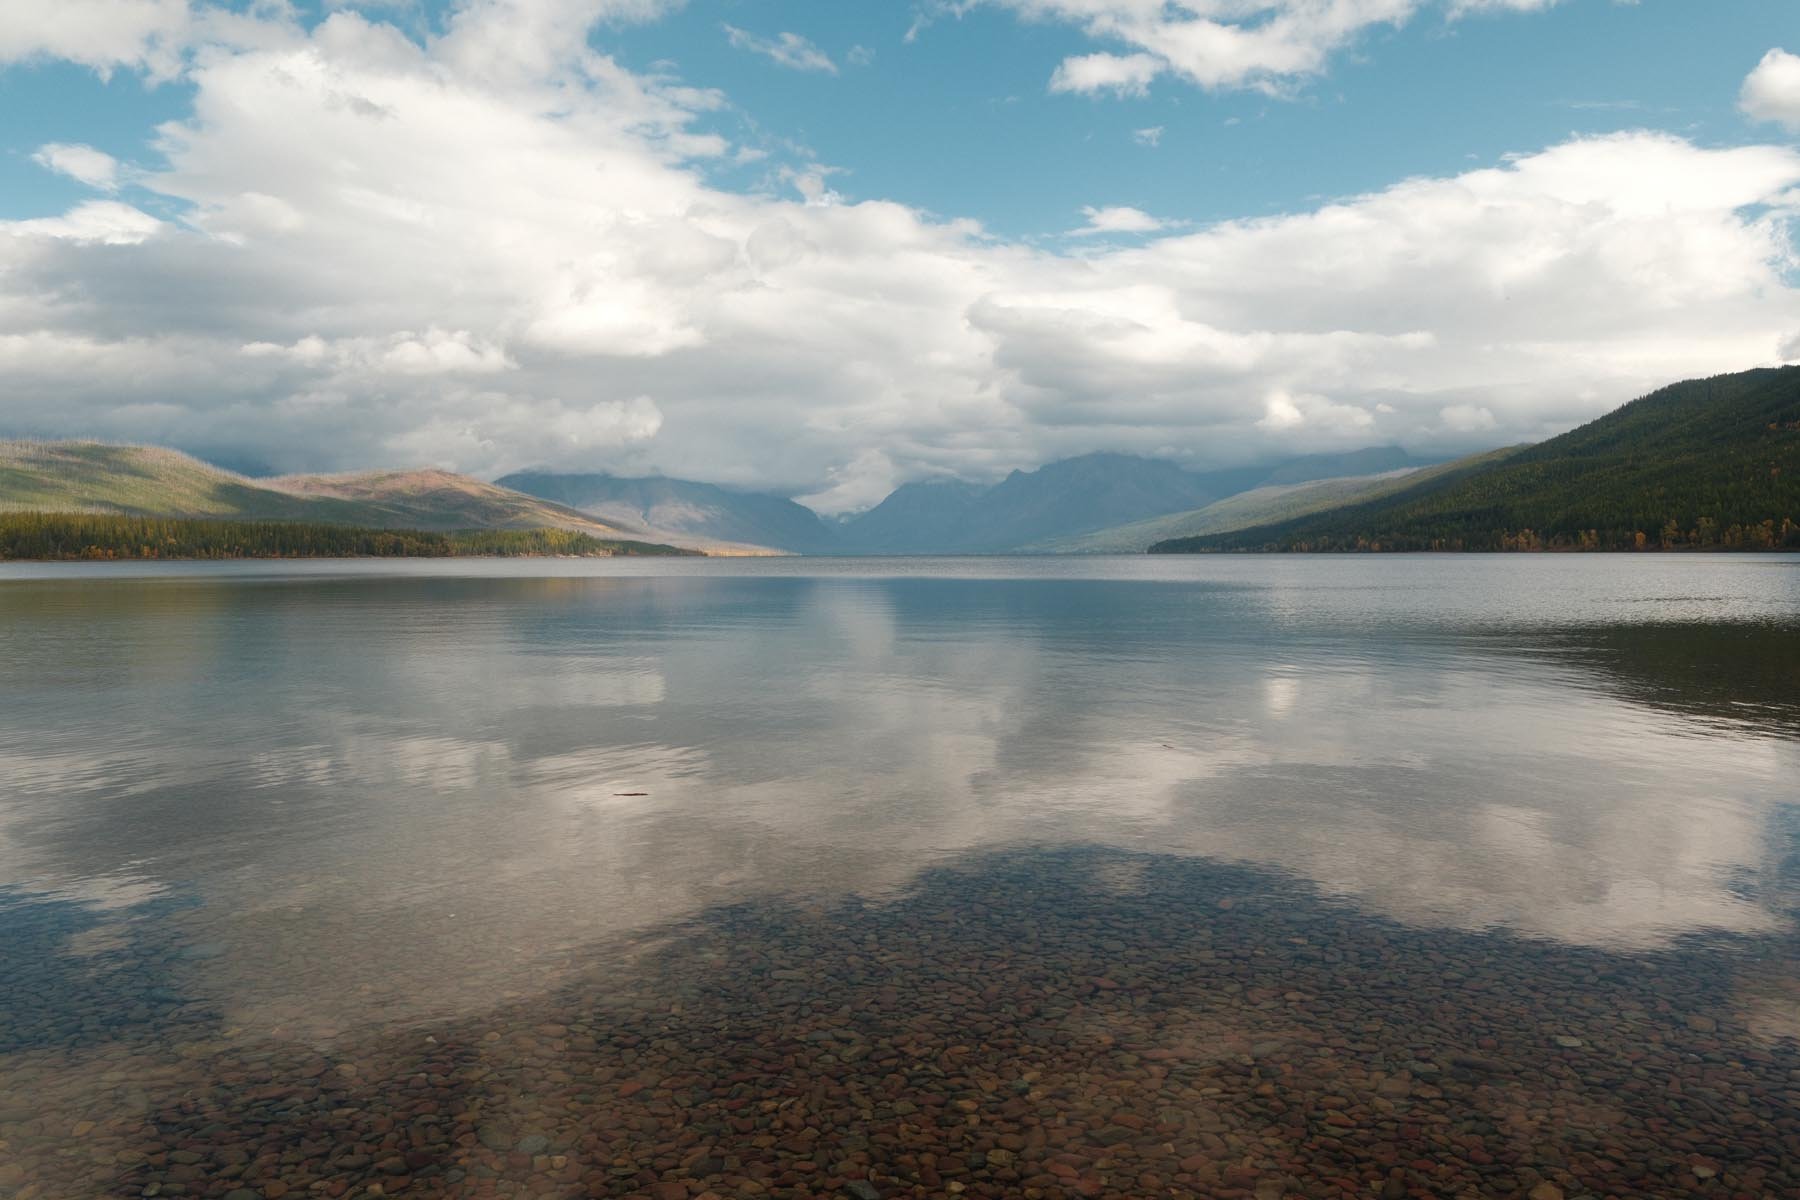
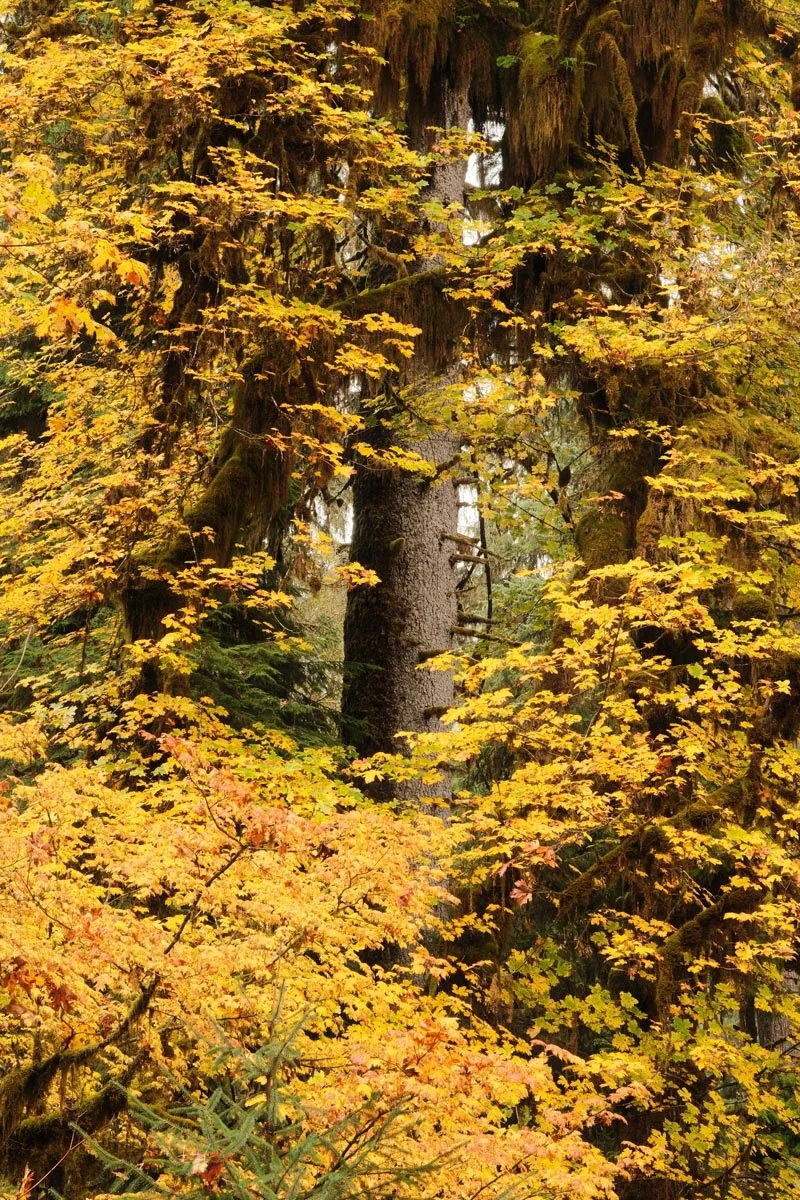
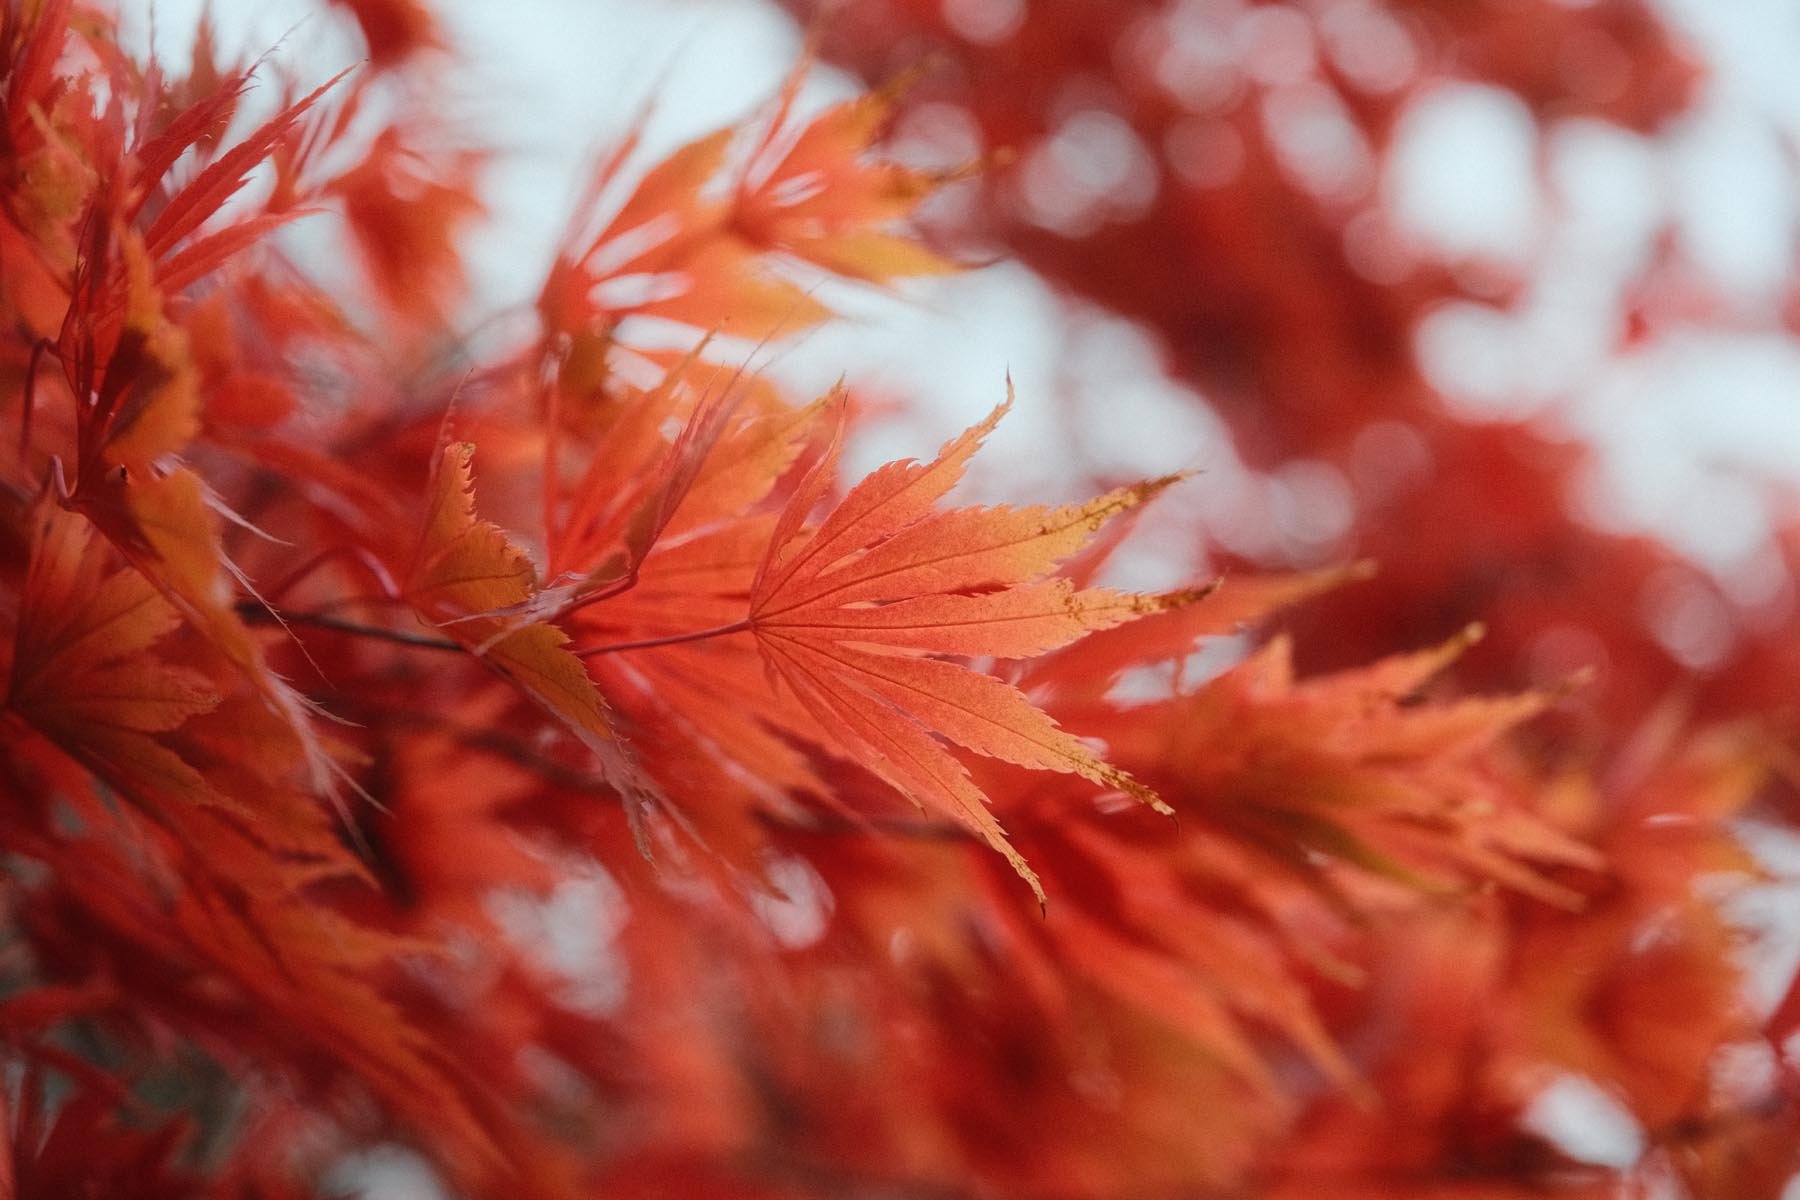
Kodak Portra 400
Film Simulation: Classic Chrome
Grain Effect: Weak, Small
Color Chrome Effect: Strong
Color Chrome FX Blue: Weak
White Balance: Auto Ambient Priority, +2 Red & -4 Blue
Dynamic Range: DR200
Highlight: -1
Shadow: -1
Color: +2
Sharpness: -2
High ISO NR: -4
Clarity: -2
credit: adapted from Reggie Ballesteros

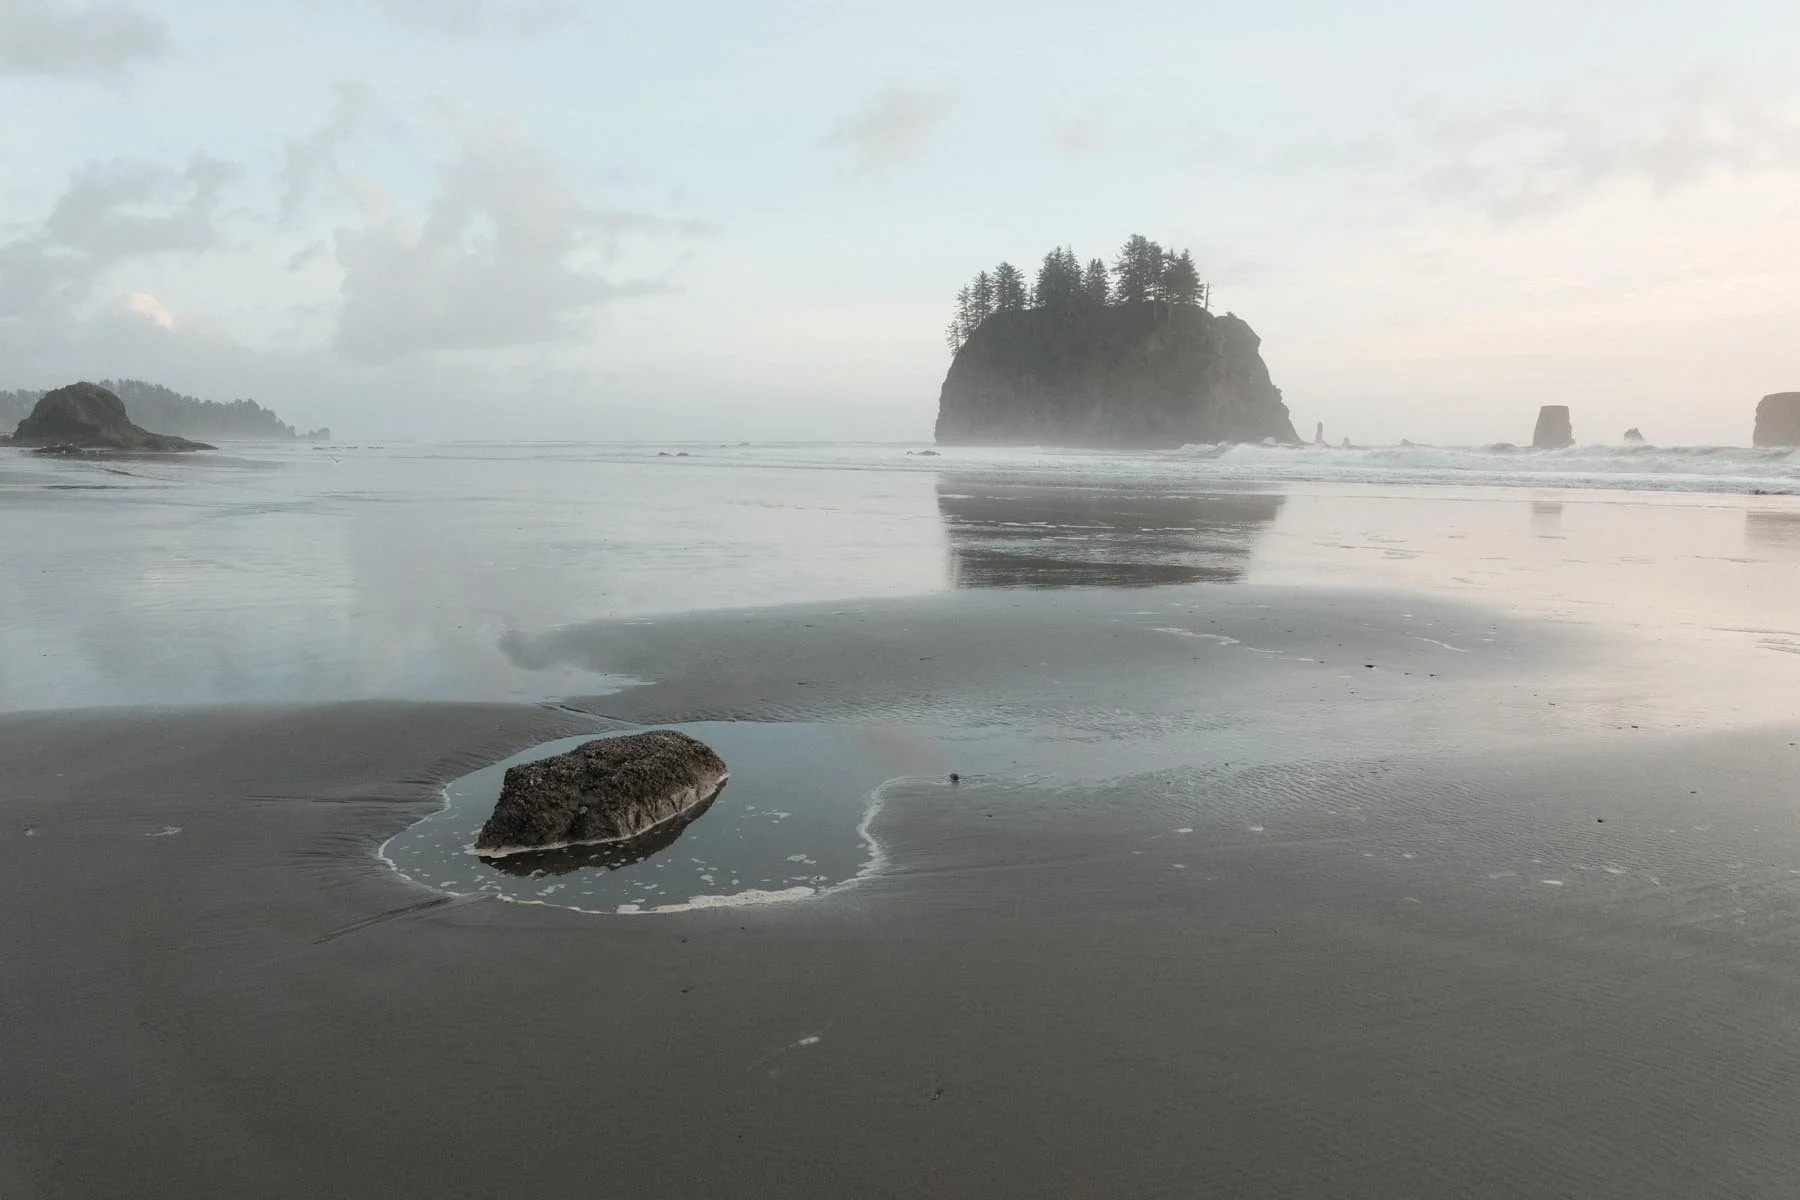


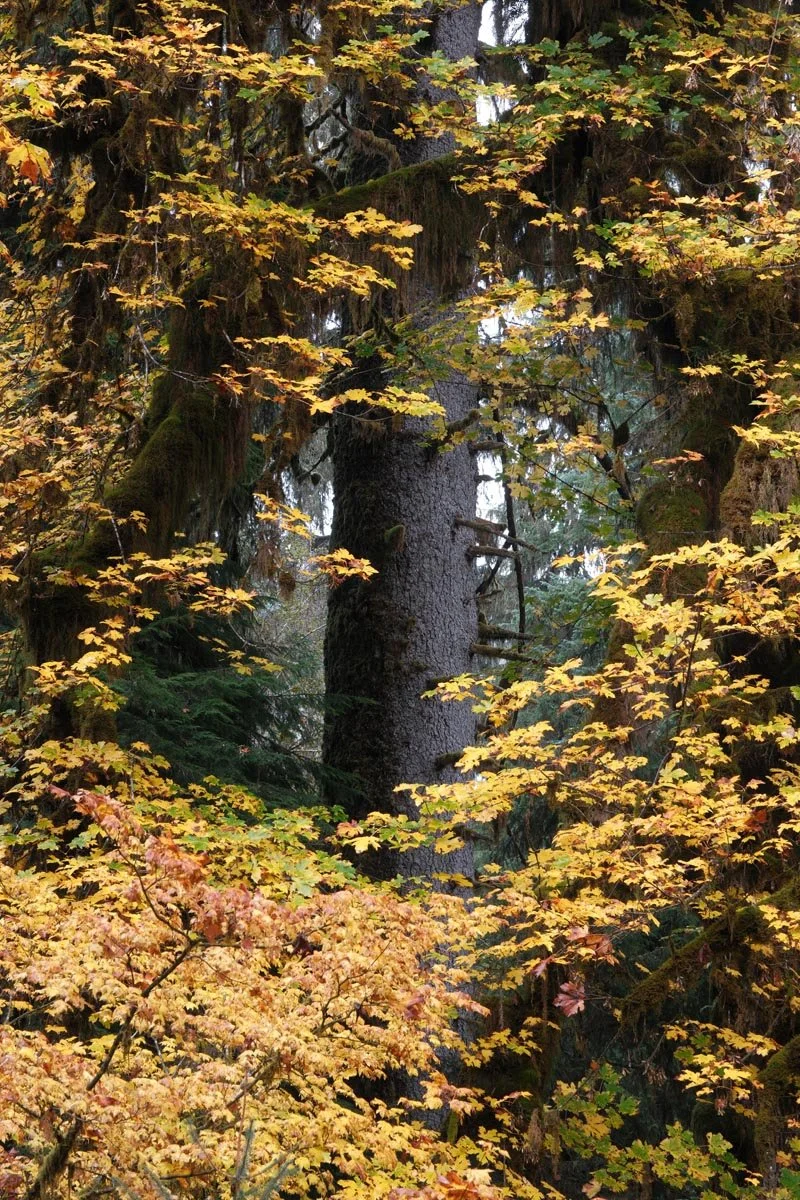

Kodak Gold 200
Film Simulation: Classic Chrome
Grain Effect: Strong, Small
Color Chrome Effect: Weak
Color Chrome FX Blue: Off
White Balance: Daylight, +4 Red & -5 Blue
Dynamic Range: DR400
Highlight: -1.5
Shadow: +0.5
Color: +3
Sharpness: -2
High ISO NR: -4
Clarity: -2
credit: Ritchie Roesch


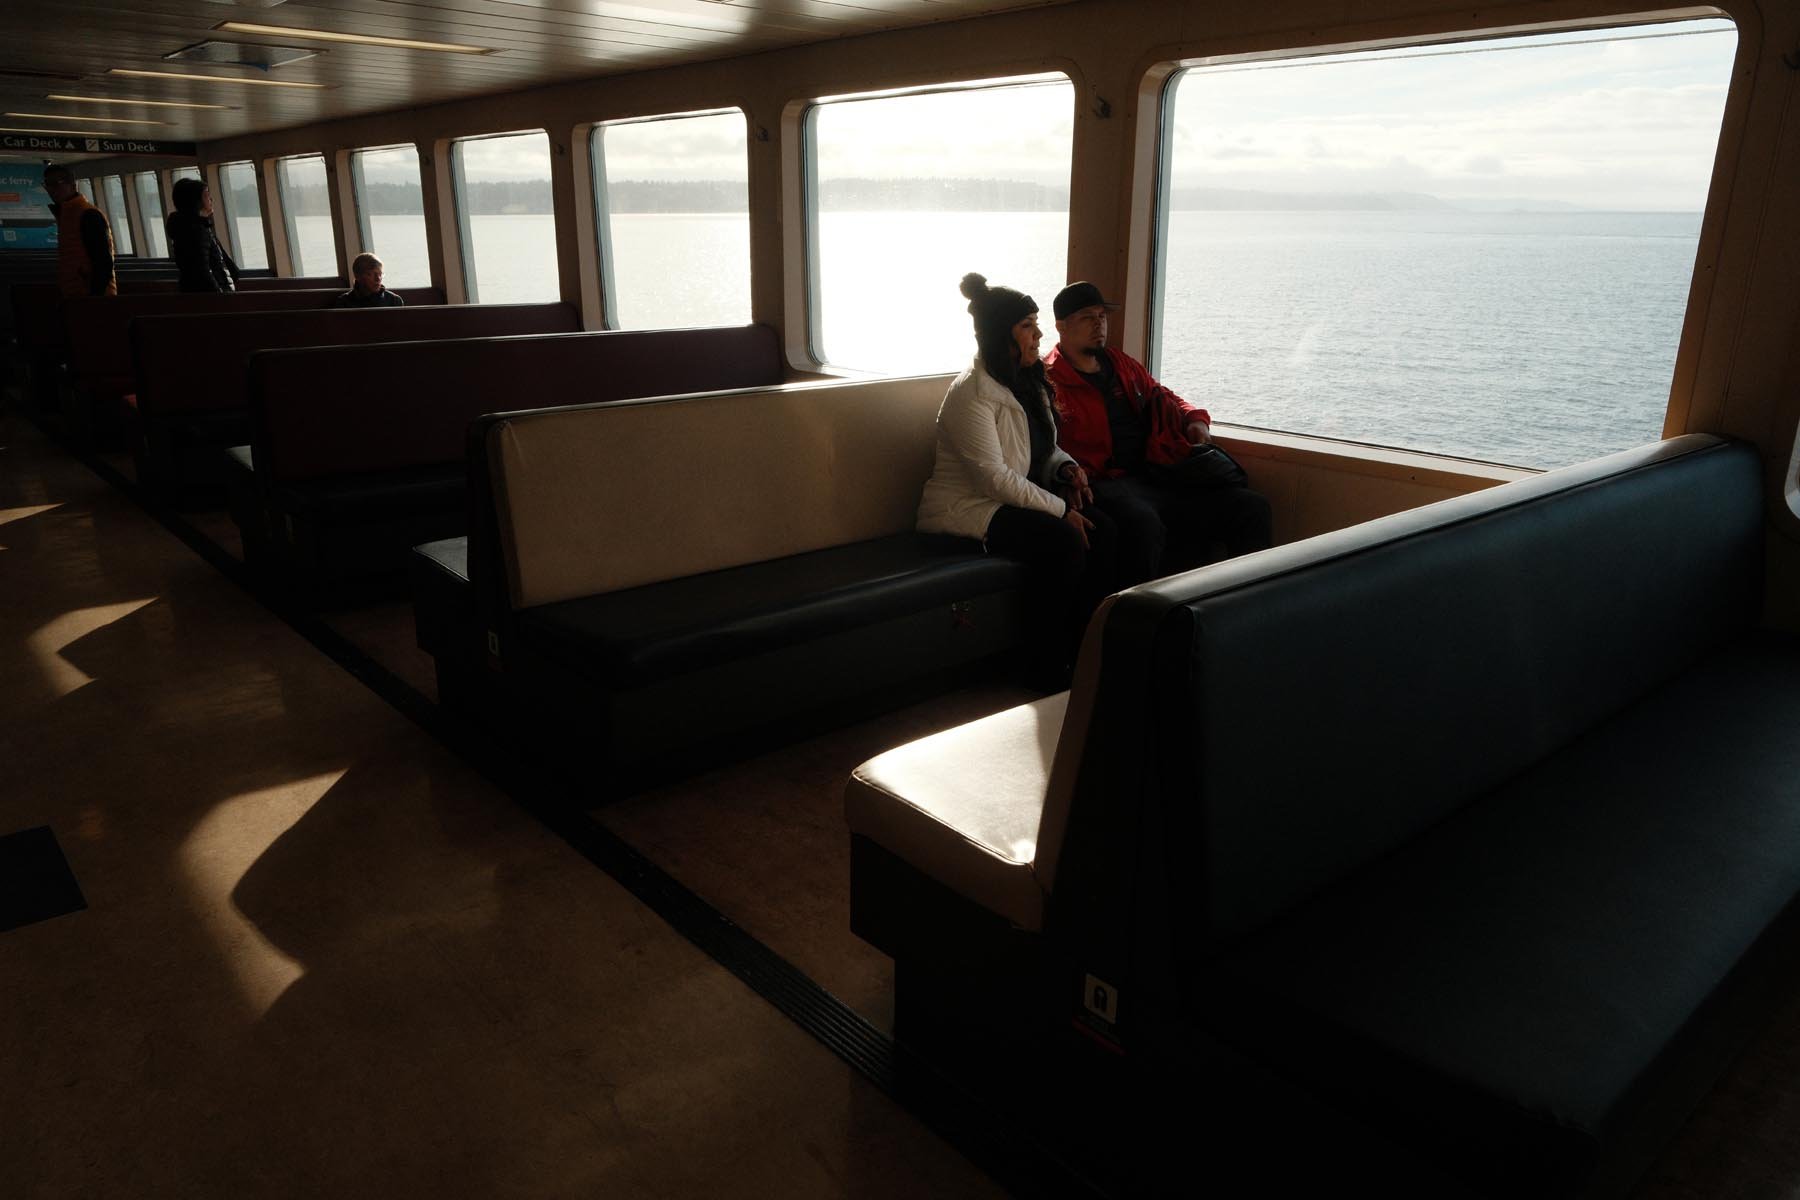
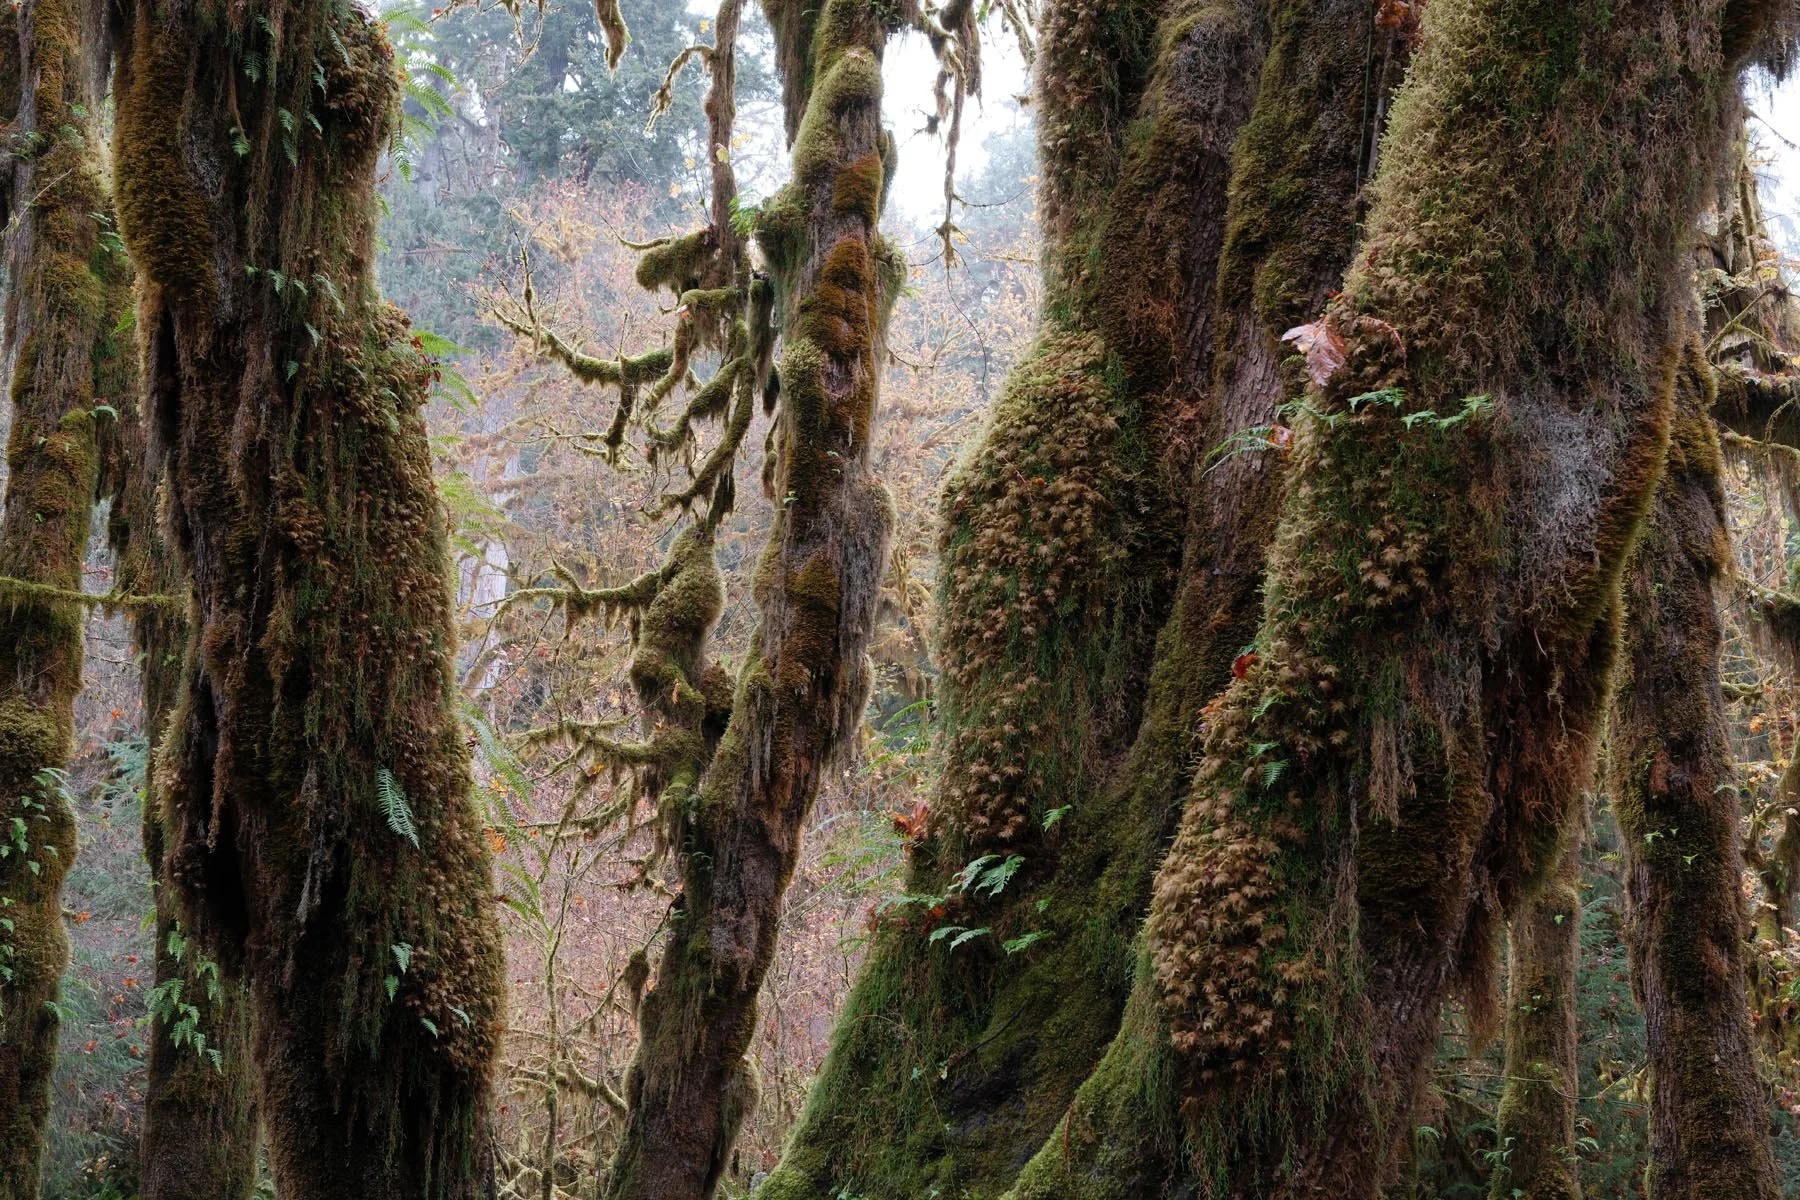
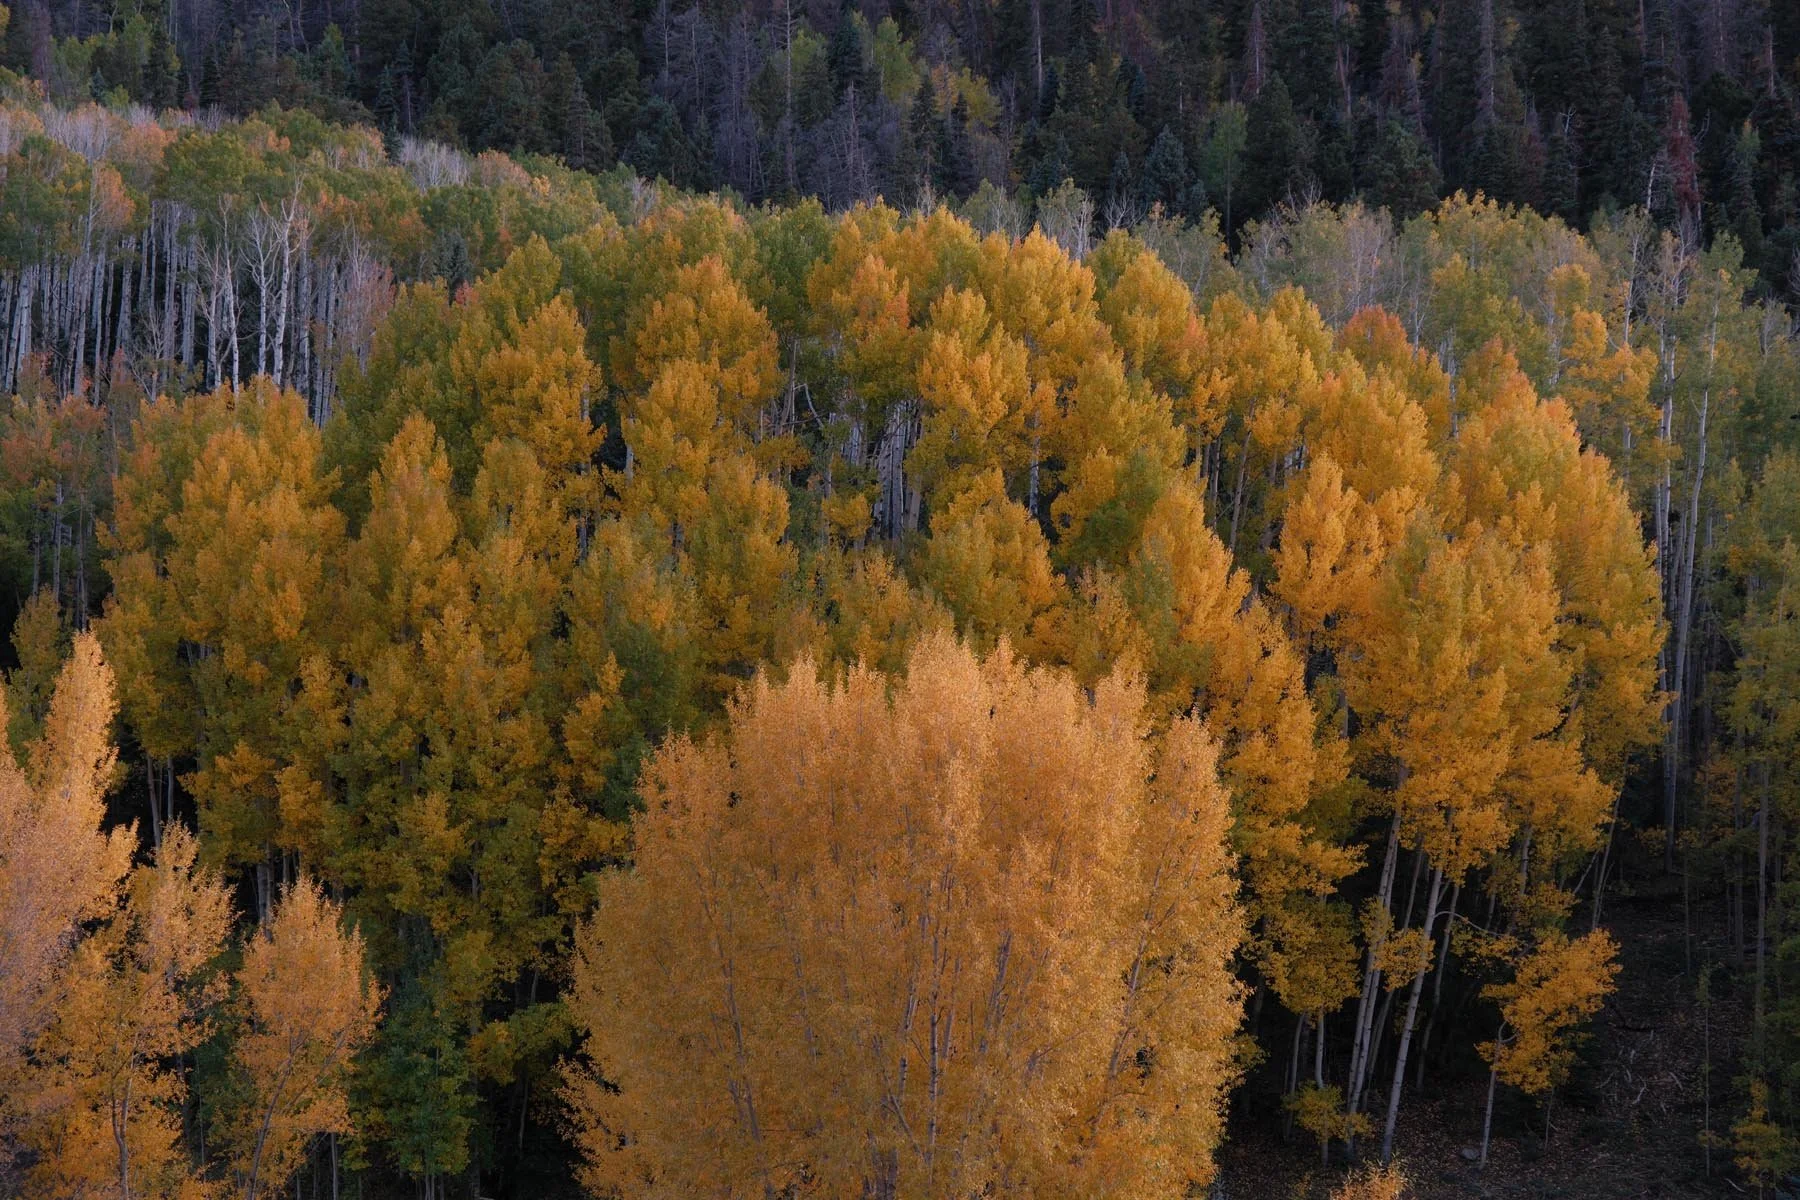
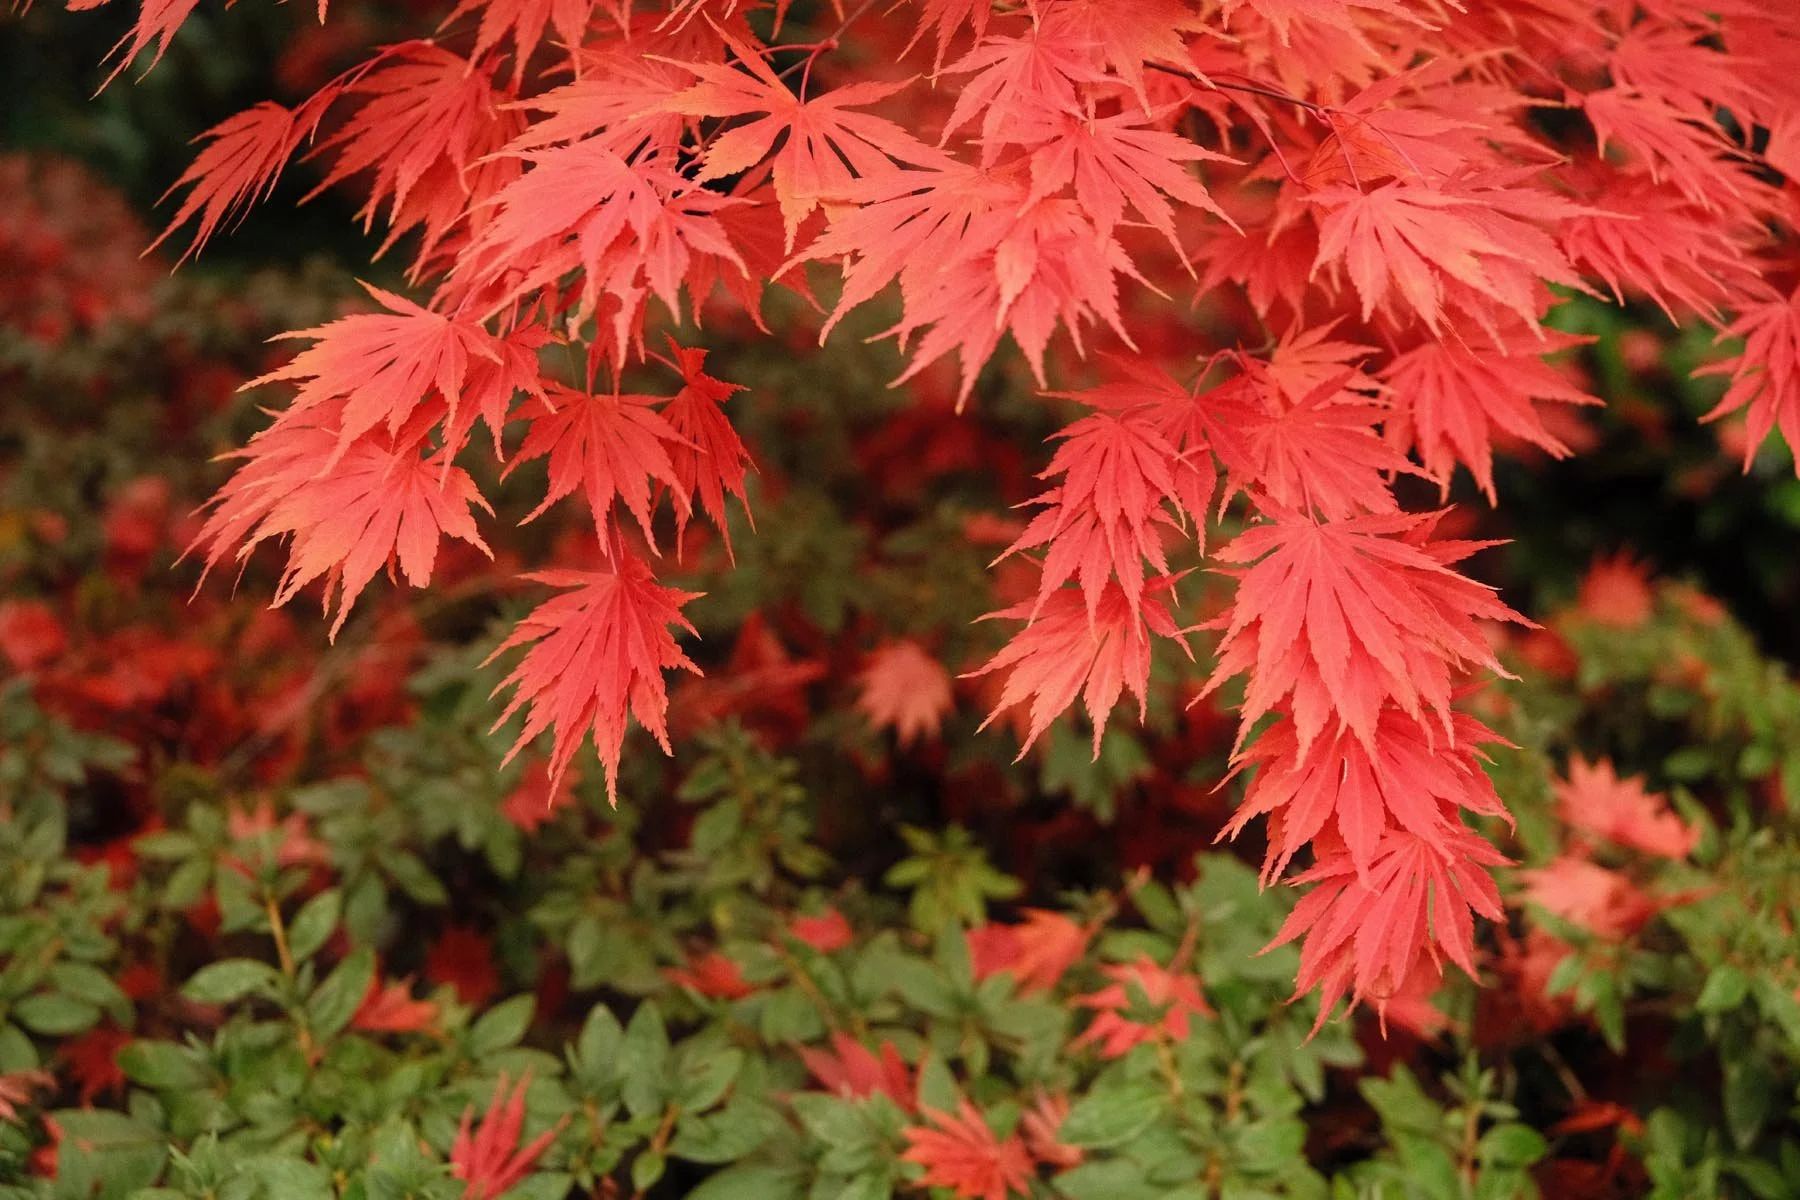
Kodak Portra 800
Film Simulation: Classic Chrome
Grain Effect: Strong, Large
Color Chrome Effect: Strong
Color Chrome FX Blue: Off (X-Trans V)
White Balance: 6600K, -1 Red & -3 Blue
Dynamic Range: DR400
Highlight: -2
Shadow: -0.5
Color: +3
Sharpness: -2
High ISO NR: -4
Clarity: -3
credit: Ritchie Roesch

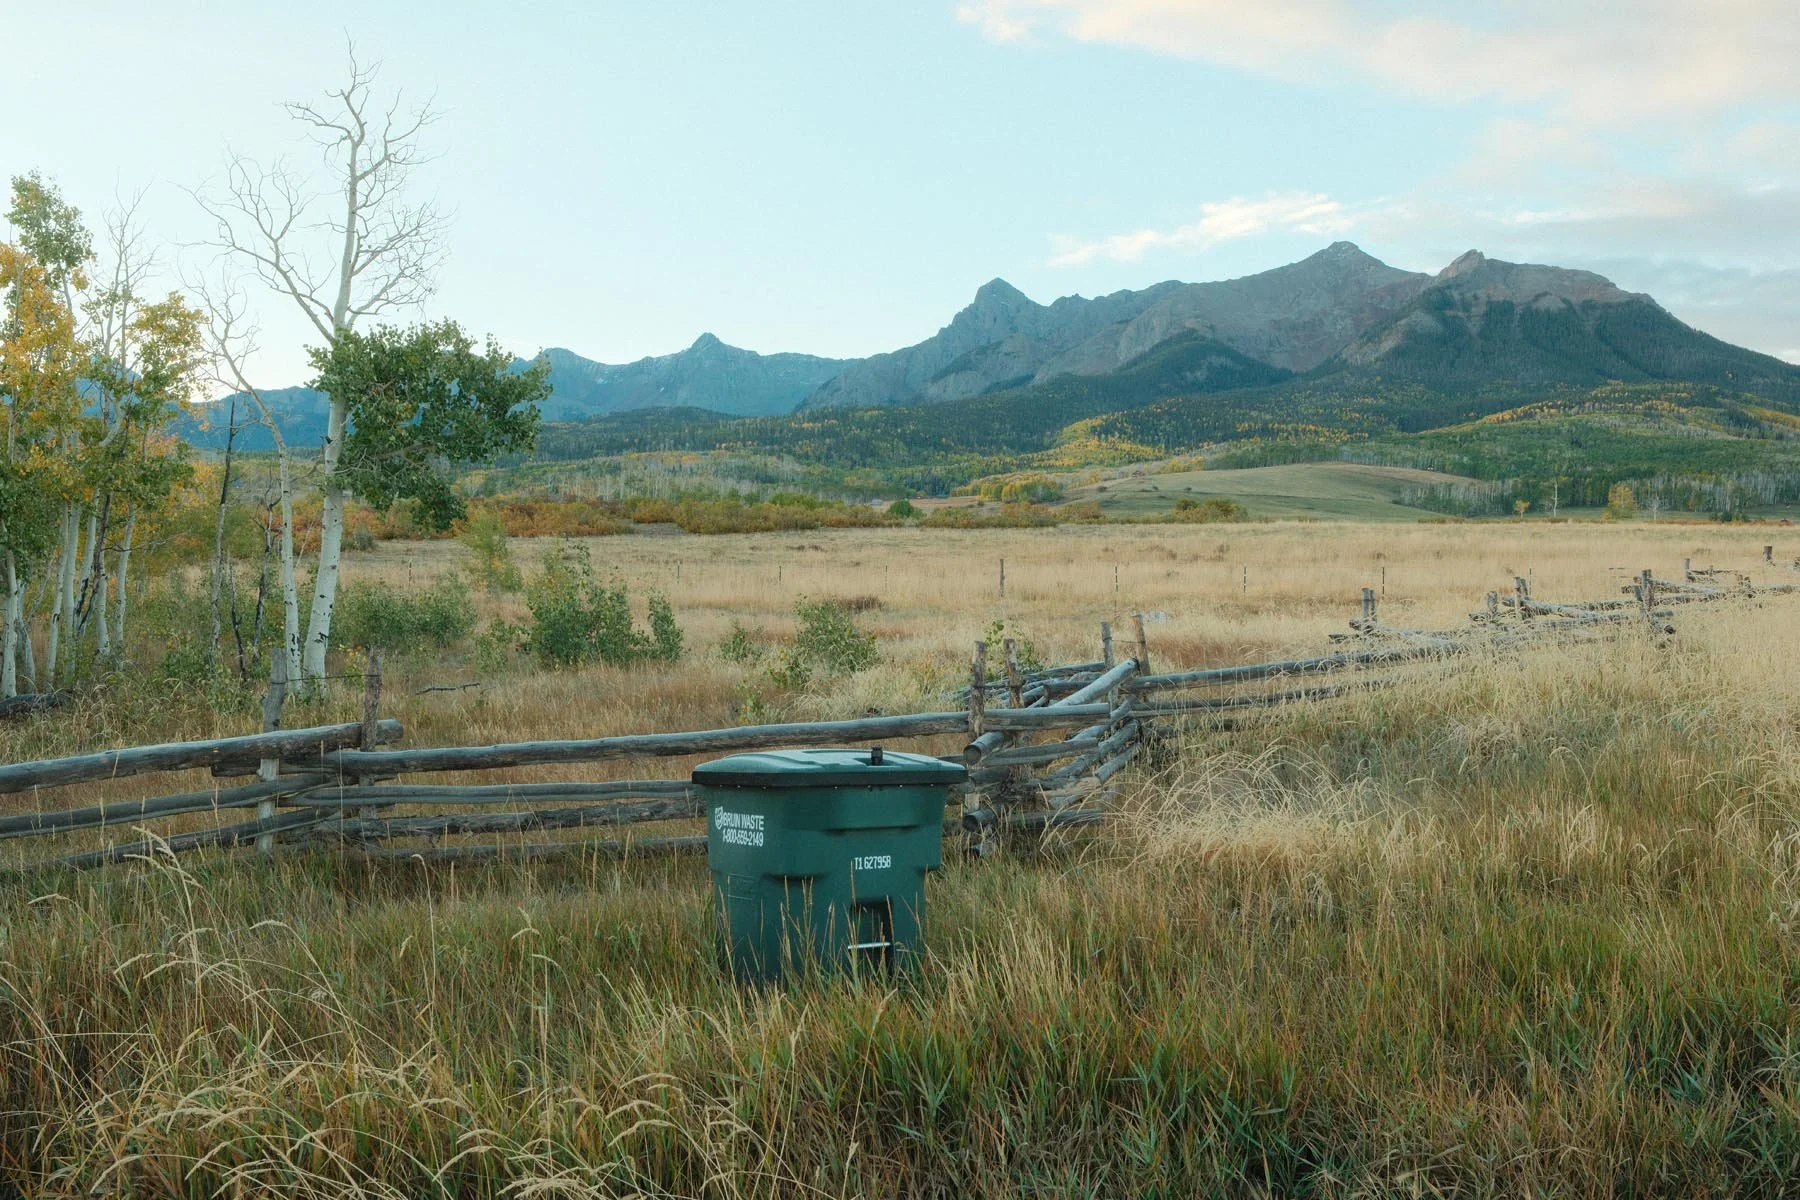


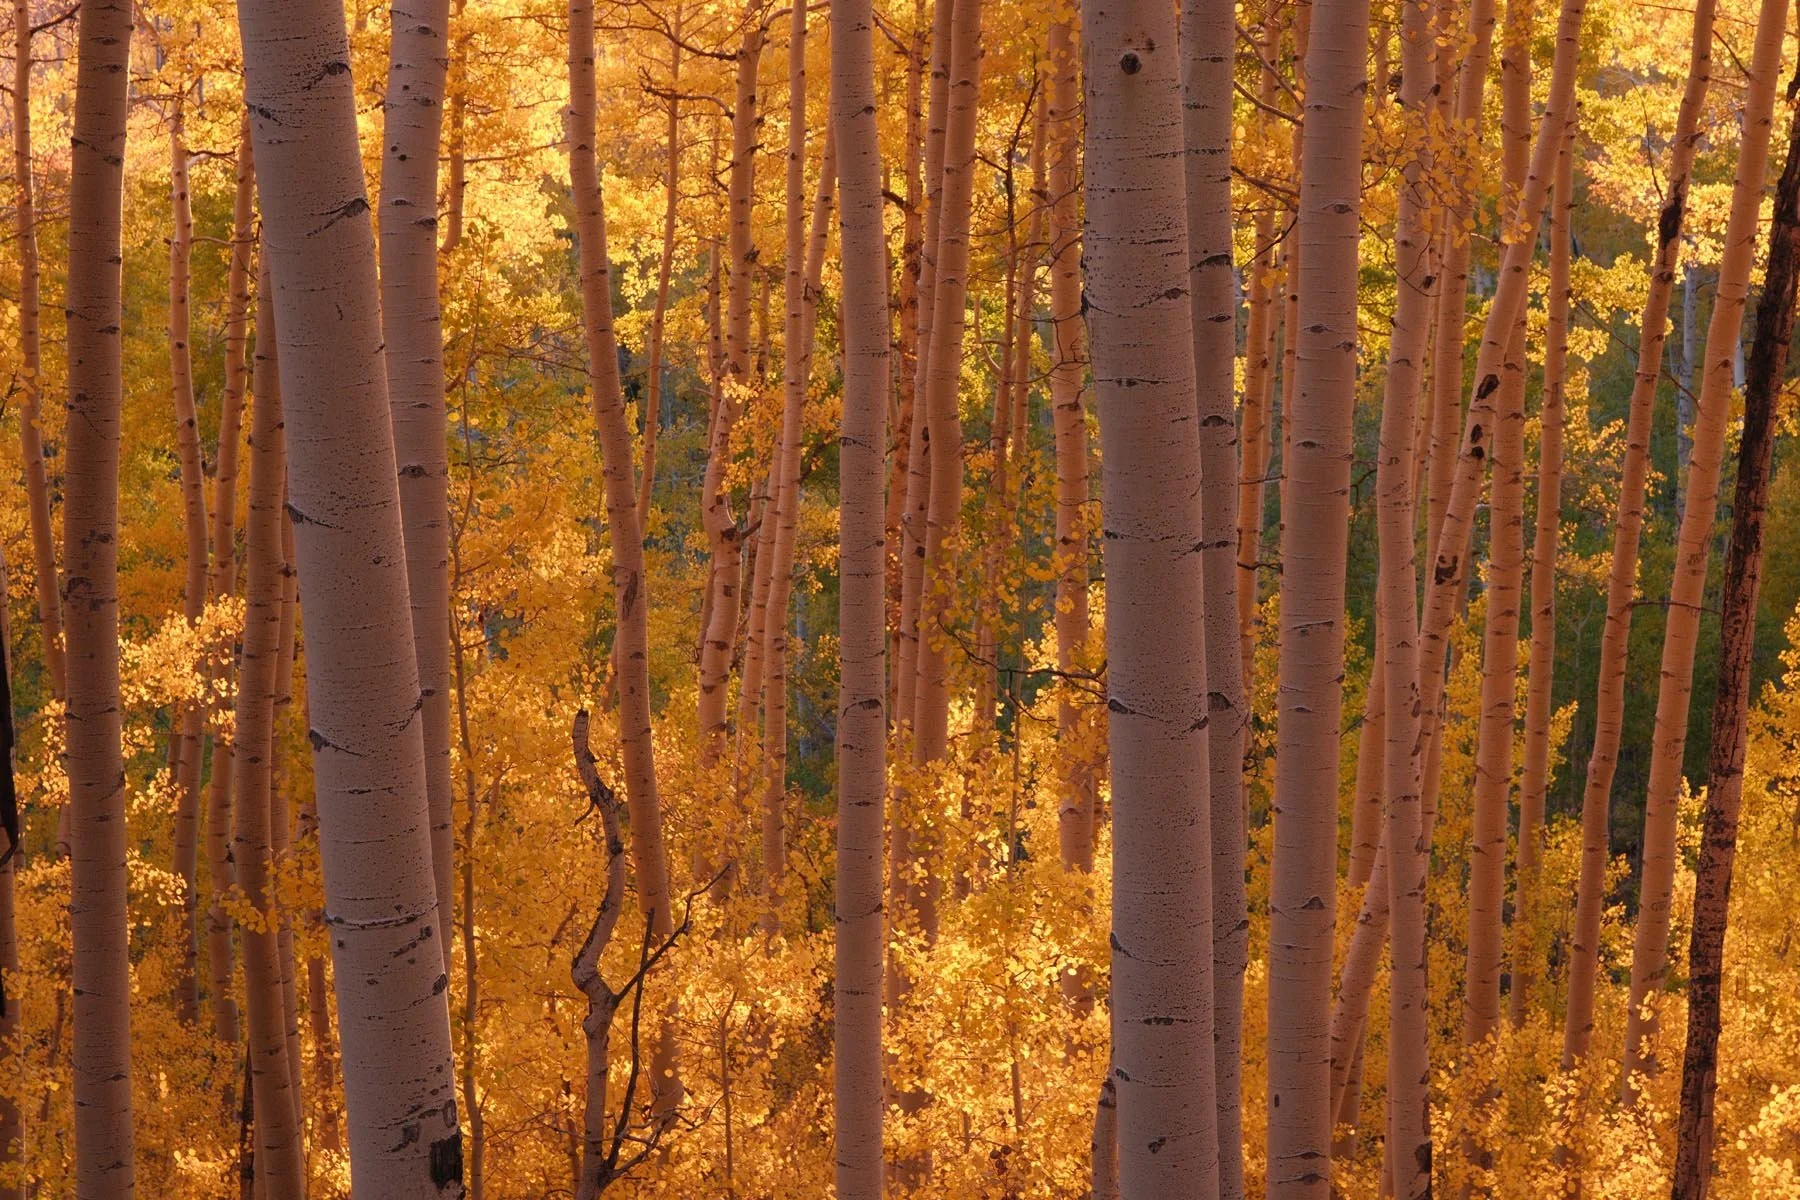
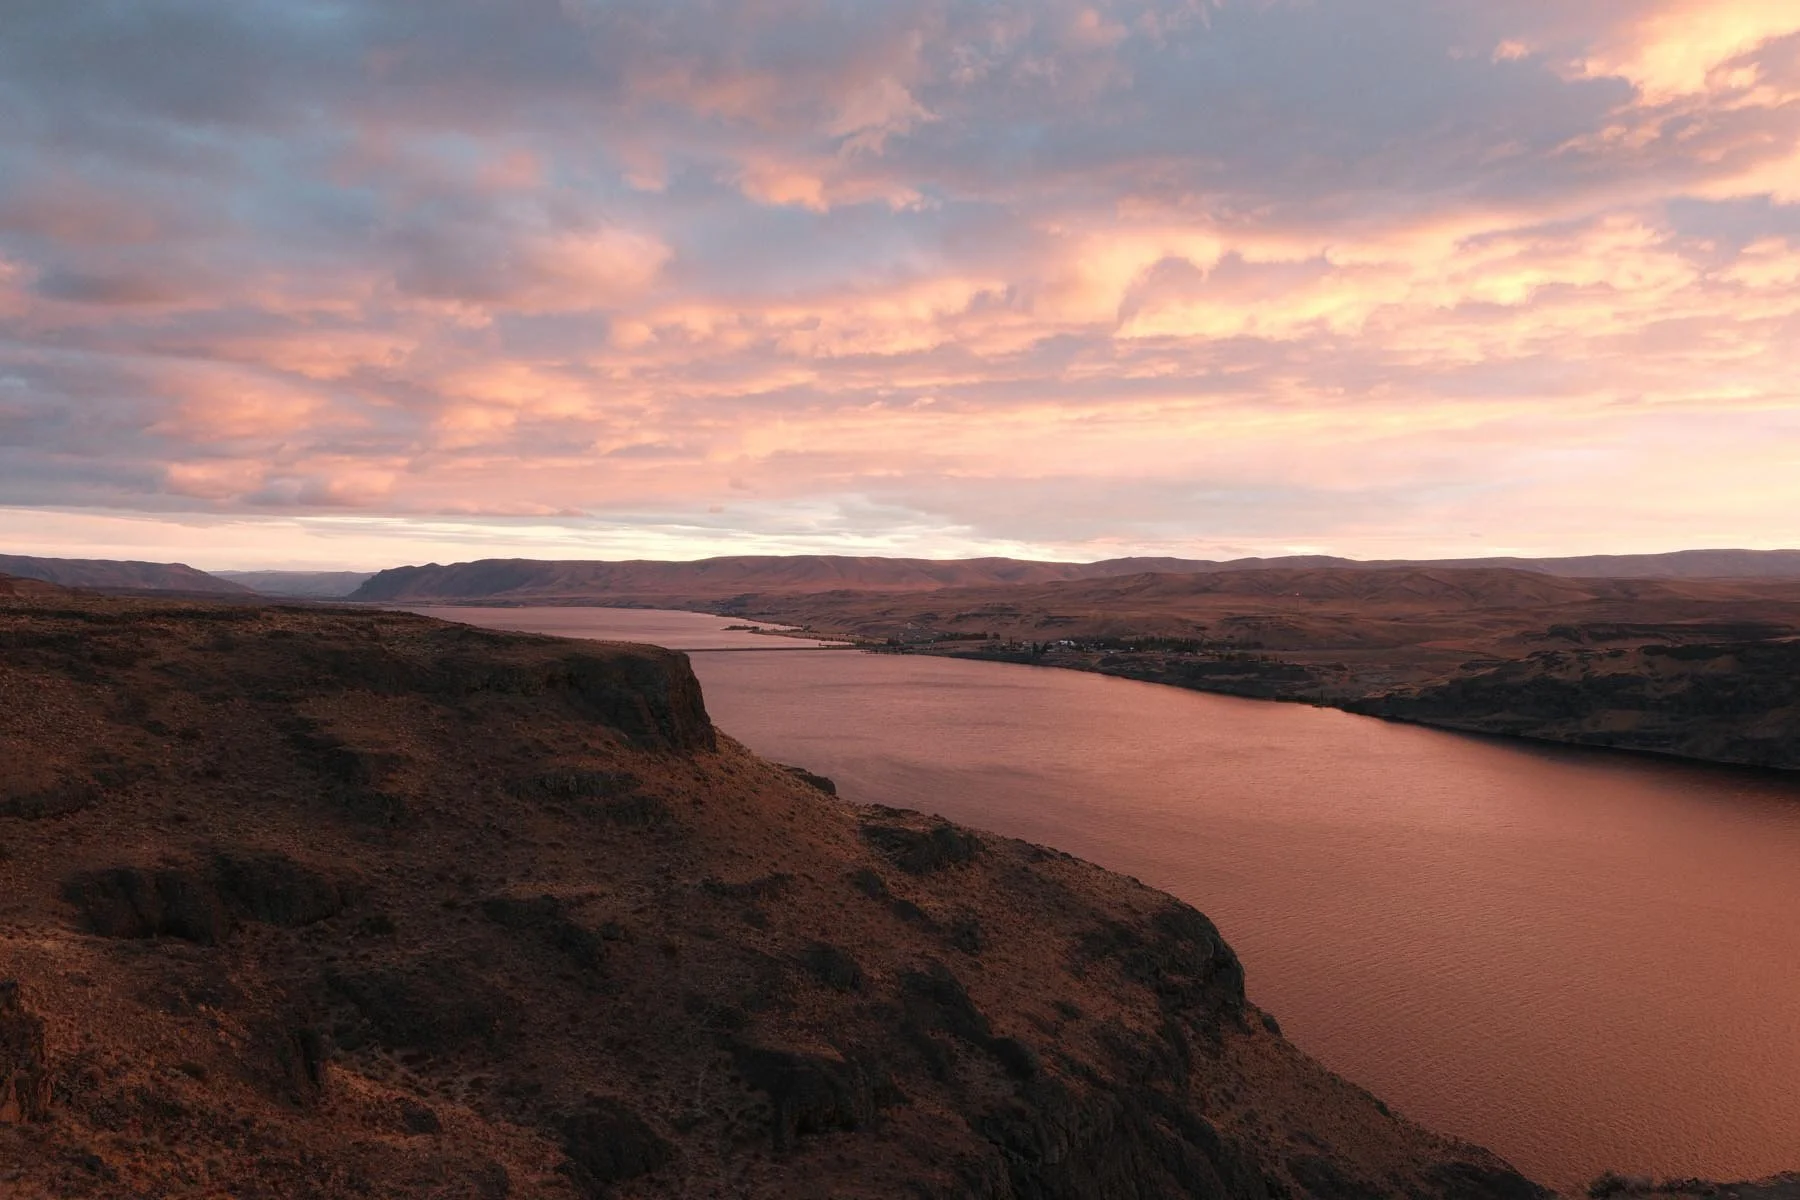
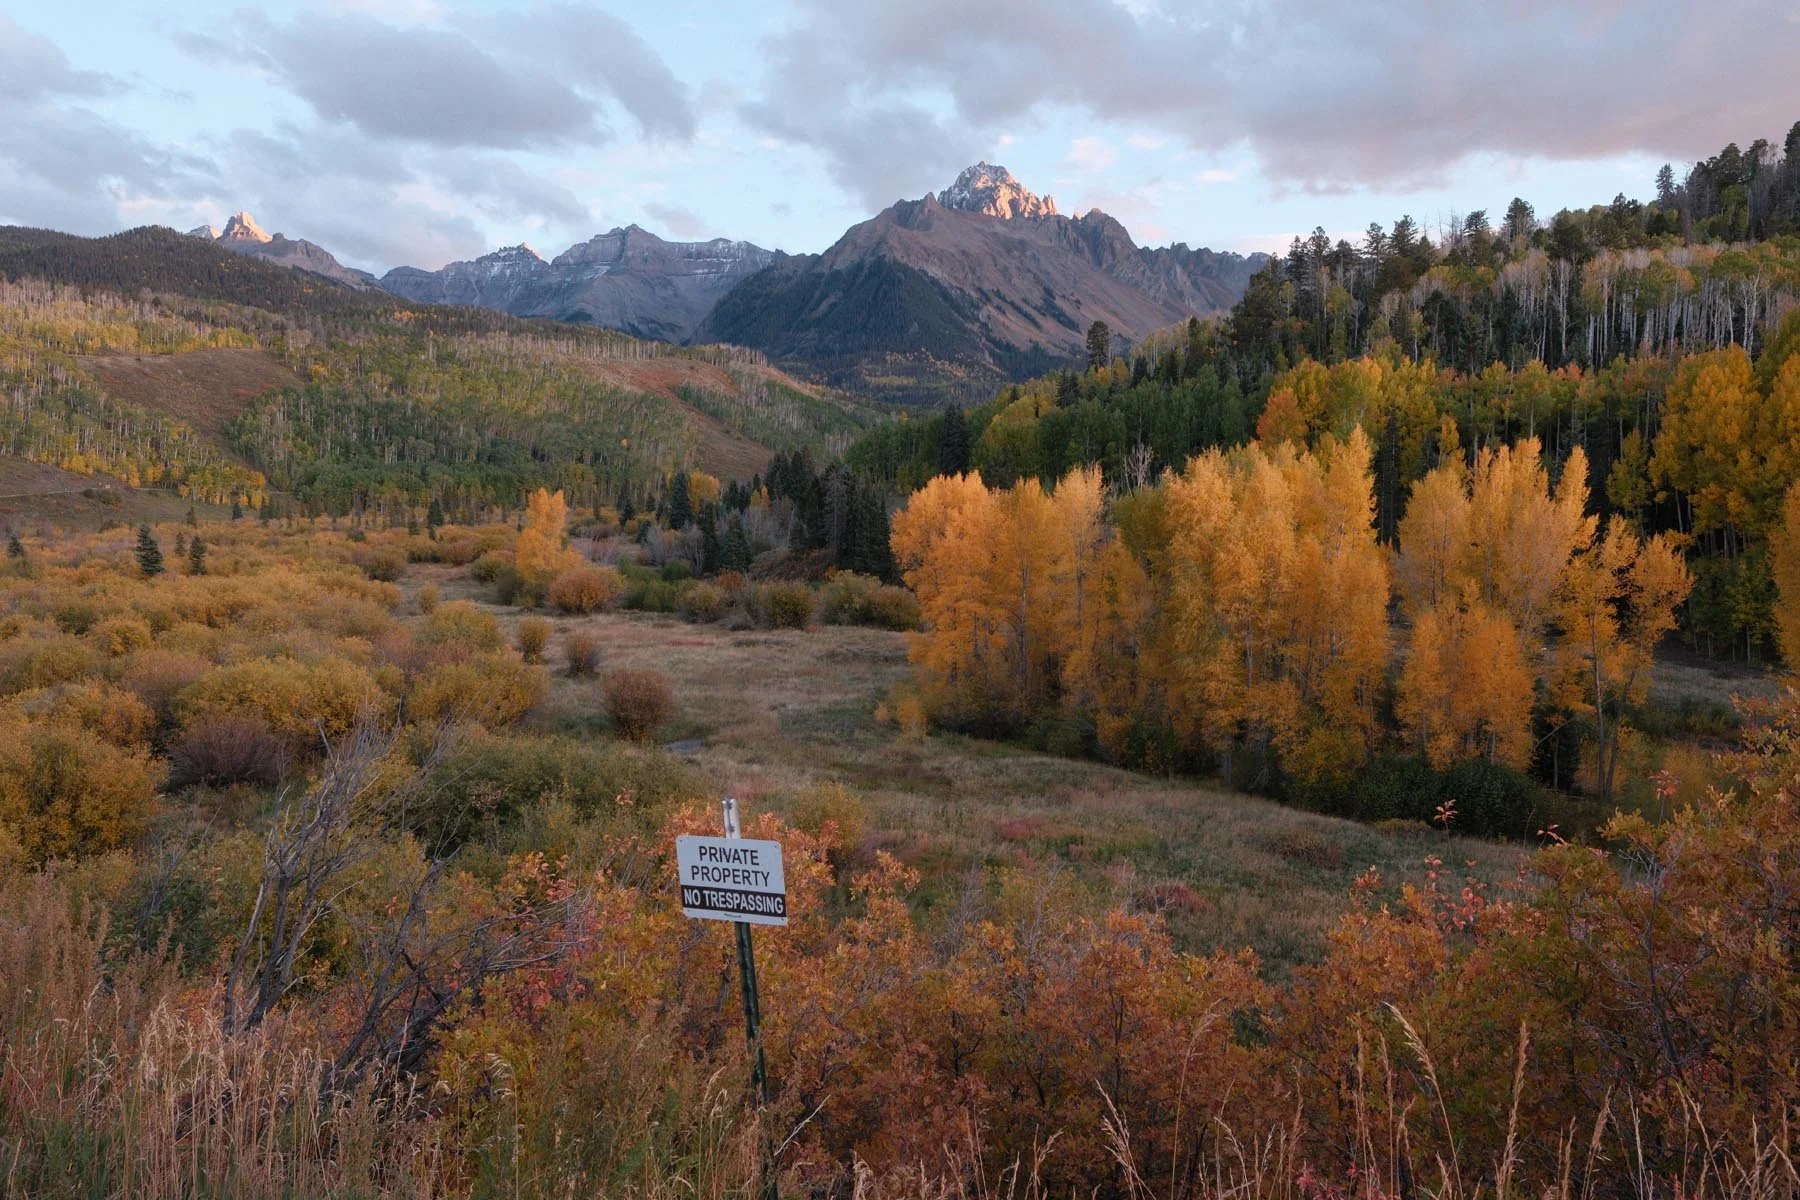
Bright Kodak
Film Simulation: Classic Chrome
Grain Effect: Strong, Large
Color Chrome Effect: Off
Color Chrome FX Blue: Off
White Balance: Daylight, +3 Red & -7 Blue
Dynamic Range: DR400
Highlight: -2
Shadow: -2
Color: +4
Sharpness: -2
High ISO NR: -4
Clarity: -3
credit: Ritchie Roesch


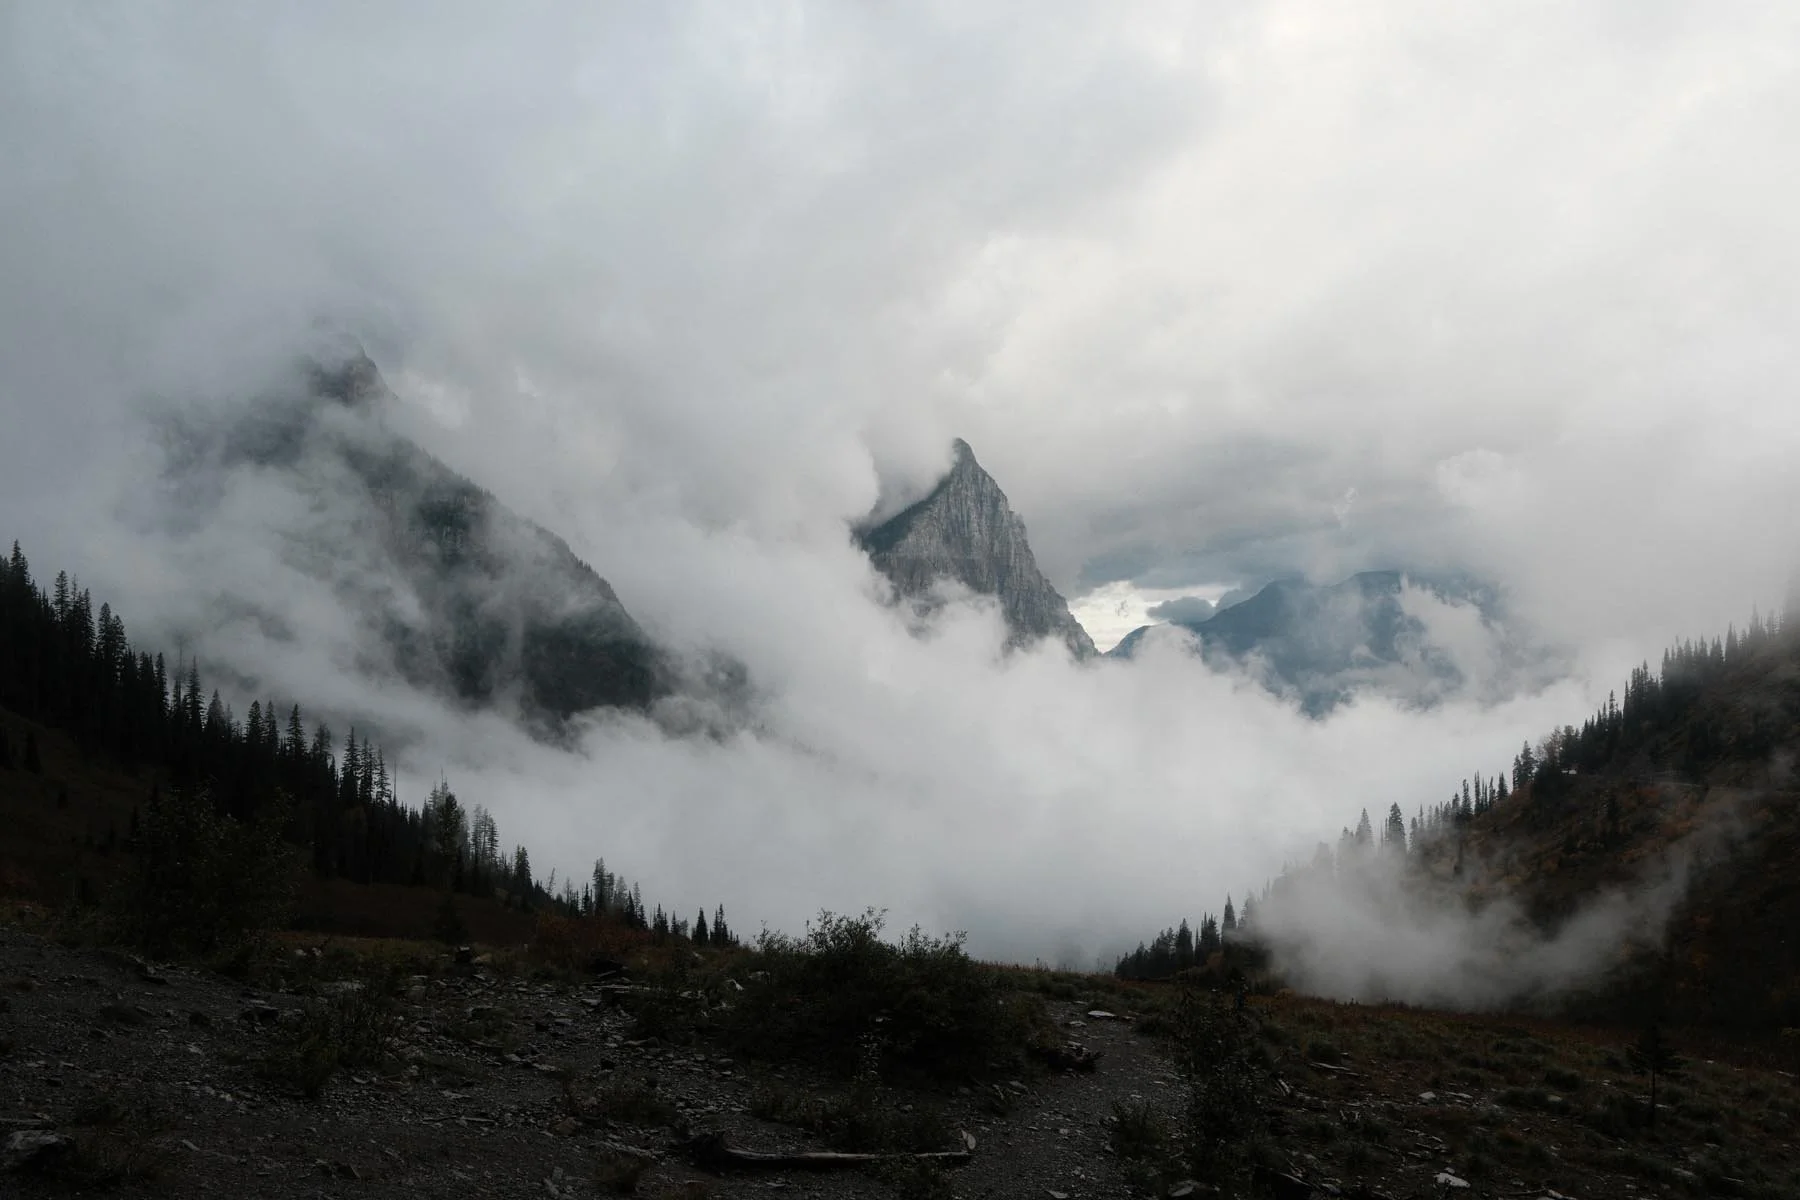
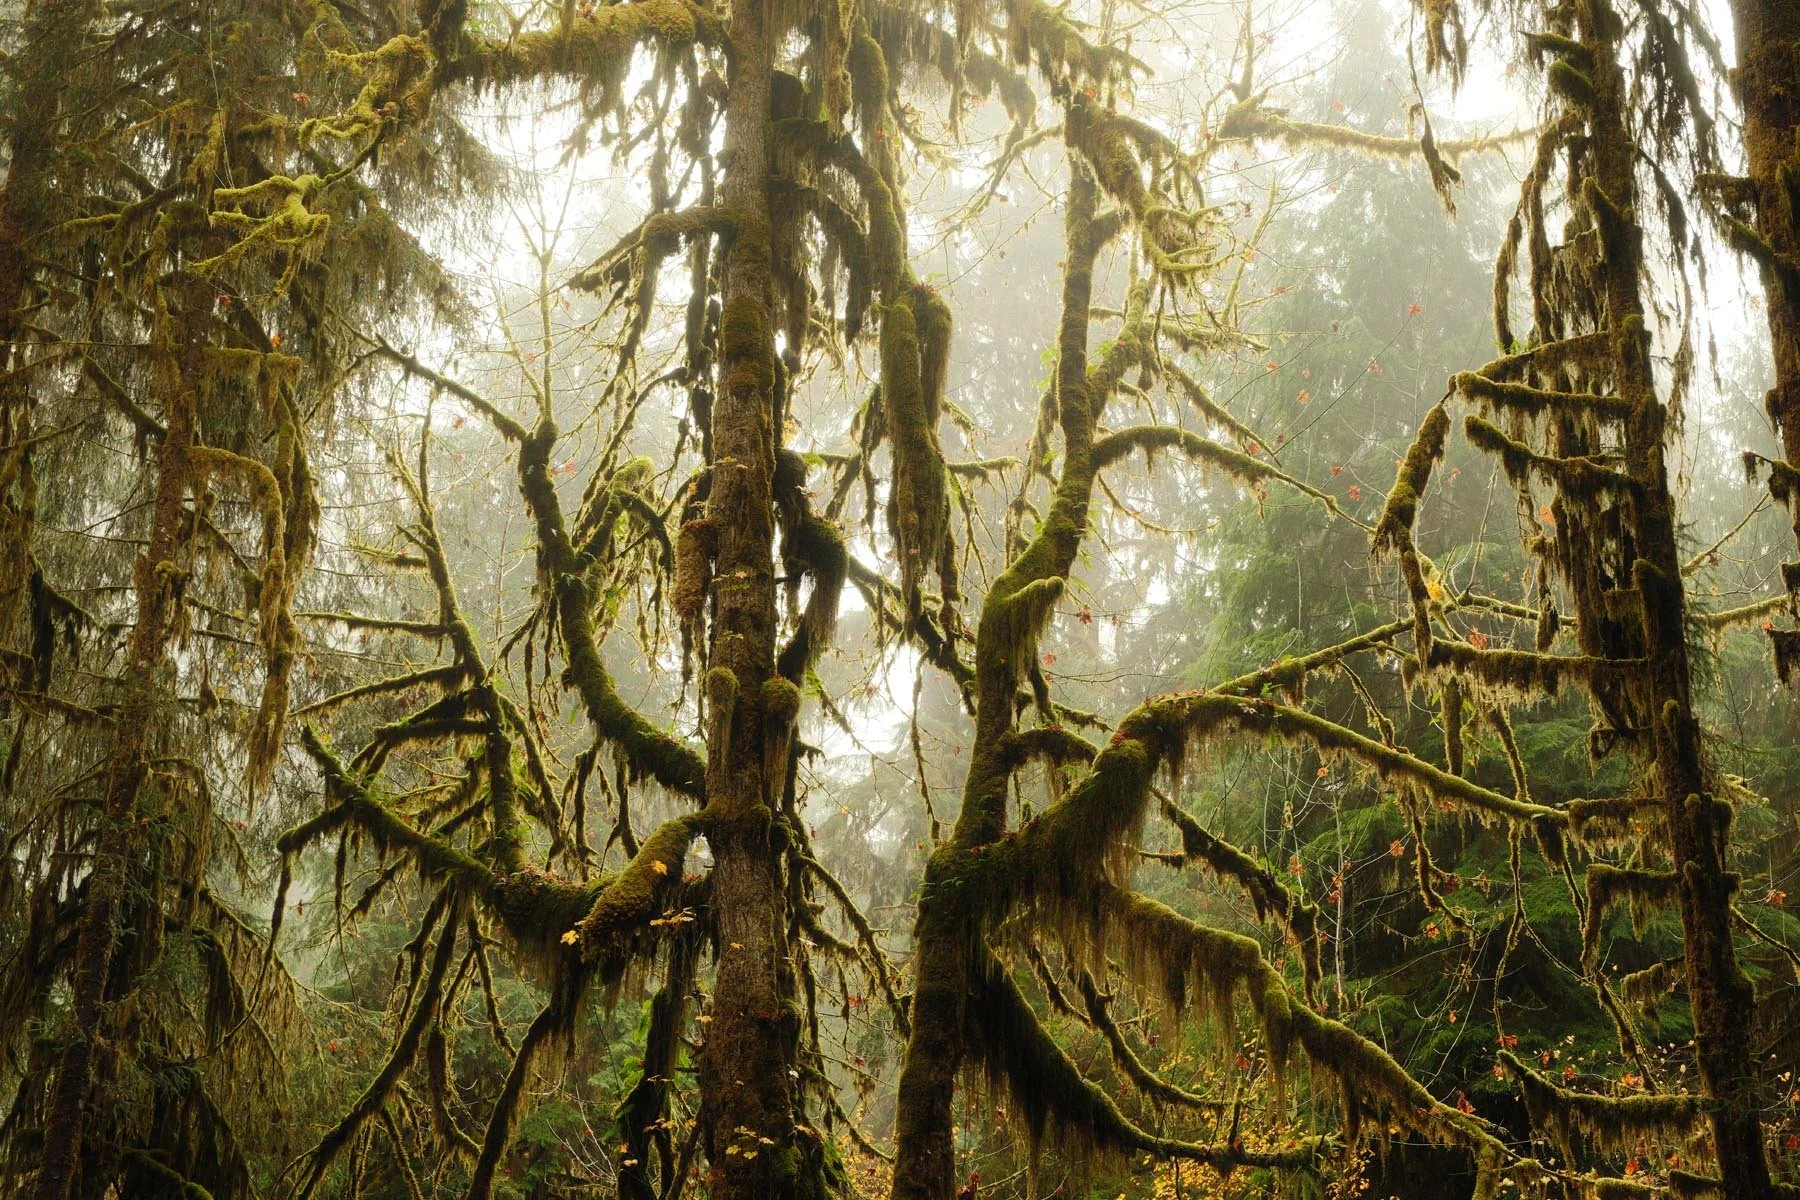
Grainy Day
Film Simulation: Classic Neg.
Grain Effect: Strong, Small
Color Chrome Effect: Off
Color Chrome FX Blue: Weak
White Balance: Auto, +4 Red & -4 Blue
Dynamic Range: DR200
Highlight: +1
Shadow: 0
Color: +3
Sharpness: -4
High ISO NR: -4
Clarity: -3


Wes Anderson
Film Simulation: Classic Chrome
Grain Effect: Weak, Small
Color Chrome Effect: Off
Color Chrome FX Blue: Weak
White Balance: 4350K, +6 Red & -8 Blue
Dynamic Range: DR-P Strong
Color: +4
Sharpness: -2
High ISO NR: -4
Clarity: -3
credit: Ritchie Roesch


*A few (4 Wes Anderson and 1 Portra800) images are from the X100VI which is the same sensor, but I wanted a couple more photos to represent the recipe better. Image quality between the two is essentially identical aside from lens differences of course.
Thanks for reading - if you enjoyed this and want to support my work. Consider joining my newsletter, purchasing a camera guide, leaving a comment, or just throwing me a cup of coffee below.