
A Complete Guide to Buying a Used Camera
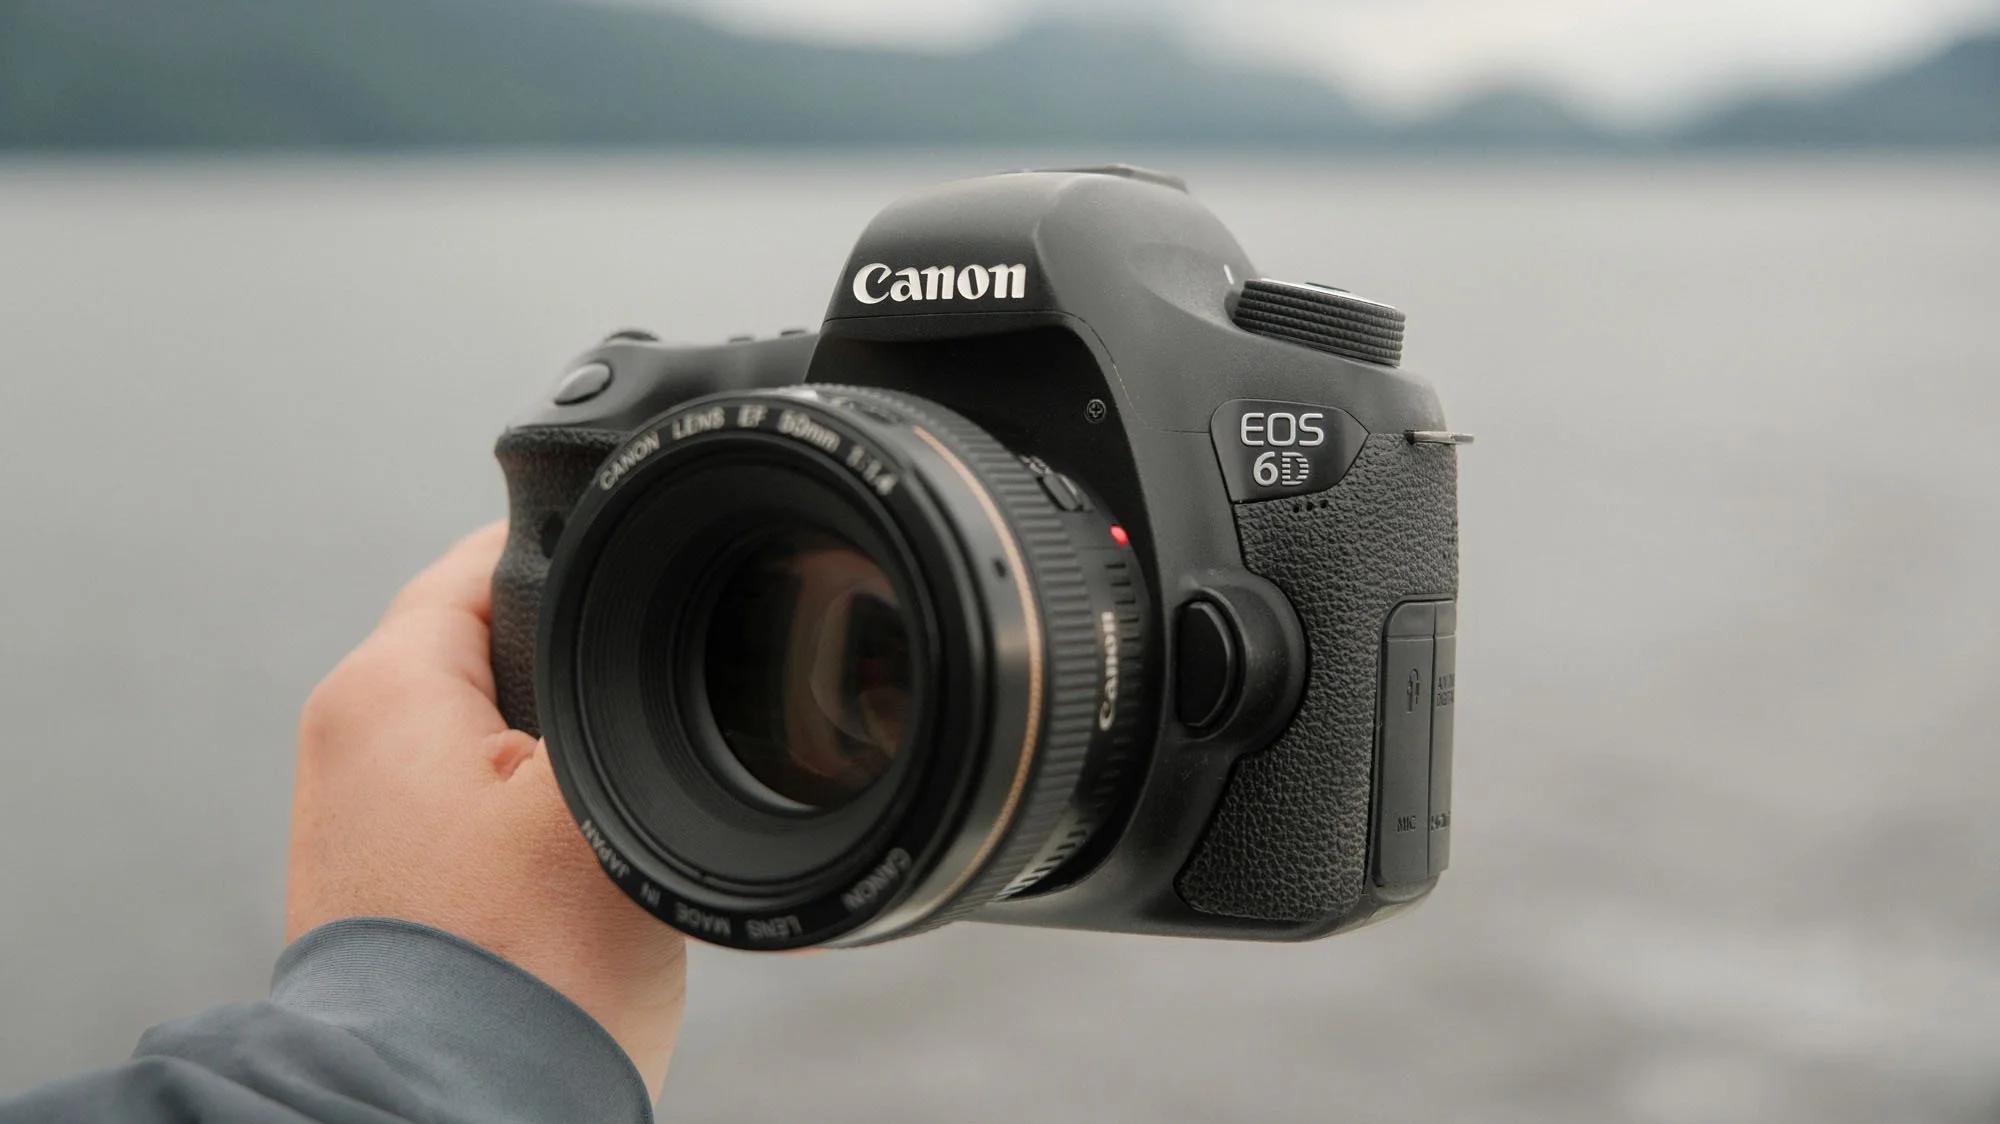
There has never been a more affordable time to get into photography than now, contrary to the rising prices of nearly everything else in the world. The key is to find a gently used or well loved DSLR that grows more and more affordable as people migrate to mirrorless systems. While there have been small improvements to image sensors over the past decade, image quality hasn’t progressed in the same way that auto focus or image stabilization has. Thus cameras pushing 15+ years old still produce fantastic quality images while lacking modern creature comforts.
The push to mirrorless means theres plenty of options for used lenses and cameras out there, many of which still have lots of life left to give. If you’re looking for cameras within the $100 to $300 price range, check out my guide here. Regardless of what you choose, there’s a few things to look for when buying an older camera to make sure you walk away with a fully functional camera system. Below is a 10 step checklist of what to do when shopping for an older used DSLR.
1. Shutter Count
Shutter count is essentially the “Mileage” of a camera and typically determines how much a camera was used. This is basically the only data point you can utilize when determining how often a camera was shot. It’s a great general measure but also one I recommend not completely relying on to determine your purchase. For example, a camera may have a very low shutter count if it was used to film video instead of photos. Hours of video won’t show up in a shutter count.
Many cameras have rated shutter counts (like 50,000 or 100,000 actuations) as well but like most electronics, cameras can break far before expectation or long after. Generally speaking, the higher end models are built with higher expected shutter counts. For example, a Canon 6D has a lower rated shutter count as a Canon 5D Mark II. These are small factors to use when evaluating the used market, especially if you’re buying your first camera to get into photography.
How to determine shutter count: For many cameras you can upload an image taken with the camera to a website such as camerashuttercount.com. Other cameras require you to connect them to a computer with their software. I’d recommend asking the seller to determine the shutter count so that you aren’t lefting trying to figure it out yourself before arriving.
2. Physical Condition
This one is the most self explanatory as I’m sure most of you check the physical condition of essentially any used item you buy. However when it comes to cameras, it’s worth it to take a little extra time when you do. Here’s a short checklist of things to quickly look at:
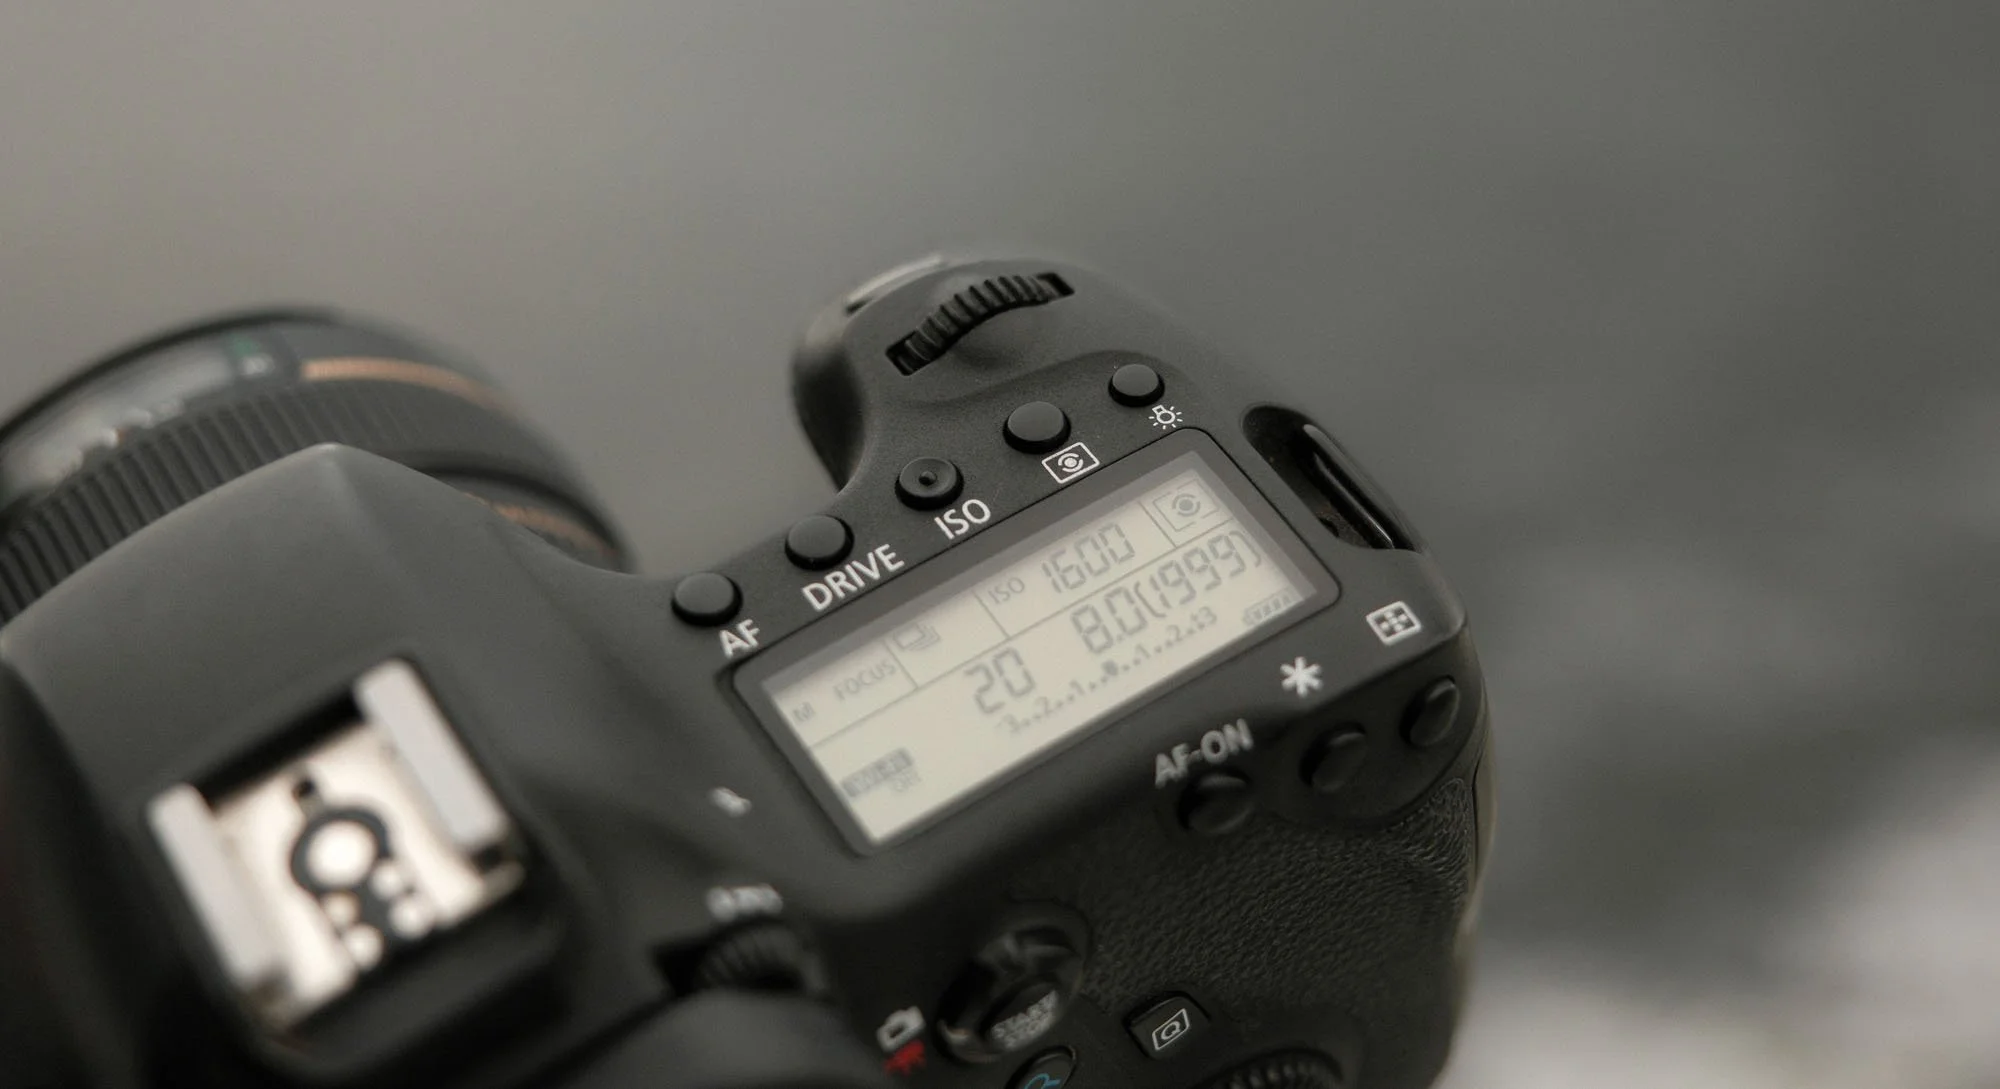
Overall body - Dents and scratches should be expected but if it looks like the camera was dropped in anyway, that might be a dealbreaker.
Buttons and Dials - Turn the camera on and try to use every button on the camera. Many times a single button can stop functioning on older cameras so it’s good to quickly test as much as you can. If this is your first camera, just make sure the button does something when you press it!
Battery door and connections - Check the battery door, memory card door, and flaps that typically protect the connections.
Check the hotshoe - This is the metal section on the top of the camera that a flash is normally connected to. Does it have any rust or wear?
Grip and rubber - Check the rubber attached to the camera around the grip area. How worn is it? Is anything peeling?
You’ll find some cameras get treated better than others. Ironically many of the more flagship cameras get beat up a bit more because they get used by people working professionally where as some of the lower tier models might look like the day they were taken off the shelf.
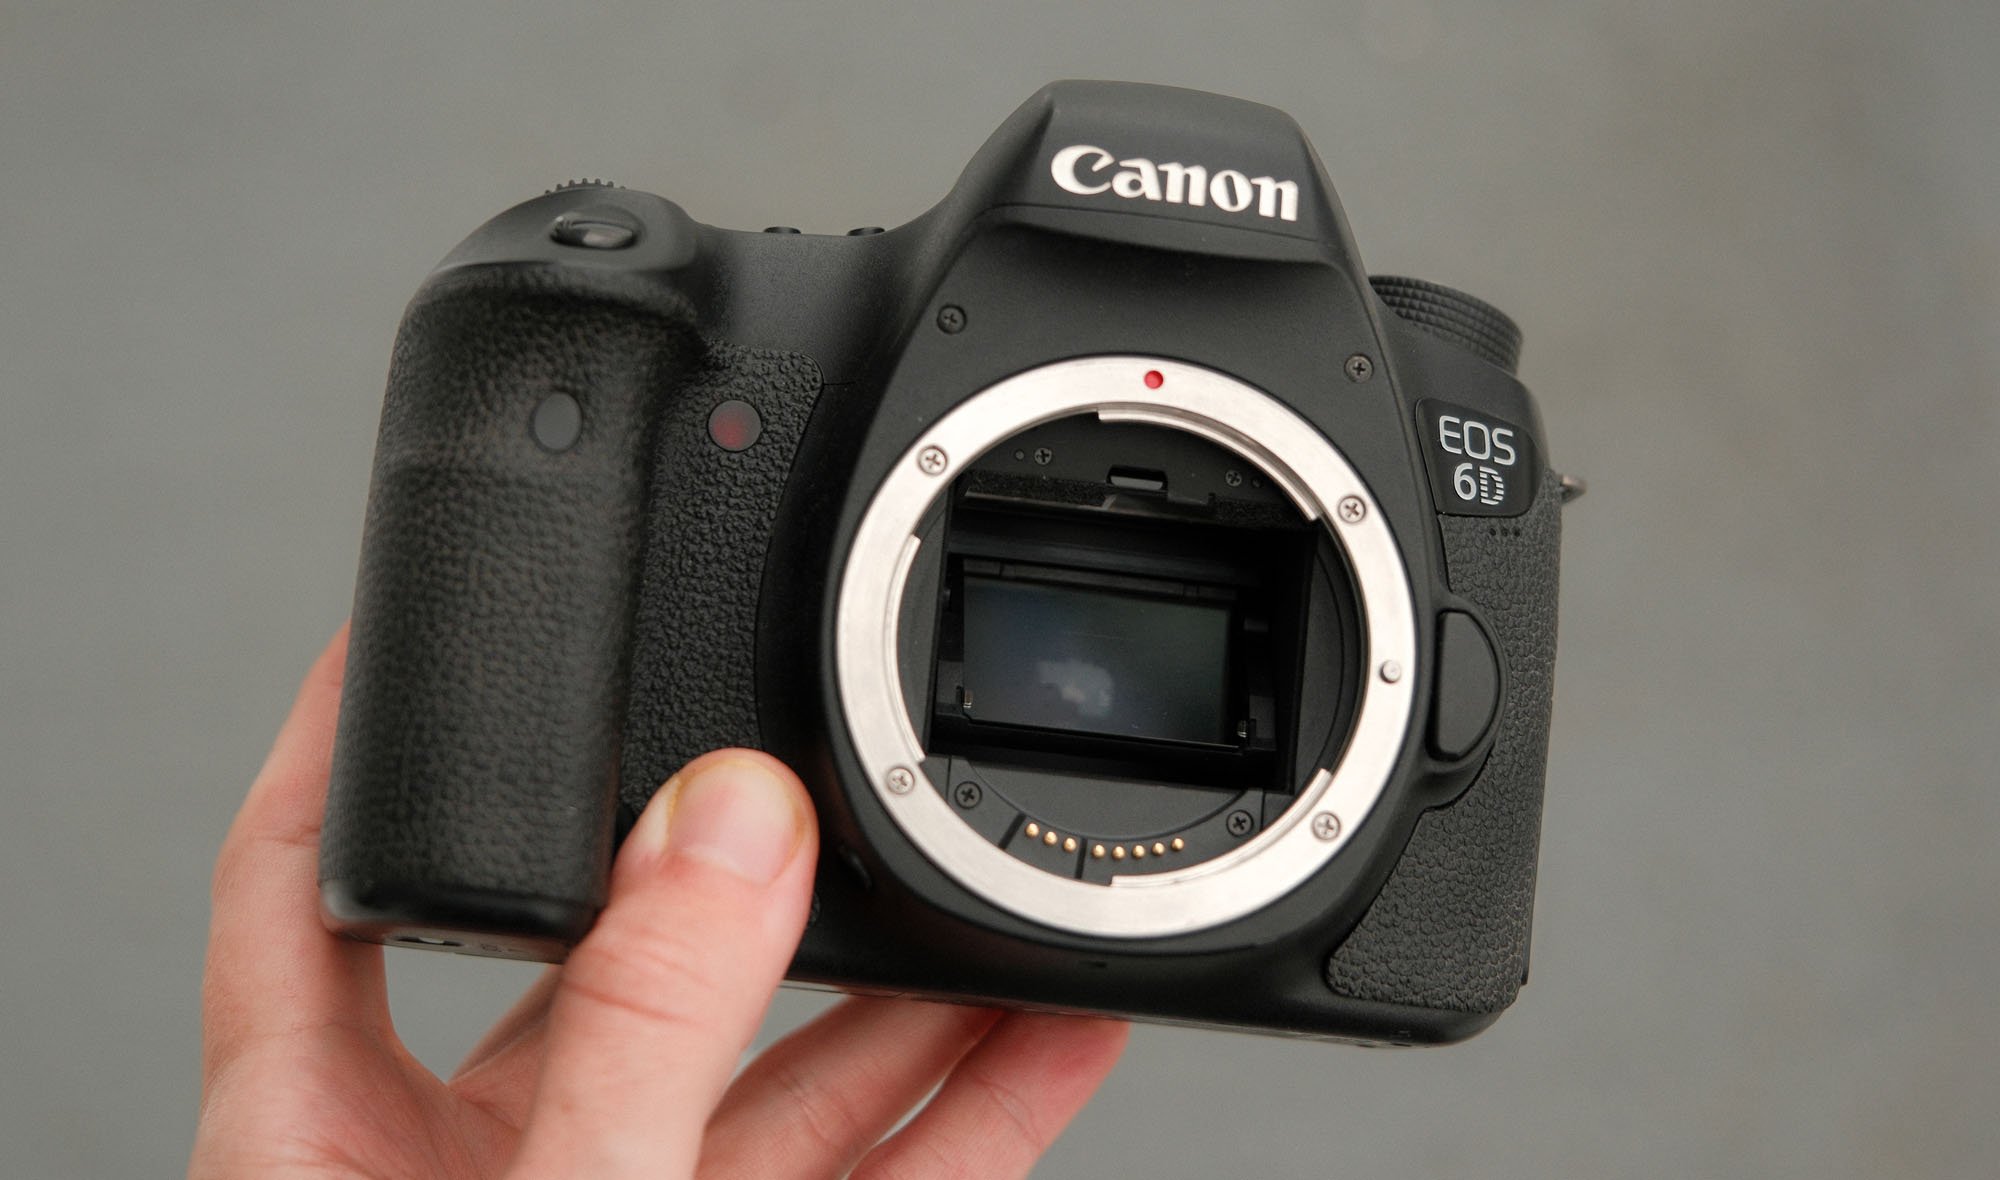
3. Sensor Condition
The camera sensor is typically well protected on most modern cameras. That being said, they do collect dust and other debris over time depending on how often someone changes lenses, how they change lenses, and how they treat their cameras. While you won’t have endless time when buying a camera, there’s two quick things you want to do to check the sensor.
Check for dust (or worse) - Set the camera to f/16 and aim at the sky or a completely white wall and over expose by a stop or two. Take an image and check for dust within the image. Anything that shows up on the back of the camera is large. Most small spots won’t be visible until you can zoom into the images on a computer. You should expect to see some dust which is easily gotten rid of by a sensor cleaning swab. Just make sure the specs resemble dust and not something like dead areas of the sensor.
Check for banding - Next put the lens cap on, set the lens to manual focus, and take an image a very high ISO like 12800. Expose the image for a long time like 15-30s and play back the image. You should see lots of noise but what you’re looking for is banding issues within the high iso image. Banding will look like patterns of lines through the whole image. The ISO noise should look random and mostly uniform. If there are banding issues it will be obvious.
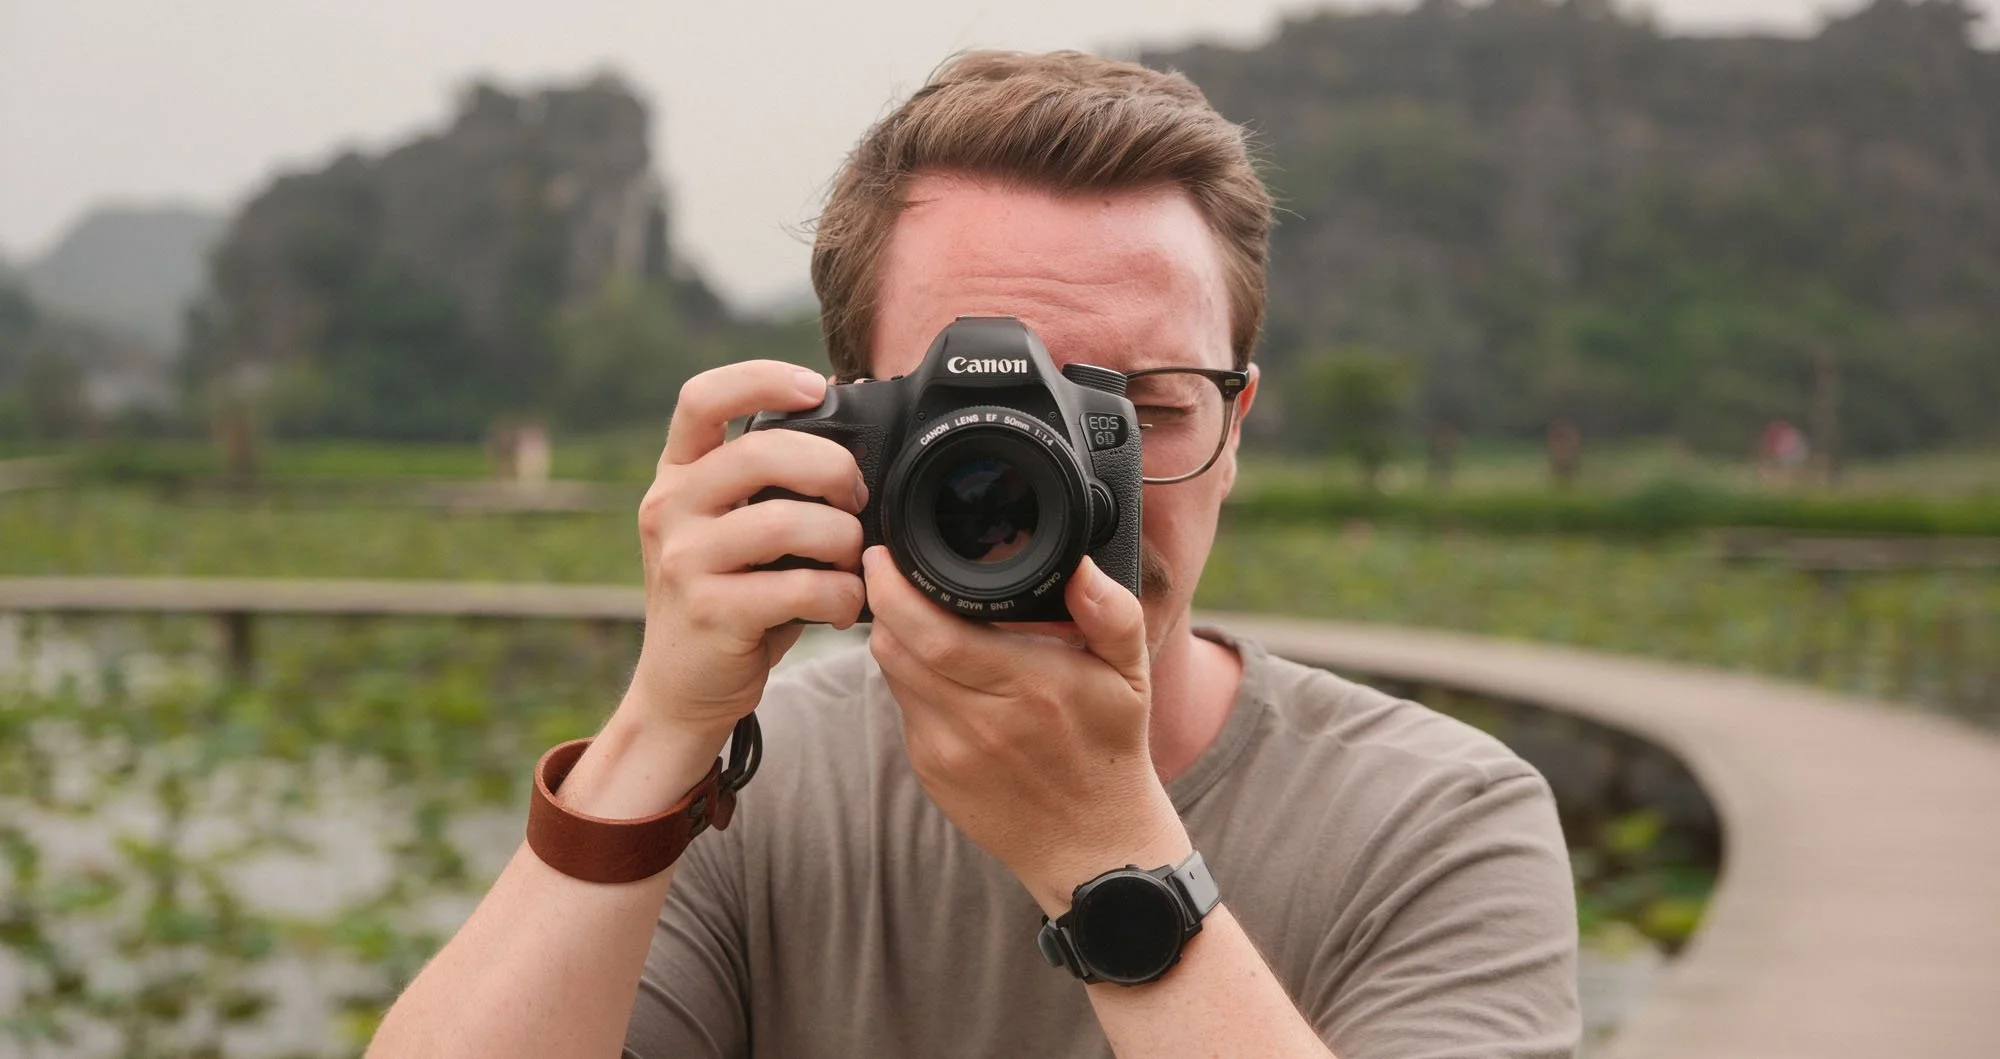
4. Auto Focus
Next you’ll want to check the autofocus of both the camera and lens. To do this:
Try to do the test in daylight with lots of light as cameras get progressively worse at auto-focusing with less light.
Set the camera to the center auto focus point (rather than all of them). Typically the center AF point is the strongest on older cameras.
Set the Auto Focus mode to “One Shot.”
Now find an object relatively close to you that has something far away directly behind it.
Focus on the foreground (close) object and quickly switch to the background object to focus on.
Repeat moving back and forth between the foreground and background, focusing as quickly as you can.
You should be able to focus quickly between both points. However this will depend on the lens and the object you are focusing on. DSLR cameras focus far more reliably on objects with contrast. For example if you try to focus on a clear sky, the camera will struggle. However if you try and focus on the tops of the trees that meets the skies edge, you’ll likely get focus immediately.
Try to give your camera something easy for both the foreground and background as you are really trying to make sure the focus is working, not necessarily how well the focus functions.
5. Lens Check
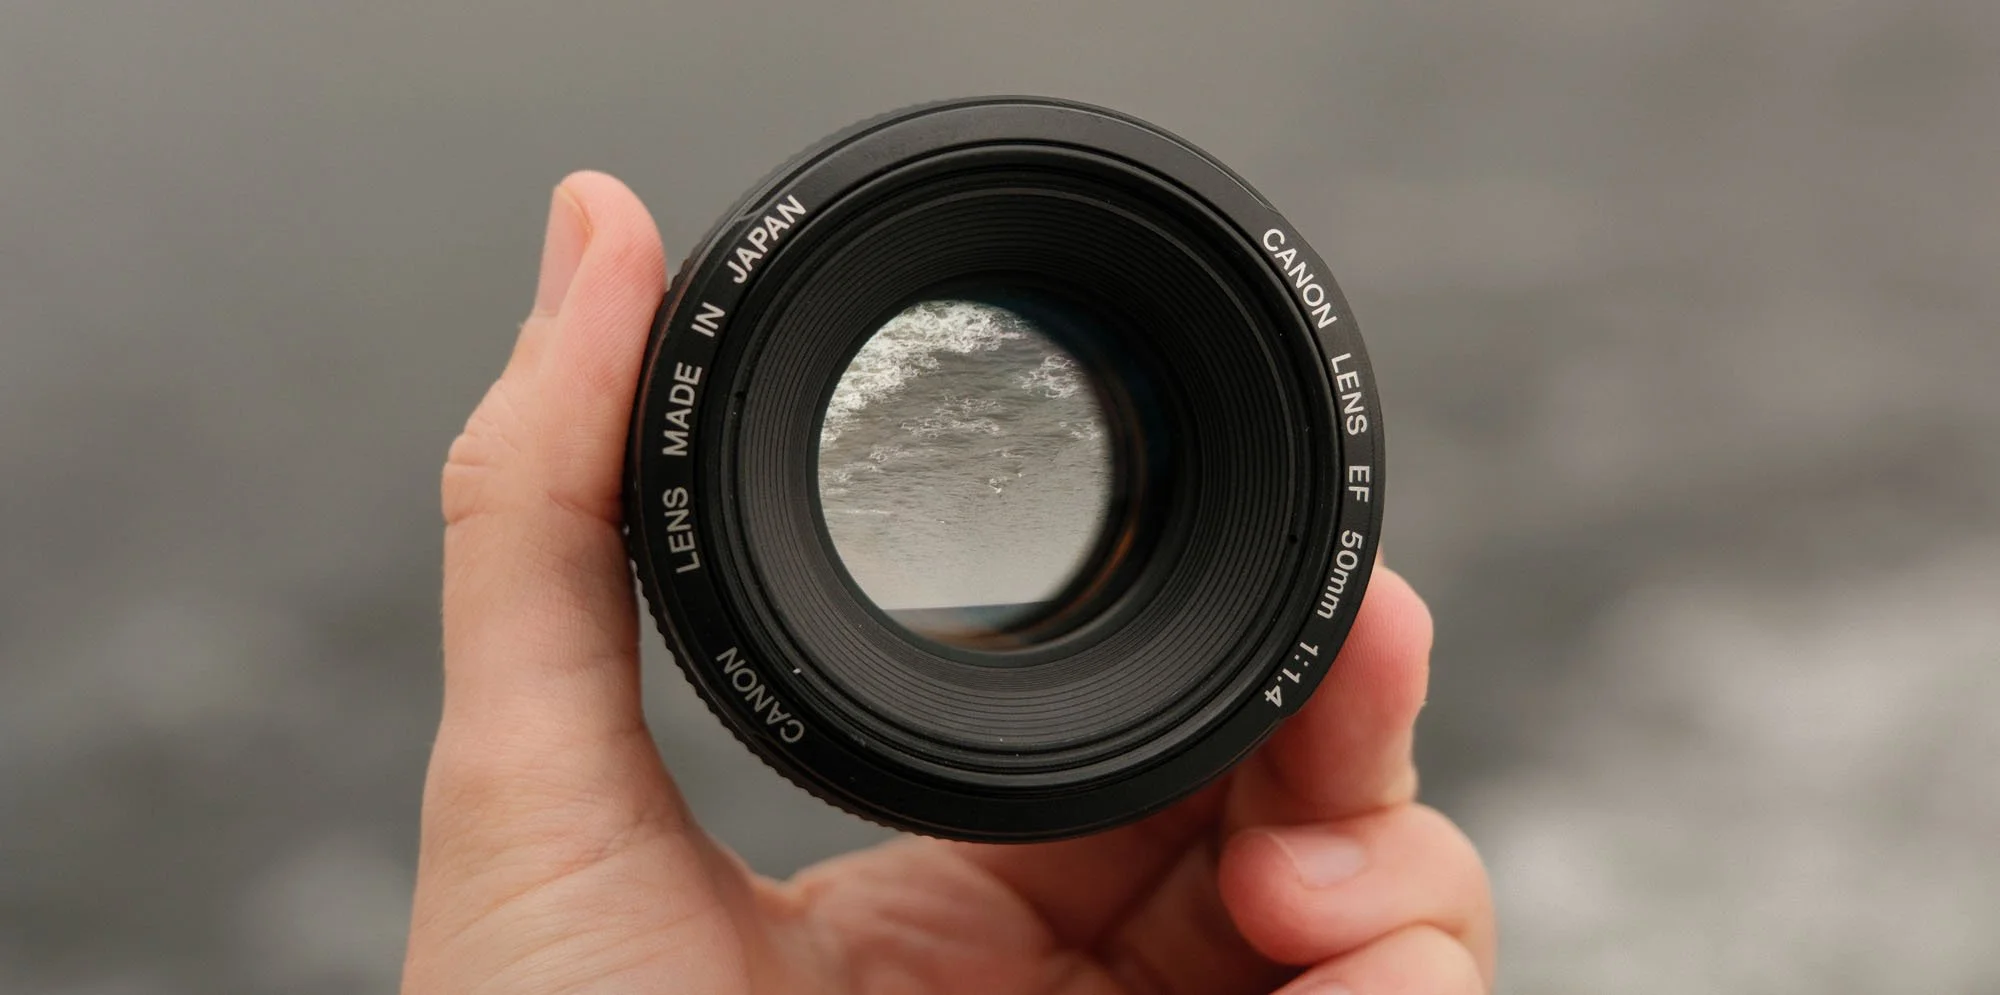
If you are getting a lens or lenses with your purchase you’ll want to make sure the lens is in good condition. Check the focus ring, zoom ring (if there is one), switches, and buttons. Most importantly you need to take the time to detach the lens from the body and look through it. Check the lens for dust, scratches and growth/fungus.
Depending on the age of the lens, there will very likely be a bit of dust or debris located within the lens elements. Hopefully it’s minimal and be sure it’s not very large or frequent. Large dust or objects that aren’t on the front of back elements mean they’ll show up often at small apertures. Next check for scratches on both the back and front elements. You’ll need good light to see reflections on the glass to see if there are any scratches.
If you see any haze or fungus, I would avoid buying the lens.
6. Burst Mode & Shutter Sound
While you’ve already taken a few images, taking a few more shouldn’t hurt. This test is to make sure the mechanical shutter is working properly and doesn’t lock up. One of main killers of older DSLRs is the shutter mechanism as it’s both mechanical and the most used part of a camera when taking images. This is a quick and easy test, all you want to do is listen for inconsistencies in the sound of the shutter. Even if you’ve never held a camera in your life, as long as you can listen for similar sounds you can accomplish this test.
All you need to do is set the camera into a higher frame rate drive mode, aim the camera at something and hold down the shutter button. Take 5-20 images, paying close attention to the sound created by the shutter mechanism. You want a clear and repetitive sound that sounds consistent from the first image to the last. While this won’t magically tell you how much more life there is within the camera you’re trying to buy, it will give signs of issues if there are any with the shutter.
The last couple tests are not as important as the previous six but if you have the time to accomplish them, it is still recommended!
7. Image Quality
It might be obvious but make sure you take a few images and review them if possible on the back of the camera. This is something I should have done more thoroughly when purchasing a recent Canon 6D because it would have, as the very least, informed me that my rear LCD screen wasn’t doing great. Most importantly is zooming into the details of the image, typically using a magnifying glass icon on the back of most cameras. Notice if the images look sharp or any color issues throughout an image.
8. View Finder
Quickly use the view finder and make sure all the focus boxes show up as expected. Also pay attention to the info like shutter speed and aperture are displaying properly. Most viewfinders will be a bit dirty (mine certainly are) but you can clean those with a q-tip.
One thing to note here is if the image looks blurry through the viewfinder, you may just need to adjust the diopter on the camera.
9. Battery & Accessories
If you’re buying a camera with all the accessories, be sure to check the health of the battery. Most modern DSLRs have a battery check within their menu system. This shouldn’t be a dealbreaker as batteries are not too expensive to replace but if you’re buying a relatively inexpensive camera, a new battery might eat into your budget a lot.
Be sure to make sure the battery charger works properly as most of these cameras cannot charge without those. Check lens caps and lens hoods if they are part of your purchase.
10. Flash Check
Lastly, if you’re camera comes with a flash - make sure it works! Remember that most cameras can’t flash repeatedly, so don’t expect them to be able to. Just make sure it pops up when you enable it and the flash bursts as expected.
That’s it! Of course there’s even more you could do when purchasing but you only have so much time when you meet up with someone to buy a used camera. Thanks for reading - if you enjoyed this and want to support my work. Consider joining my newsletter, purchasing a camera guide, leaving a comment, or just throwing me a cup of coffee below.
Buy Me a Coffee!
If you found value in this content feel free to help put gas in the tank or keep me caffeinated :) No pressure, thanks for being here.